Have you ever found the perfect photo, only to be let down by a distracting background? As the famous Vietnamese saying goes, “Đẹp khoe xấu che” (Show the beautiful, hide the ugly). Luckily, with a bit of Photoshop magic, you can easily remove backgrounds and make your subject the star of the show.
Understanding Background Removal
Before we dive into the how-to, let’s take a moment to appreciate the power of this technique. Removing a background can drastically improve a photo’s composition, allowing you to:
- Highlight your subject: Whether it’s a person, a product, or a stunning lotus flower from West Lake, removing the background puts the focus where it belongs.
- Create stunning visuals: A clean background opens up endless possibilities for creative edits. Imagine placing your subject against a vibrant sunset over Hoan Kiem Lake or a serene rice paddy field in the outskirts of Hanoi.
- Enhance professionalism: Need a product photo for your online store in Hanoi? Background removal creates a polished, consistent look that exudes professionalism.
How to Remove Background in Photoshop: A User-Friendly Approach
Photoshop offers various tools for background removal, each with its strengths. We’ll explore the most user-friendly methods:
1. The Quick Selection Tool: Your Go-to for Simple Backgrounds
This tool excels at selecting distinct areas with contrasting colors. It’s perfect for images with a clear separation between the subject and the background, like a portrait taken against a solid wall in the Old Quarter.
- Open Your Image: Launch Photoshop and open your desired image.
- Select the Quick Selection Tool: Find it in the toolbar; it looks like a paintbrush with a dotted line.
- Adjust Brush Size: Choose a brush size slightly smaller than the area you want to select. You can adjust the size using the bracket keys on your keyboard.
- Click and Drag: Click and drag the tool over the background. Photoshop will intelligently select similar areas.
- Refine Your Selection: Hold Alt (Windows) or Option (Mac) to deselect any accidentally selected areas of your subject.
- Invert the Selection: Once the background is selected, go to Select > Inverse to select your subject instead.
- Remove or Mask the Background: You can now hit Delete to remove the background or add a layer mask to non-destructively hide it.
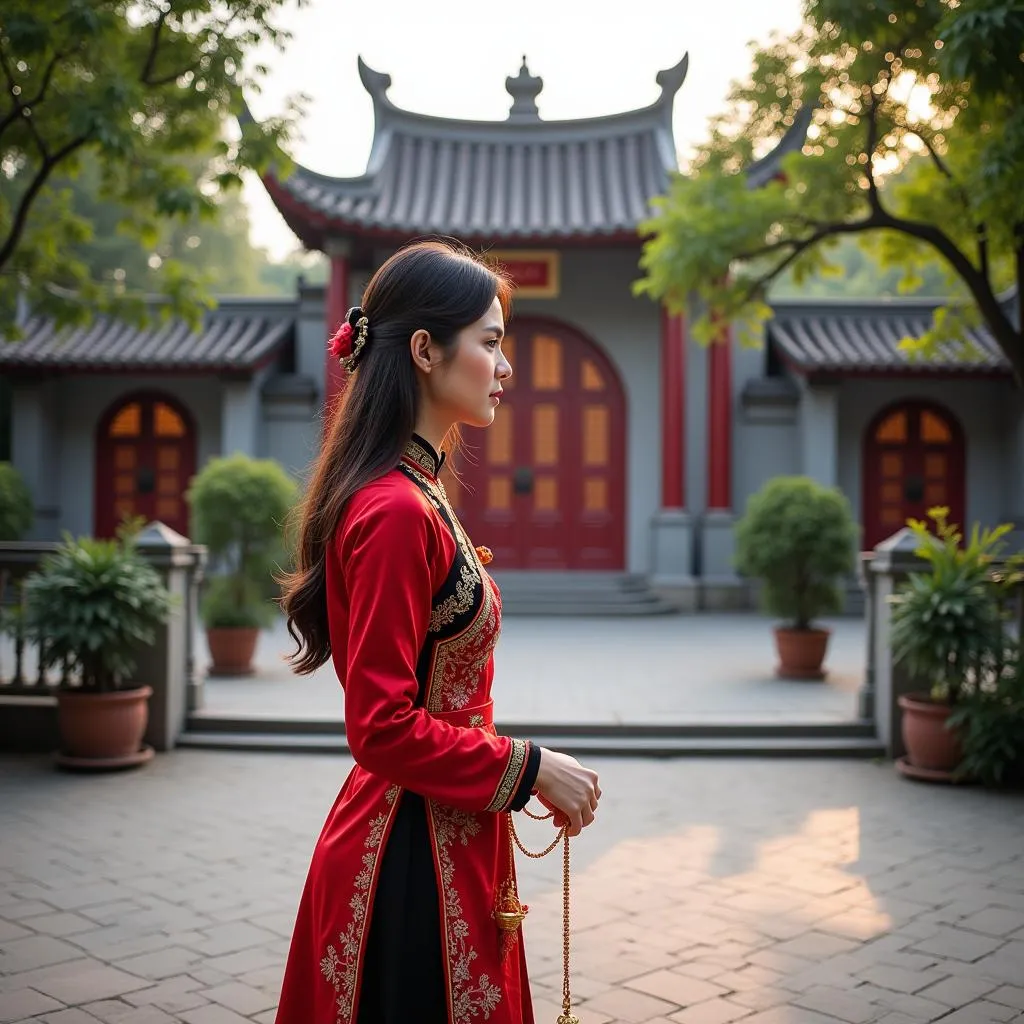 Using the quick selection tool to remove the background from a photo of a Vietnamese woman in traditional dress
2. The Magic Wand Tool: Ideal for Solid Color Backgrounds
This tool shines when dealing with single-color backgrounds. Imagine a product shot against a pure white backdrop – this is where the Magic Wand works its magic.
- Open Your Image and Select the Tool: Find the Magic Wand Tool in the toolbar (it looks like a star-tipped wand).
- Adjust Tolerance: This setting determines how similar in color pixels need to be for the tool to select them. A lower tolerance is best for solid colors.
- Click the Background: Simply click anywhere on the background you want to remove.
- Refine Your Selection: Use the Quick Selection Tool or the Lasso Tool for any missed spots.
- Remove or Mask the Background: As before, you can delete the selection or create a layer mask.
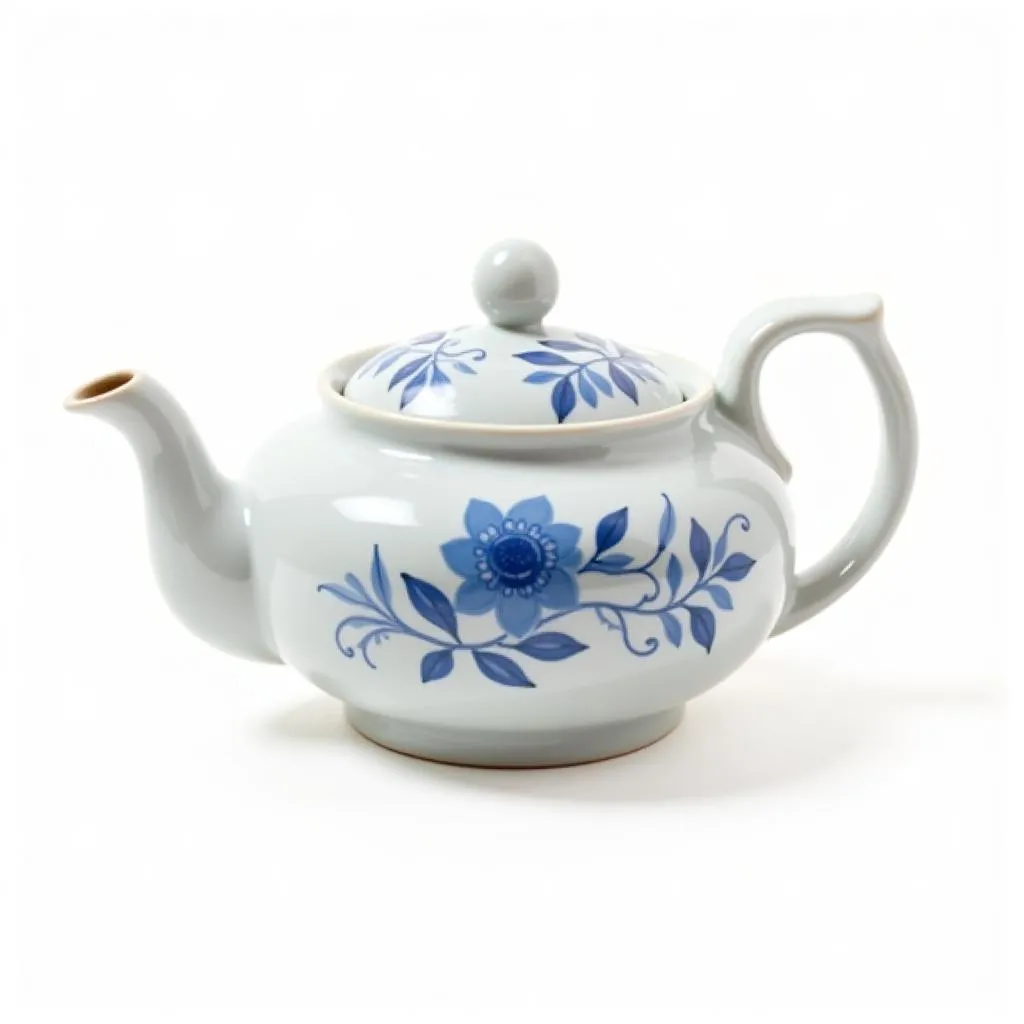 Product photography with a white background being edited in Photoshop using the magic wand tool
3. Refining Your Selection: The Key to a Professional Finish
No matter which method you choose, refining your selection is crucial. Here are some tips:
- Zoom In: Get up close and personal with your image to spot any imperfections.
- Use the “Select and Mask” Workspace: This dedicated workspace offers powerful tools like “Refine Edge Brush” to perfect your selection, especially around tricky areas like hair.
- Practice Makes Perfect: Like any art form, mastering background removal takes practice. Don’t be afraid to experiment and refine your techniques.
Beyond Background Removal: Explore Hanoi with TRAVELCAR
Just as Photoshop opens up a world of creative possibilities, exploring Hanoi with TRAVELCAR allows you to discover the city’s hidden gems with ease and comfort. Whether you’re captivated by the ancient temples of the Old Quarter or eager to sample street food delights in the bustling night markets, our fleet of modern vehicles – from 16-seater vans to spacious 45-seater buses – caters to every traveler’s needs.
Contact TRAVELCAR today to book your Hanoi adventure:
- Call us: 0372960696
- Email us: [email protected]
- Visit our office: 260 Cau Giay, Hanoi
Removing a background in Photoshop is just the first step. With a little creativity and the right tools, you can transform your photos and create visuals that truly pop. And when you’re ready to experience the magic of Hanoi firsthand, remember that TRAVELCAR is here to make your journey as smooth and memorable as possible.