Connecting your front audio jack can sometimes feel like navigating a labyrinth. Whether you’re setting up a new PC, troubleshooting sound issues, or simply want to use your headphones for some private listening, understanding the ins and outs of front audio panel connections is crucial. This guide will provide you with a step-by-step approach, troubleshooting tips, and helpful advice to make the process smooth and hassle-free.
Understanding the Front Panel Audio Connection
The front audio panel on your computer case provides a convenient way to connect headphones, microphones, and other audio devices without having to reach around the back of your PC. However, connecting it correctly can sometimes be a challenge. The process involves connecting a cable from the front panel to the appropriate headers on your motherboard.
Identifying the Connectors and Headers
Before you begin, you’ll need to identify the connectors on the front panel audio cable and the corresponding headers on your motherboard. The front panel cable typically has HD Audio (High Definition Audio) connectors, which are smaller and more compact than the older AC’97 connectors.
Locating the Front Panel Audio Header
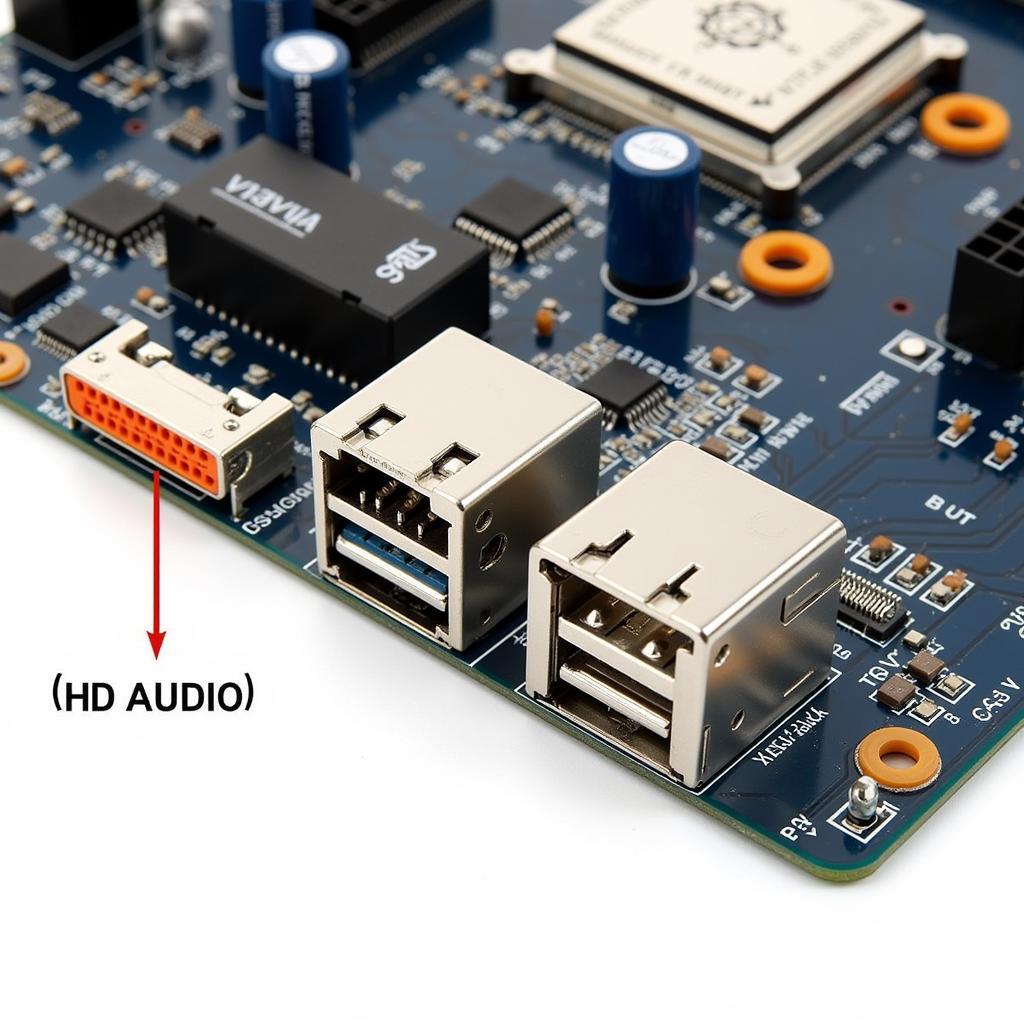
The front panel audio header is usually located near the bottom edge of your motherboard, often labeled as “HD AUDIO,” “AAFP” (Analog Audio Front Panel), or something similar. Refer to your motherboard manual for the exact location.
 Locating the Front Panel Audio Header on a Motherboard
Identifying the Front Panel Audio Cable
The front panel audio cable is a thin, multi-wire cable with a connector that matches the front panel audio header on your motherboard. It is usually bundled with the other front panel cables that connect the power button, reset button, and USB ports.
Connecting the Front Panel Audio Cable
Once you have identified the correct header and cable, carefully align the connector on the cable with the pins on the header. Make sure the notch on the connector aligns with the corresponding key on the header. Gently but firmly push the connector onto the header until it is securely seated.
Common Connection Problems and Solutions
Sometimes, even after connecting the cable correctly, you might still experience audio issues. Here are some common problems and their solutions:
- No sound: Check that the front panel audio is enabled in the BIOS settings.
- Static or distorted sound: Ensure the cable is properly connected and that there are no bent or damaged pins.
- Microphone not working: Make sure the microphone is plugged into the correct jack and that the microphone boost is enabled in the sound settings.
Software Configuration and Troubleshooting
After connecting the cable, you might need to configure the audio settings in your operating system. This usually involves selecting the front panel audio as the default playback and recording device.
Checking BIOS Settings
Sometimes, the front panel audio might be disabled in the BIOS settings. Access your BIOS settings by pressing the designated key during startup (usually Del, F2, or F12). Look for an option related to “Onboard Audio” or “HD Audio” and ensure it is enabled.
Conclusion
Connecting your front audio jack doesn’t have to be a daunting task. By following these steps and paying attention to detail, you can easily connect your headphones and microphone and enjoy high-quality audio. Remember to consult your motherboard manual for specific instructions and troubleshooting tips related to your particular model. Connecting your front audio jack correctly enhances your overall computing experience.
FAQ
- Why isn’t my front audio jack working? Several factors can contribute to this, including incorrect cable connection, disabled audio in BIOS, or driver issues.
- How do I enable front panel audio in BIOS? Access your BIOS settings during startup and look for options related to “Onboard Audio” or “HD Audio.”
- What is HD Audio? HD Audio (High Definition Audio) is a higher quality audio standard than AC’97.
- My front panel audio is producing static. What should I do? Check the cable connection for any damage or loose connections.
- How do I choose between front and back audio jacks? You can select the default audio device in your operating system’s sound settings.
When you need assistance, please contact Phone Number: 0372960696, Email: TRAVELCAR[email protected] Or visit our address: 260 Cau Giay, Hanoi. We have a 24/7 customer service team.

