Copying files from your computer to a USB drive is a fundamental digital skill. Whether you’re backing up important documents, transferring photos, or sharing files with friends, this guide will walk you through the process, covering everything from the basics to troubleshooting common issues.
Understanding the Basics of File Transfer
Before diving into the steps, it’s important to grasp the basic concepts behind file transfer. Essentially, you’re duplicating data from your computer’s storage to the USB drive. This doesn’t remove the original files from your computer unless you specifically choose to delete them afterward. Think of it like photocopying a document—you retain the original while creating a separate copy.
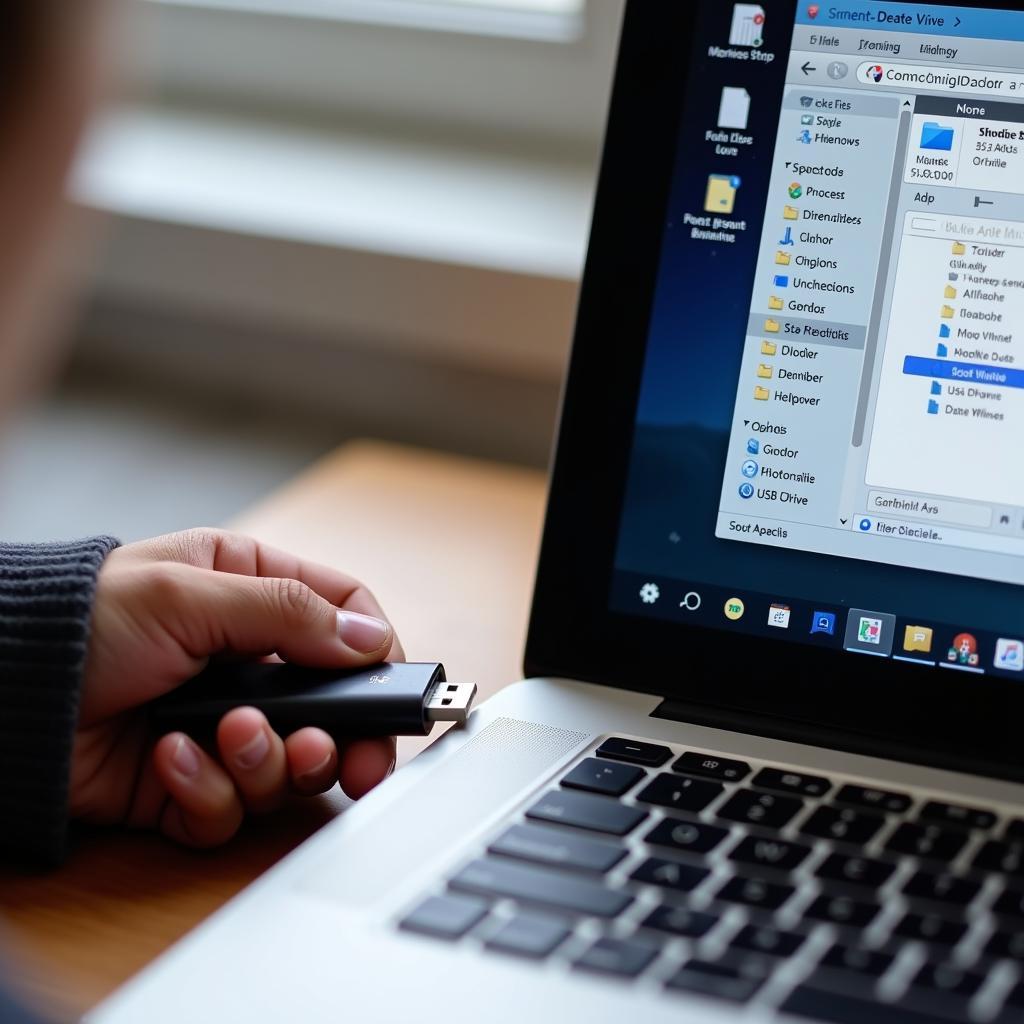
 Copying Files from Computer to USB
Step-by-Step Guide: Copying Files to a USB Drive
Here’s a clear and concise guide on how to copy files from your computer to a USB drive:
- Connect the USB Drive: Insert your USB drive into an available USB port on your computer.
- Open File Explorer (Windows) or Finder (Mac): Locate and open the file management application on your operating system.
- Locate the Files: Navigate to the folder on your computer containing the files you want to copy.
- Select the Files: Click and drag to select multiple files, or hold down the Ctrl (Windows) or Command (Mac) key while clicking to select individual files.
- Copy the Files: Right-click on the selected files and choose “Copy.” Alternatively, you can use the keyboard shortcut Ctrl+C (Windows) or Command+C (Mac).
- Navigate to the USB Drive: In the File Explorer or Finder window, locate and open the USB drive. It usually appears under “This PC” (Windows) or on the desktop (Mac).
- Paste the Files: Right-click within the USB drive’s window and choose “Paste.” You can also use the keyboard shortcut Ctrl+V (Windows) or Command+V (Mac).
- Wait for the Transfer to Complete: A progress bar will indicate the status of the file transfer. The time required will vary depending on the file size and the speed of your USB drive.
- Safely Eject the USB Drive: Once the transfer is complete, it’s crucial to safely eject the USB drive to prevent data loss. Right-click on the USB drive icon in the system tray (Windows) or drag the USB drive icon to the Trash (Mac) and then physically remove the drive.
 Safely Removing USB from Computer
Troubleshooting Common Issues
Sometimes, you might encounter problems during the file transfer process. Here are a few common issues and their solutions:
- “Not Enough Space” Error: If your USB drive doesn’t have enough free space, you’ll need to either delete some files from the drive or use a larger capacity USB drive.
- Slow Transfer Speed: This could be due to a slow USB drive or a problem with your computer’s USB port. Try using a different USB port or a different USB drive.
- File Corruption: Ensure your USB drive is properly formatted and free of errors. You can use the built-in disk checking tools in your operating system to scan for and repair errors.
“Regularly backing up your data is essential,” advises John Smith, a data recovery specialist at DataSafe Solutions. “A USB drive provides a convenient and affordable way to create backups of your important files.”
 Troubleshooting USB Connection Problems
Conclusion
Copying files from your computer to a USB drive is a straightforward process, and this guide has provided a step-by-step approach to ensure you can do it successfully. Remember to always safely eject your USB drive to avoid data corruption. Now you can easily manage and transfer your files with confidence!
Need assistance? Contact us at Phone: 0372960696, Email: TRAVELCAR[email protected] or visit us at 260 Cau Giay, Hanoi. Our customer service team is available 24/7.

