Remember those carefree days spent by the water, crafting tiny vessels to navigate imaginary currents? Folding a paper boat is one of those timeless activities that transcends generations, sparking joy and a touch of nostalgia. Whether you’re a seasoned origami enthusiast or a curious beginner, this guide will equip you with the knowledge to create your very own fleet of paper boats.
Setting Sail: Gathering Your Supplies
Before embarking on your paper boat building adventure, you’ll need a few essential supplies. Fear not, the beauty of origami lies in its simplicity. All you need is:
- A sheet of paper: Any rectangular paper will do, but origami paper or colorful construction paper can add an extra touch of vibrancy to your creations.
- A flat surface: Find a spacious and level area where you can comfortably fold with precision.
- A dash of patience: Like any craft, origami rewards patience and attention to detail.
Charting Your Course: Step-by-Step Instructions
Now, let’s dive into the heart of the matter and transform that plain sheet of paper into a charming paper boat. Follow these easy steps:
- Start with a square: If your paper is rectangular, simply fold one corner diagonally across to the opposite edge, forming a triangle. Trim off the excess strip of paper to create a perfect square.
 Folding a piece of paper in half to create a triangle
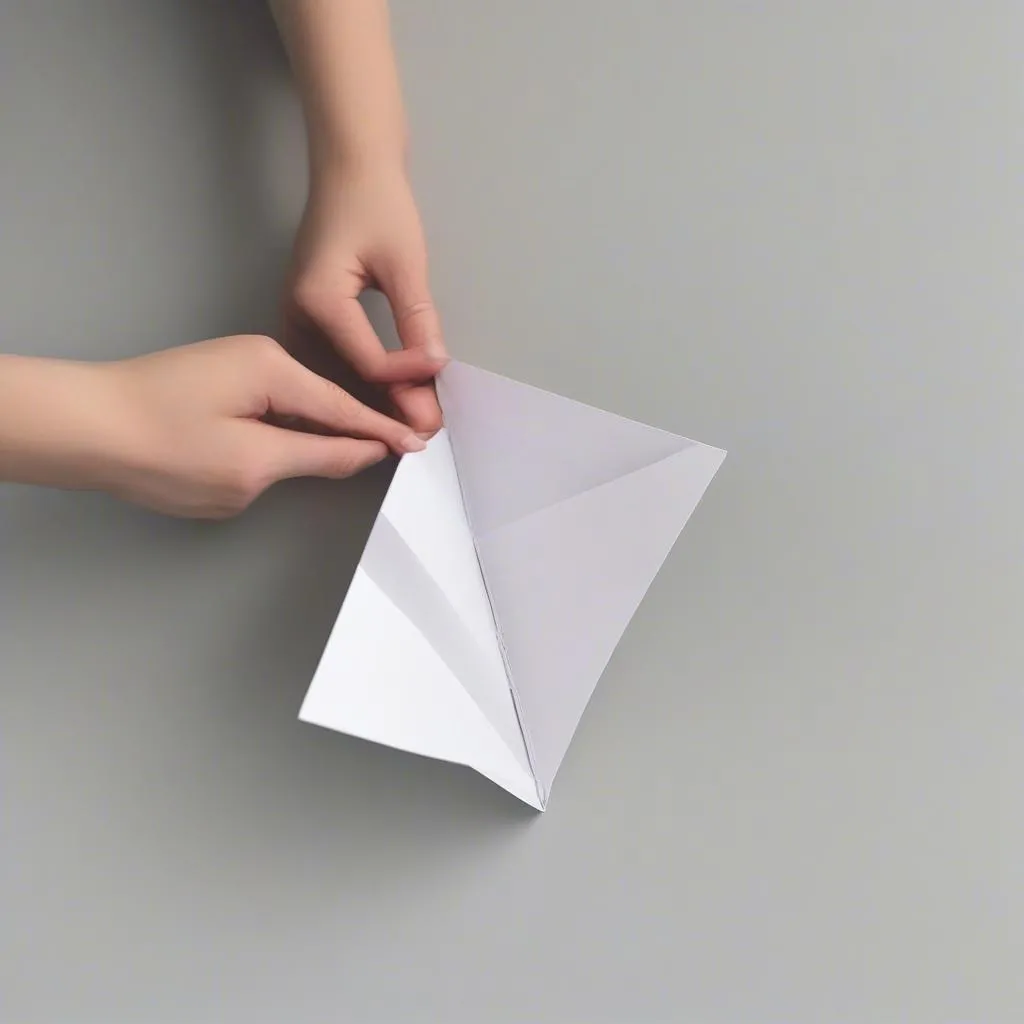
Fold in half: Fold the square in half diagonally, bringing one corner to meet its opposite, and crease firmly.
Form the boat shape: Unfold the previous fold. You’ll notice a crease running down the middle of the square. Now, fold the two top corners inwards towards the center crease, aligning the edges with the middle line. Your paper should now resemble a house shape.
 Folding the top corners of the paper inwards to meet at the center crease
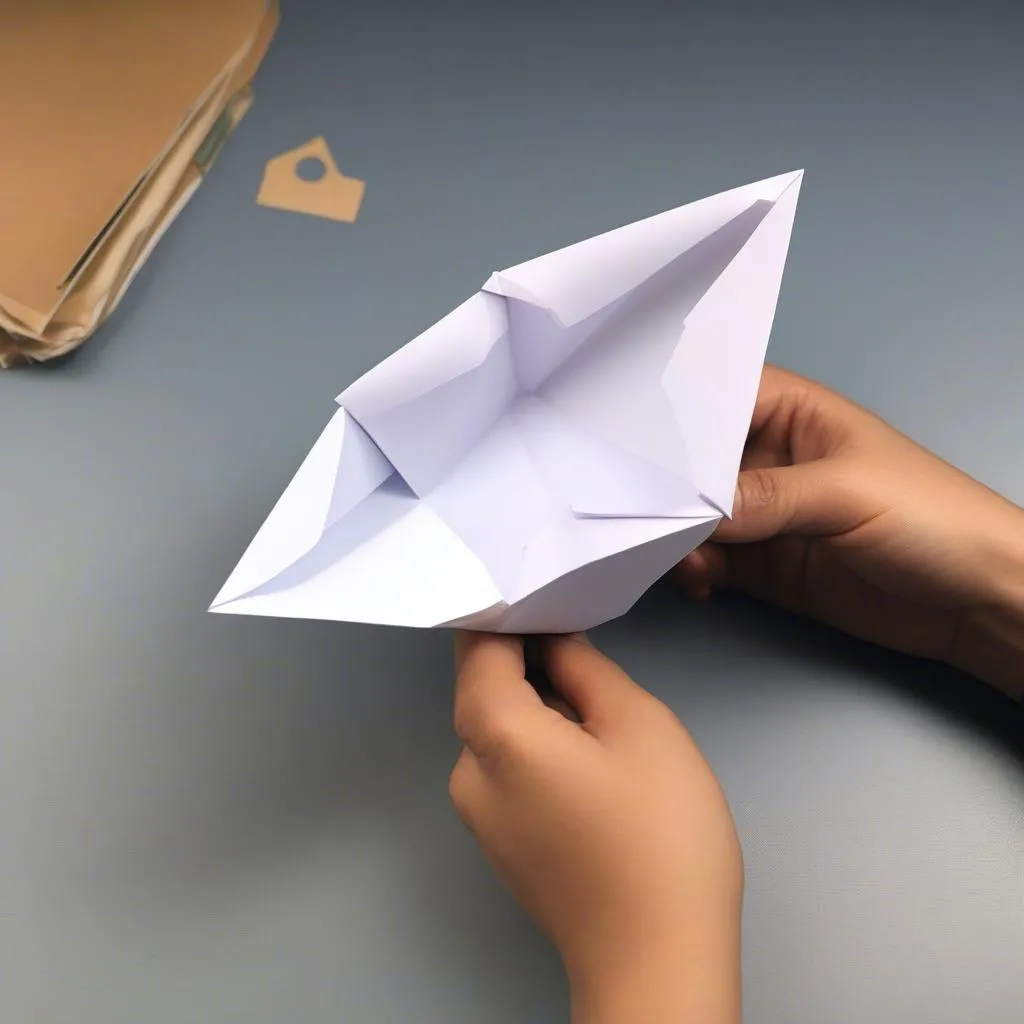
Create the hull: Fold the bottom flap upwards on both sides, tucking it behind the triangular flaps you just created. Your paper will now have a diamond shape with a horizontal crease across its center.
The final fold: Holding the two opposite corners of the diamond, gently pull them outwards, causing the paper to open up from the center crease. Push the bottom corners inwards, flattening the base of your boat.
Smooth Sailing: Tips and Tricks
- Crisp creases are key: Take your time and make sharp, well-defined creases with each fold. This ensures a sturdier and more aesthetically pleasing final product.
- Experiment with different paper: While standard origami paper works well, don’t hesitate to explore other options. Wax paper boats, for instance, can actually float on water for a short time.
- Unleash your creativity: Once you’ve mastered the basic boat, feel free to personalize your creations. Add sails, flags, or even passengers to embark on imaginative voyages.
Folding a paper boat is more than just a pastime; it’s a journey into the world of creativity and imagination. It’s a reminder of the simple joys in life and the power of transforming ordinary materials into something extraordinary. So gather your supplies, follow these instructions, and set sail on a sea of paper crafting adventures!