So, you’ve decided to explore the world of CentOS 7. Good choice! It’s a powerful and reliable operating system, known for its stability and cost-effectiveness (it’s free, after all!). Whether you’re a seasoned Linux user or just starting out, this guide will equip you with the essential knowledge to navigate CentOS 7 like a pro. Think of it as your trusty compass, guiding you through the exciting terrain of this versatile OS.
Getting Started with CentOS 7: Your First Steps
First things first, you’ll need to get CentOS 7 up and running. Download the installation image from the official CentOS website – you’ll have different options depending on your preferred method and system architecture. Choose the one that aligns best with your setup. Once downloaded, create a bootable USB drive or CD/DVD.
Next, configure your system’s BIOS or UEFI to boot from the media you just created. The process might vary depending on your hardware, so a quick search online for your specific system model will give you the exact steps.
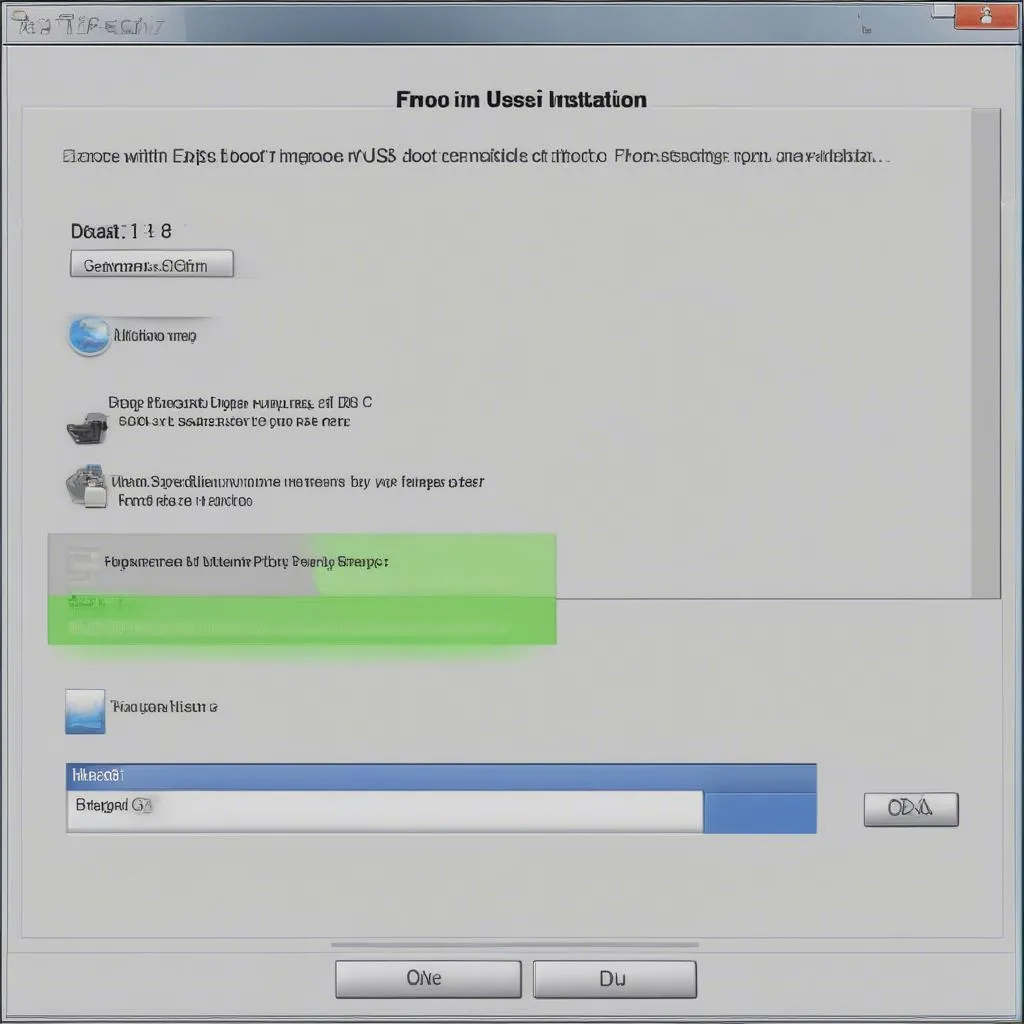 Booting CentOS 7 from a USB drive
Now, you’ll be greeted by the CentOS 7 installation wizard – think of it as your friendly tour guide. Follow the on-screen prompts to select your language, keyboard layout, time zone, and installation source. You’ll also partition your hard drive – this might sound intimidating, but the default options usually work well for beginners. Remember, you can always customize these settings later as you become more familiar with CentOS.
Mastering the Command Line: Your Gateway to Control
One of the hallmarks of Linux-based systems like CentOS is the command-line interface, often called the terminal. While graphical interfaces are available, the terminal gives you unmatched flexibility and control over your system. It might seem daunting at first, but trust me, it’s like learning a new language – challenging at the beginning but incredibly rewarding once you get the hang of it.
Here are a few basic commands to get you started:
ls: Lists files and directories in your current location.cd: Changes your current directory. For example,cd Documentswill take you to the “Documents” directory.mkdir: Creates new directories. For instance,mkdir NewProjectwill create a directory named “NewProject.”touch: Creates new, empty files. Trytouch myfile.txtto create a text file.sudo: Grants you superuser (root) privileges for commands that require administrative permissions. Use this command responsibly!
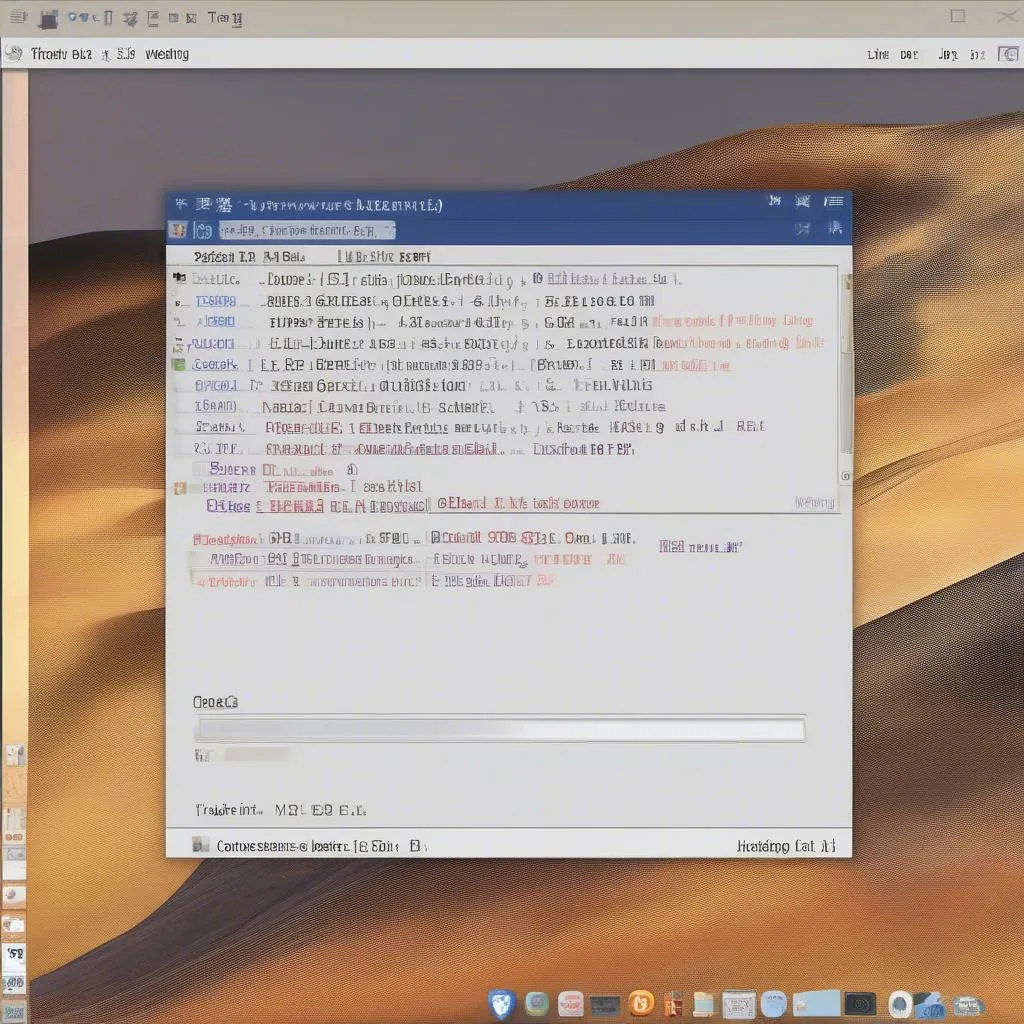 Using the terminal in CentOS 7
Remember, these are just a few examples, and there’s a vast world of commands waiting to be explored. The more you use the terminal, the more comfortable you’ll become with its power.
Managing Software Packages: Expanding Your CentOS Toolkit
CentOS utilizes a package manager called yum, your one-stop shop for installing, updating, and removing software. It simplifies the process significantly, ensuring that dependencies are handled automatically.
Here are the essential yum commands to know:
sudo yum update: Updates all installed packages on your system – always a good practice to keep your system secure.sudo yum install [package-name]: Installs a specific package. For instance,sudo yum install firefoxwill install the Firefox web browser.sudo yum remove [package-name]: Removes a package that you no longer need.
The real power of yum lies in its ability to search for packages. Let’s say you need an image editor. You can use sudo yum search image editor to find available options. This ability to quickly locate and manage software makes CentOS 7 incredibly adaptable to your needs.
Configuring Your System: Making CentOS 7 Your Own
CentOS 7 provides both graphical and command-line tools for system configuration.
Graphical Tools:
- GNOME Settings: The default desktop environment, GNOME, offers a user-friendly way to manage settings related to your display, network, users, and more.
Command-Line Tools:
firewall-cmd: Manages the built-in firewall to control network access and enhance your system’s security.nmcli: A powerful tool for managing network connections, from configuring network interfaces to connecting to Wi-Fi networks.systemctl: Used to control system services – you can start, stop, restart, and check the status of services essential for your system’s operation.
Remember, these are just a few examples of the many ways you can tailor your CentOS 7 environment to your liking. Explore and experiment – you’ll discover a wealth of customization options to make CentOS 7 truly your own.
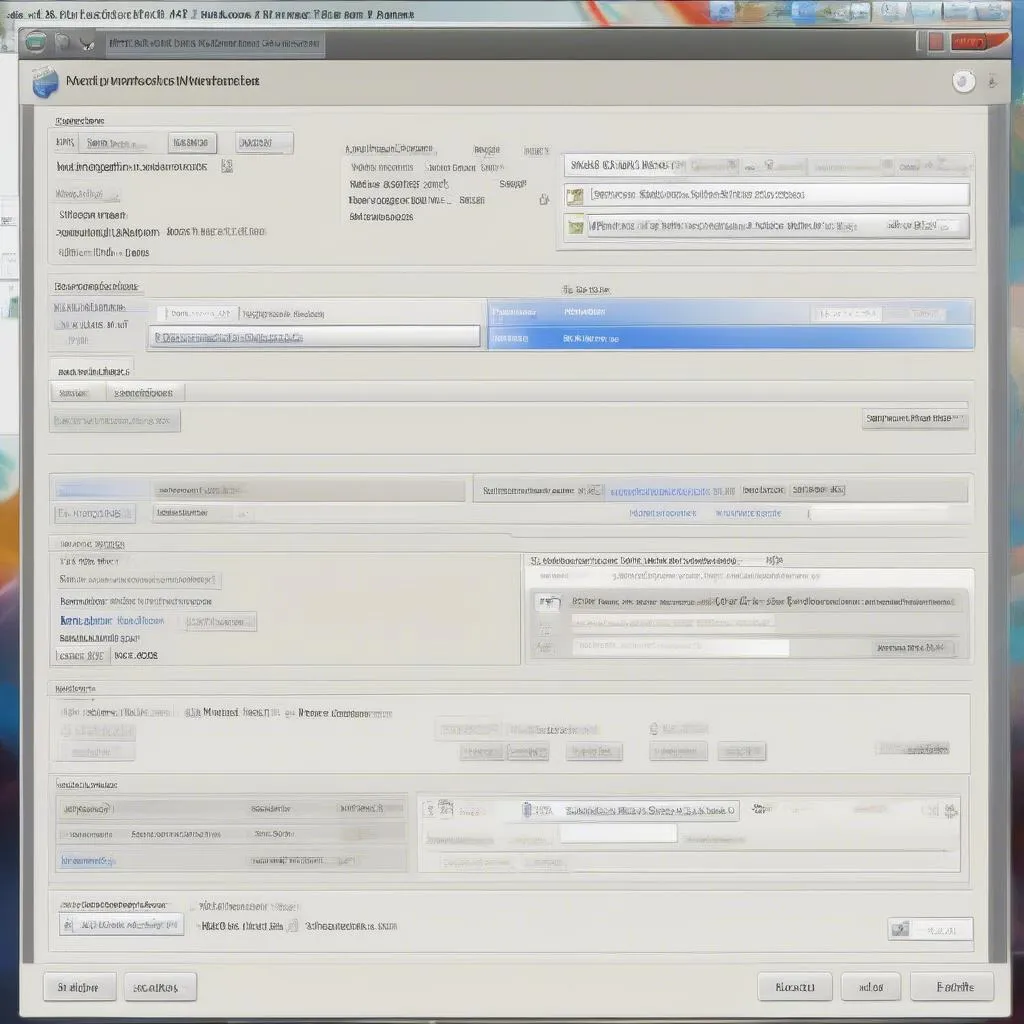 Configuring network settings in CentOS 7
FAQs About Using CentOS 7
1. Can I run CentOS 7 on a virtual machine?
Absolutely! CentOS 7 runs flawlessly on popular virtualization platforms like VirtualBox and VMware. This allows you to experiment with CentOS without affecting your main operating system.
2. Is CentOS 7 suitable for beginners?
While CentOS 7 is known for its stability and often used in server environments, it’s also beginner-friendly, especially with the availability of graphical interfaces. Don’t hesitate to dive in!
3. Where can I find additional support and resources for CentOS 7?
The CentOS community is vast and supportive. The official CentOS website, forums, and online communities are excellent resources for finding answers, documentation, and guidance.
Start Exploring CentOS 7 Today!
This guide has equipped you with the foundational knowledge to embark on your CentOS 7 journey. Remember, the best way to learn is by doing. Install CentOS 7, explore its features, and don’t be afraid to experiment. The world of Linux is vast and rewarding – embrace the learning process and enjoy the journey!