Do chua, the vibrant and tangy Vietnamese pickle, is more than just a side dish—it’s a staple in Hanoi’s culinary landscape. Imagine biting into a banh mi, the crusty bread giving way to savory fillings punctuated by the bright, crunchy acidity of do chua. It’s a flavor explosion that perfectly embodies the balance and freshness of Vietnamese cuisine.
But here’s the thing: you don’t have to travel all the way to Hanoi to experience this. With this hands-on guide, you can recreate the magic of do chua in your own kitchen.
The Do Chua Essentials: What You’ll Need
Making do chua is surprisingly simple. Here’s what you need to get started:
- Vegetables: The beauty of do chua lies in its versatility. While carrots and daikon radish are traditional favorites, feel free to experiment with cucumbers, green papaya, or even cauliflower.
- Vinegar: The soul of do chua is the tangy brine, and for that, you’ll need white vinegar. It’s readily available and delivers the perfect level of acidity.
- Sugar: A touch of sweetness rounds out the flavors, creating a harmonious balance. Regular white sugar works best.
- Salt: Salt not only enhances the flavors but also plays a crucial role in the pickling process.
- Optional Flavor Enhancers: For an extra kick, consider adding sliced chilies, garlic cloves, or ginger.
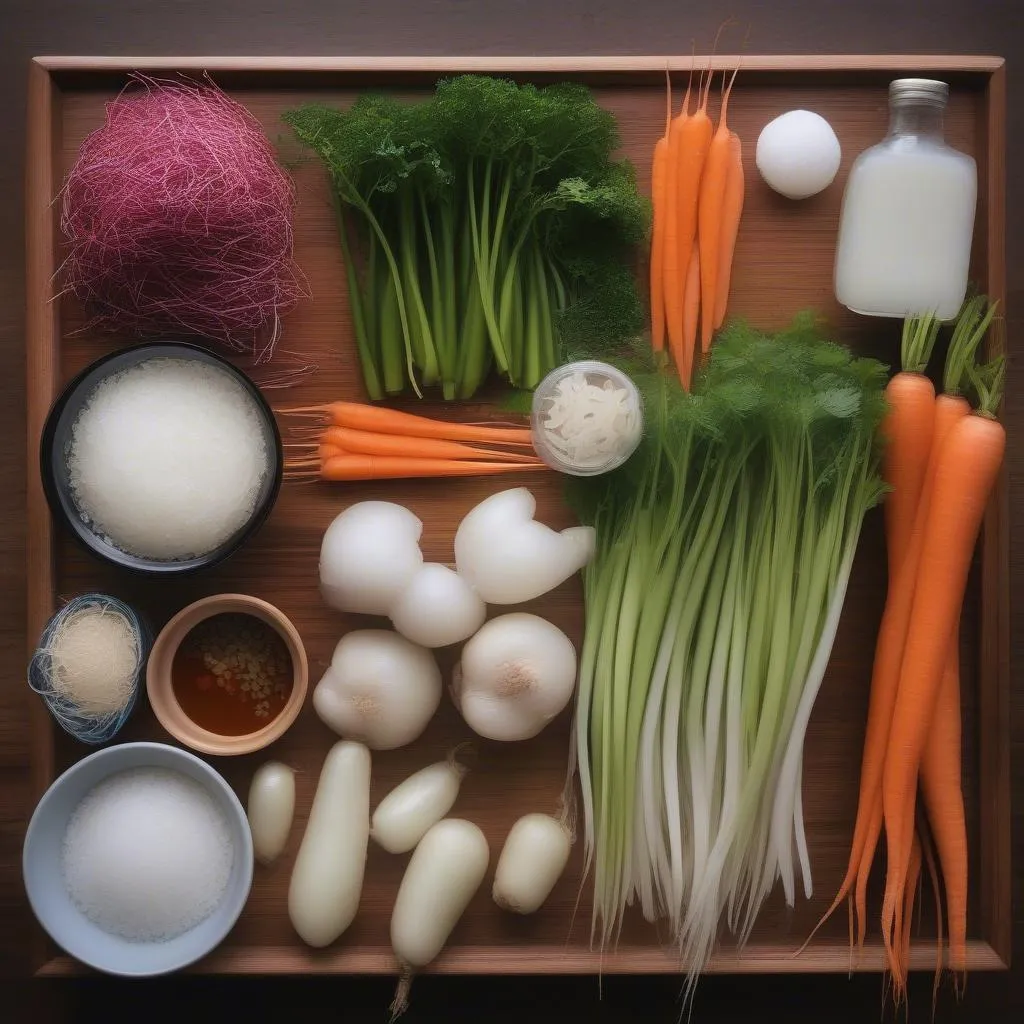 Fresh ingredients for Vietnamese do chua pickle
Making Do Chua: A Step-by-Step Journey
Prep Your Veggies: Wash and peel your chosen vegetables. Now comes the fun part: cutting them into shapes that spark joy! Thinly sliced rounds, matchsticks, or even creative shapes—let your inner artist guide you.
Create the Brine: In a saucepan, combine equal parts water and vinegar—a classic 1:1 ratio works wonders. Add sugar and salt to taste, stirring until they dissolve completely. This is your chance to customize: prefer a more pungent pickle? Add a bit more vinegar. Like it on the sweeter side? Adjust the sugar accordingly.
The Magic of Brining: Pack your prepped vegetables tightly into a sterilized jar, leaving some space at the top. Pour the hot brine over the vegetables, ensuring they are fully submerged. Seal the jar tightly.
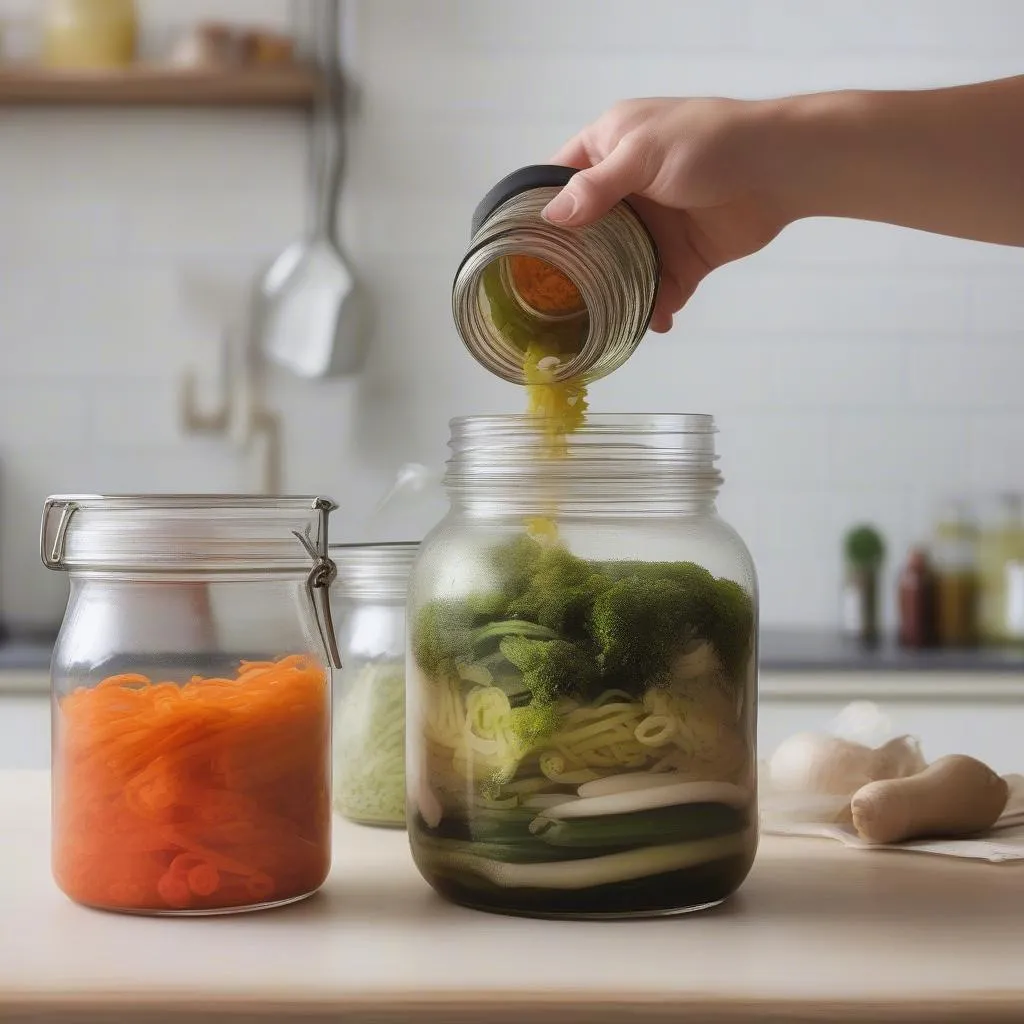 Pouring hot brine into a jar of vegetables for do chua
Patience is a Virtue: Waiting for the Transformation
Now, the hardest part: waiting! Allow the do chua to ferment at room temperature for at least 24 hours, or longer for a more intense flavor. You’ll notice the vegetables changing color as they pickle, becoming more vibrant and translucent.
Enjoying Your Do Chua Masterpiece
Once your do chua has reached your desired level of tanginess, store it in the refrigerator to slow down the fermentation process. This will keep it fresh and crunchy for weeks.
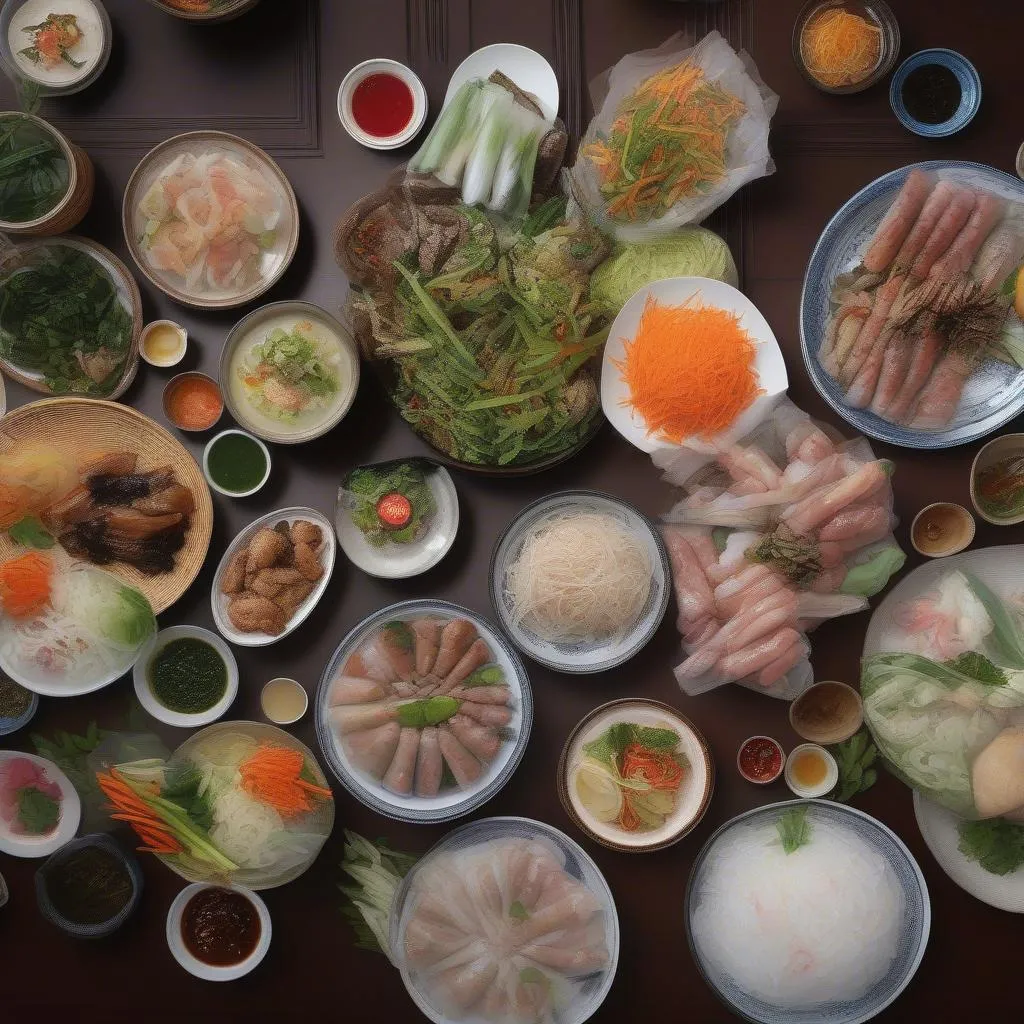 A variety of Vietnamese dishes with do chua
Do Chua: Beyond the Banh Mi
While do chua is a match made in heaven for banh mi, don’t limit yourself! Its versatility knows no bounds. Add it to spring rolls for extra zing, use it to top rice bowls and noodle soups, or enjoy it as a refreshing side to grilled meats or fish.
So, there you have it—a taste of Hanoi in your own home. With a little effort and a dash of patience, you can master the art of do chua and elevate your culinary creations with the vibrant flavors of Vietnam.