So, you want to take your Minecraft experience to the next level? Tired of the same old blocky graphics? Let’s dive into the world of Minecraft shaders and transform your gameplay with stunning visual enhancements!
Imagine strolling through a lush forest with rays of sunlight peeking through the leaves, casting realistic shadows on the forest floor. Picture crystal-clear waters reflecting the sky above, adding a whole new dimension to your underwater adventures. That’s the magic of shaders!
This guide will walk you through everything you need to know about installing and enjoying Minecraft shaders.
What Exactly are Minecraft Shaders?
In simple terms, shaders are like filters for your Minecraft world. They tweak the way light and shadows interact with the environment, enhance water effects, and can even add cool features like swaying grass and leaves.
Think of it like this: playing Minecraft without shaders is like watching a movie in standard definition, while using shaders is like upgrading to a 4K HDR experience!
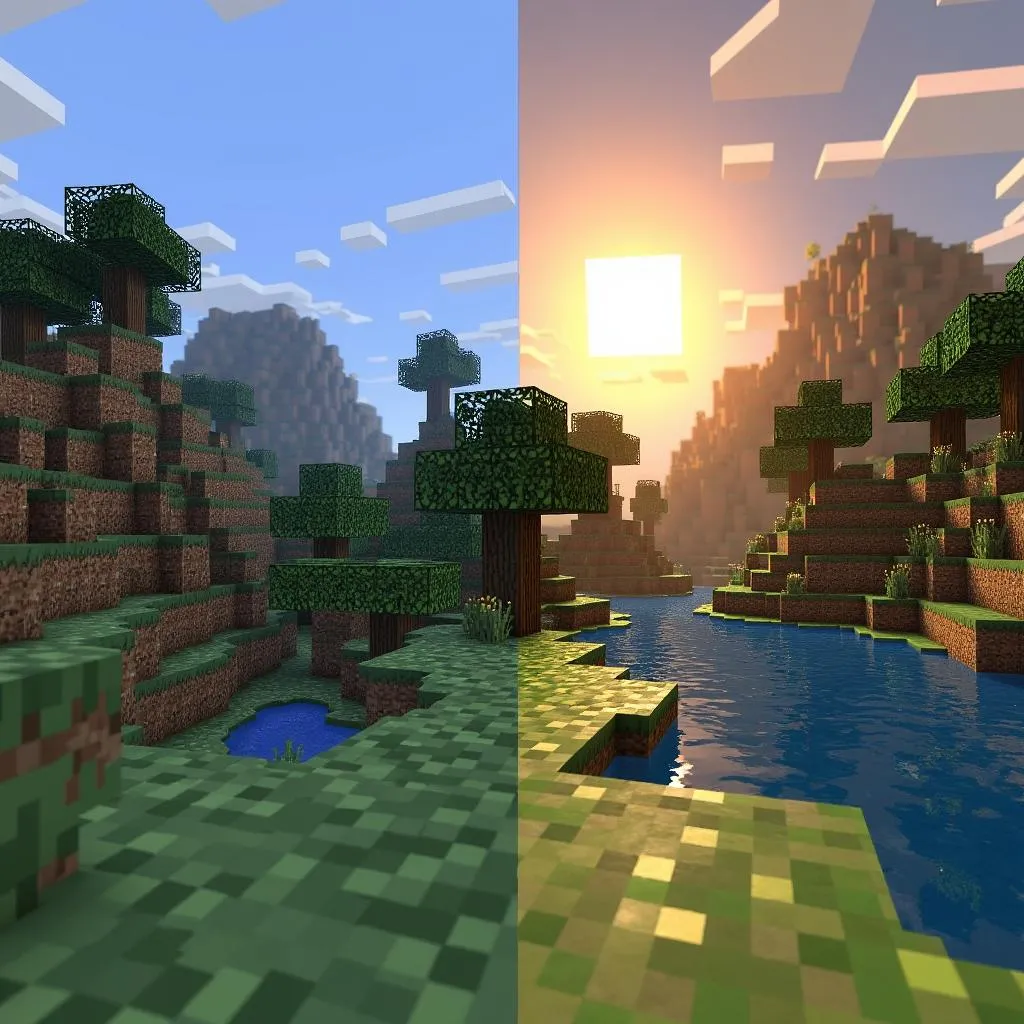 Minecraft Shaders Comparison
Getting Started: What You’ll Need
Before you start your shader journey, you’ll need a few things:
- A Compatible Minecraft Version: Make sure you’re running a version of Minecraft that supports shaders. Most modern versions do, but it’s always good to double-check.
- Optifine or a Similar Mod: Optifine is your best friend when it comes to shaders. It not only makes your game run smoother but also unlocks the ability to install and customize shaders. You can download Optifine and learn how to install it from their official website.
- Shader Packs: This is where the fun begins! There are tons of free shader packs available online, each offering a unique visual style. Some popular websites to find shaders include CurseForge and Shaders Mods.
Installing Shaders: A Step-by-Step Guide
Now that you’re all set, let’s install some shaders!
- Download Your Desired Shader Pack: Choose a shader pack that catches your eye and download it from a trusted source. Make sure the file format is “.zip”.
- Locate Your Minecraft Shader Folder: Open your Minecraft launcher and navigate to the “Options” tab. Then, click on “Resource Packs” and then on “Open Resource Pack Folder”.
- Create a “Shaderpacks” Folder: Inside the “resourcepacks” folder, create a new folder named “shaderpacks” (without the quotation marks).
- Move the Shader Pack: Paste the downloaded shader pack (.zip file) into the newly created “shaderpacks” folder.
- Activate the Shader in Minecraft: Launch Minecraft and go to “Options” > “Video Settings” > “Shaders”. Select the shader pack you just installed from the dropdown list.
Congratulations, you’ve successfully installed shaders! Go ahead and load your world to witness the transformation.
Choosing the Right Shader Pack
Picking the perfect shader pack depends entirely on your taste and the capabilities of your computer.
- For Low-End PCs: If your computer isn’t a gaming powerhouse, don’t worry! There are plenty of lightweight shader packs designed for smoother performance. Look for shaders like “Chocapic Lite” or “Sildur’s Vibrant Lite” that offer a good balance of visuals and performance.
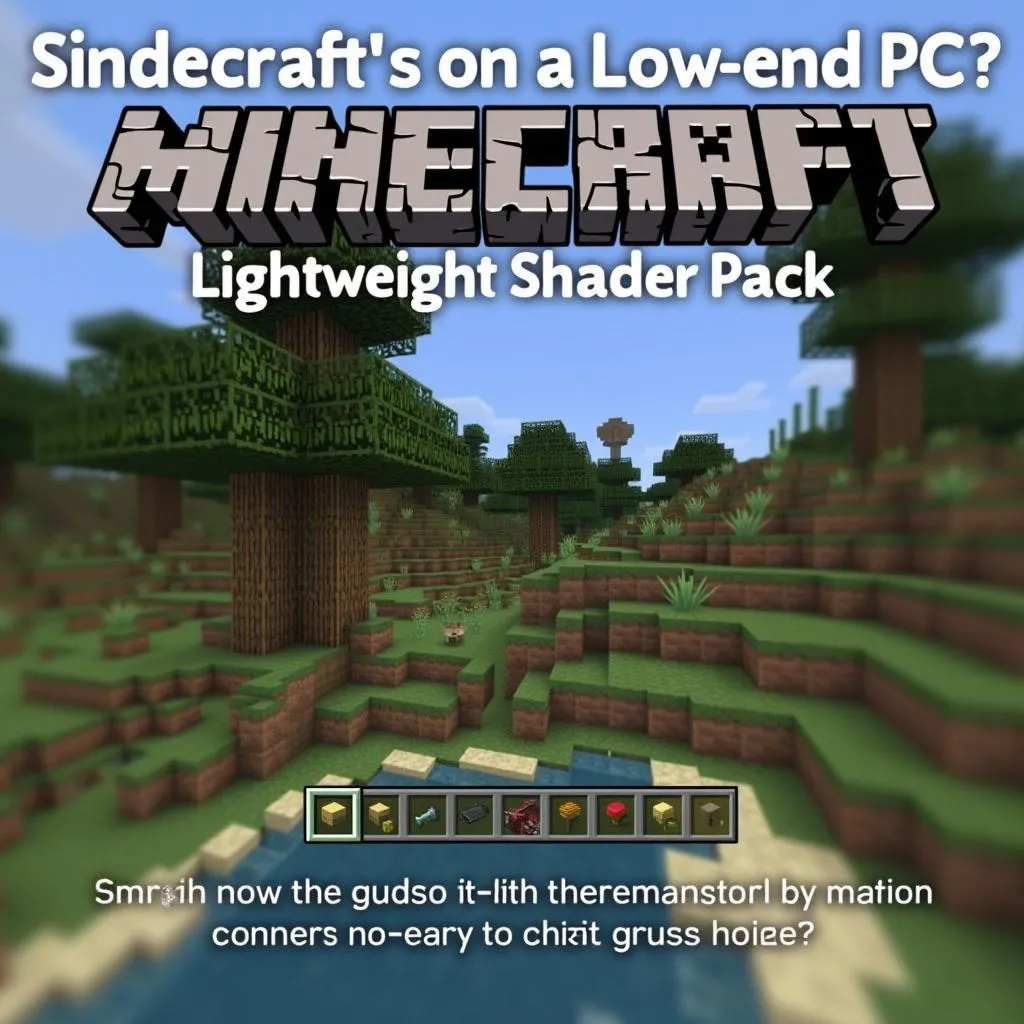 Lightweight Minecraft Shaders
For High-End PCs: If you’ve got a beastly rig, the sky’s the limit! Indulge in high-fidelity shaders like “SEUS” or “Continuum” for the most breathtaking and realistic visuals. Be prepared, though, these shaders can be demanding on your system.
Exploring Different Styles: Beyond performance, there are shader packs for every aesthetic. Do you crave a realistic look or a more stylized, cartoonish vibe? Experiment with different packs and find the one that best suits your preference.
Tips for a Seamless Shader Experience
- Optimize Your Settings: Shaders can be resource-intensive. Tweaking your Minecraft video settings can significantly impact performance. Consider lowering your render distance, turning off anti-aliasing, and adjusting other settings as needed.
- Experiment with Shader Options: Many shader packs come with built-in customization options. Don’t be afraid to experiment with these settings to fine-tune the visuals to your liking.
- Stay Updated: Shader developers often release updates to improve compatibility and performance. Keeping your shader packs up-to-date will ensure the best possible experience.
Conclusion
Installing shaders is a fantastic way to breathe new life into your Minecraft world. Whether you’re seeking breathtaking realism or a subtle visual boost, there’s a shader pack out there for everyone. So, dive in, experiment, and discover a whole new way to experience the magic of Minecraft!