Ever felt a pang of dread when your check engine light flickered on? That sinking feeling is often accompanied by the thought of a hefty mechanic’s bill. But what if you could diagnose and potentially fix some car issues yourself? That’s where a Diy Vcds Cable comes in. Just like a seasoned traveler uses a compass to navigate, a VCDS cable allows you to delve into your car’s computer, understand its error codes, and perhaps even save yourself a trip to the mechanic.
What is a Diy Vcds Cable and Why Should You Care?
VCDS, which stands for “VAG-COM Diagnostic System”, is a powerful software used to communicate with the computers in Volkswagen Audi Group (VAG) vehicles. A DIY VCDS cable acts as the bridge between your laptop and your car, enabling you to access and interpret diagnostic trouble codes (DTCs), view live data streams, and even perform certain adaptations and coding changes.
Think of it like this: remember that time you were exploring the ancient city of Hue and used a translation app to understand the local language? A DIY VCDS cable does something similar; it translates your car’s complex electronic language into something you can comprehend and use to troubleshoot problems.
Why DIY?
Building your own VCDS cable is significantly cheaper than purchasing a pre-made one. It’s a project that’s well within reach for anyone with basic soldering skills and a thirst for understanding their vehicle better.
How to Build Your Own Diy Vcds Cable
Before we dive into the steps, remember that working with electronics requires care. Always double-check your connections and use caution when soldering.
What You’ll Need:
- A VCDS Cable Kit: These are readily available online and contain all the necessary components.
- Soldering Iron and Solder: For connecting the cable components.
- Basic Tools: Wire strippers, a multimeter (optional but recommended), and maybe a helping hand.
Steps:
- Gather Your Materials: Lay out your cable kit components and tools in a well-lit workspace.
- Follow the Instructions: Each kit comes with specific instructions. Follow them carefully, as component placement is crucial.
- Solder with Care: Soldering can be tricky. If you’re new to it, watch a few tutorials online or ask a friend with experience for guidance.
- Test Your Cable: Once assembled, use a multimeter to check for continuity and ensure all connections are solid.
**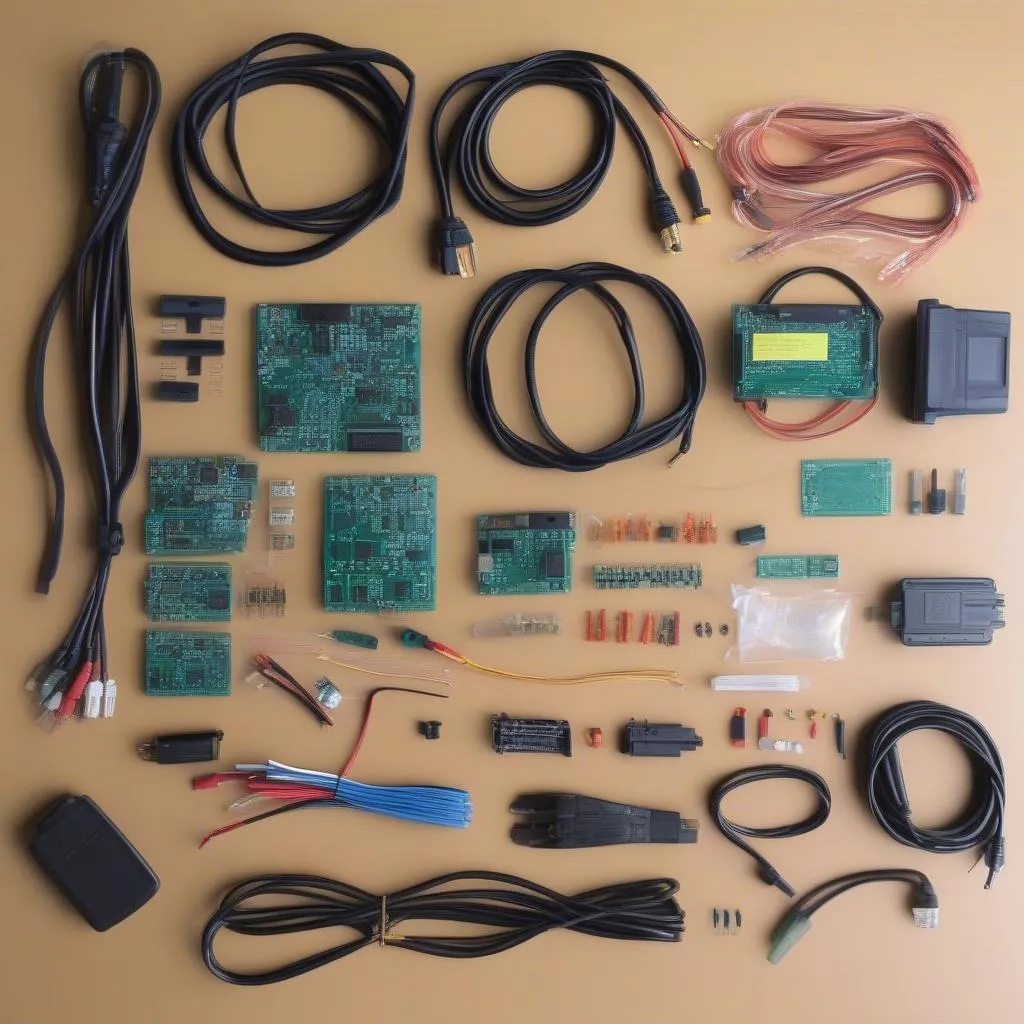 VCDS Cable Kit**
Benefits of Using a Diy Vcds Cable
- Cost Savings: Building your own cable is significantly cheaper than buying a pre-made one, leaving you with extra cash for your next road trip.
- Empowerment: Knowing how to diagnose and potentially fix your own car is incredibly empowering.
- Deeper Understanding: Using a VCDS cable provides a deeper understanding of how your car works, much like studying a map deepens your understanding of a new place.
Diy Vcds Cable FAQs
Q: Is it legal to use a DIY VCDS Cable?
A: Yes, building and using a DIY VCDS cable for personal use is legal.
Q: Can I use a DIY VCDS Cable on any car?
A: No, VCDS cables and software are specifically designed for VAG vehicles (Volkswagen, Audi, Seat, Skoda, etc.).
Q: What can I do if my DIY VCDS Cable doesn’t work?
A: Double-check your connections and refer to the instructions. Online forums dedicated to VCDS can also be valuable resources.
Hit the Road with Confidence
Just as a well-planned itinerary can transform a trip, having the right tools can transform your car ownership experience. A DIY VCDS cable is an investment in your vehicle and your peace of mind. It empowers you to address those pesky warning lights with knowledge and confidence, ensuring your journeys are smooth and enjoyable.
**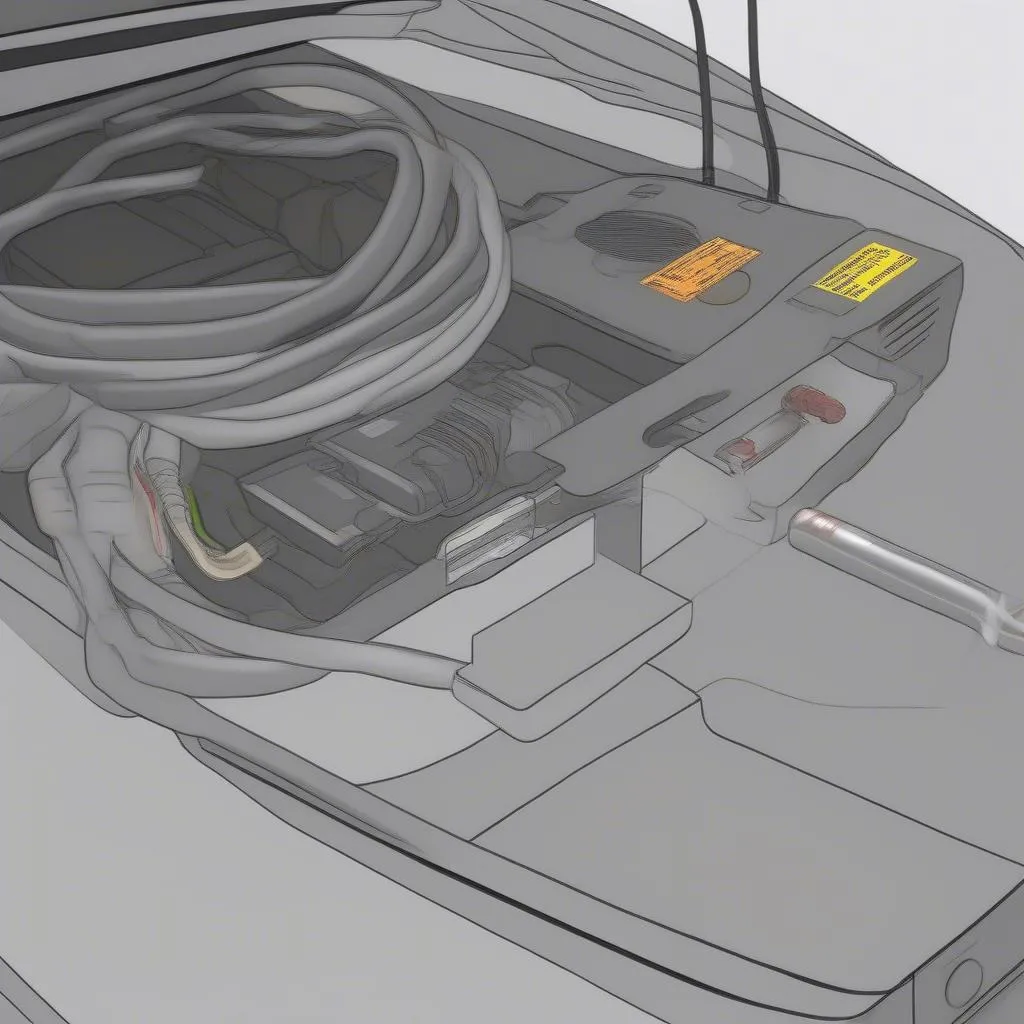 VCDS Cable Connected**
For more tips and resources on car maintenance and travel adventures, be sure to explore other articles on travelcar.edu.vn. We’re here to help you navigate the open road, both literally and figuratively!