Remember that crisp autumn day when you parked your travel trailer, winterizing it with dreams of sun-drenched adventures in the back of your mind? Well, spring has sprung, and it’s time to swap those snow boots for hiking shoes! De-winterizing your camper might seem like a chore, but trust me, the open road is calling, and the delicious anticipation of that first campfire meal makes it all worthwhile.
From Hibernation to Highway: A Step-by-Step Guide to De-Winterizing
Before you map out your route to Yosemite or practice your best “Are we there yet?” voice, let’s get your travel trailer ready to roll. Here’s a detailed guide to ensure a smooth and safe start to your adventures.
1. A Clean Sweep: Inside and Out
Just like you wouldn’t wear your comfy camping clothes to a fancy dinner, your travel trailer deserves a little sprucing up after its winter slumber.
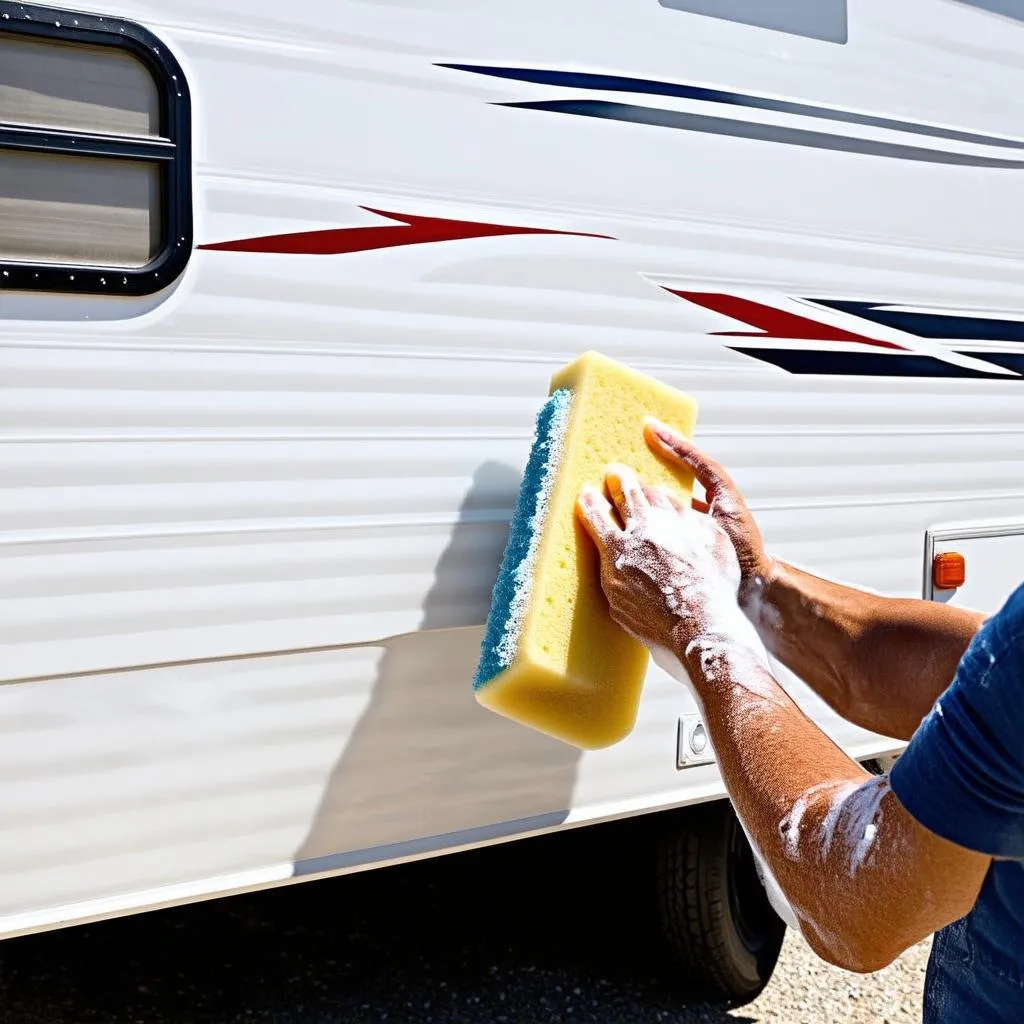
- Exterior: Give your camper a good wash, paying extra attention to the roof, which may have accumulated debris over the winter months. Check the seals around windows and doors for any cracks or damage, and reseal if necessary.
- Interior: Air out the camper thoroughly, and wipe down all surfaces with a damp cloth. Don’t forget those hard-to-reach nooks and crannies where dust bunnies like to hide!
2. Waterworks: Flushing Out the System
Remember all that antifreeze you used to winterize? Time to send it packing!
- Water Heater: Make sure the bypass valve is in the correct position (not bypassing), and then connect your water hose to the city water inlet.
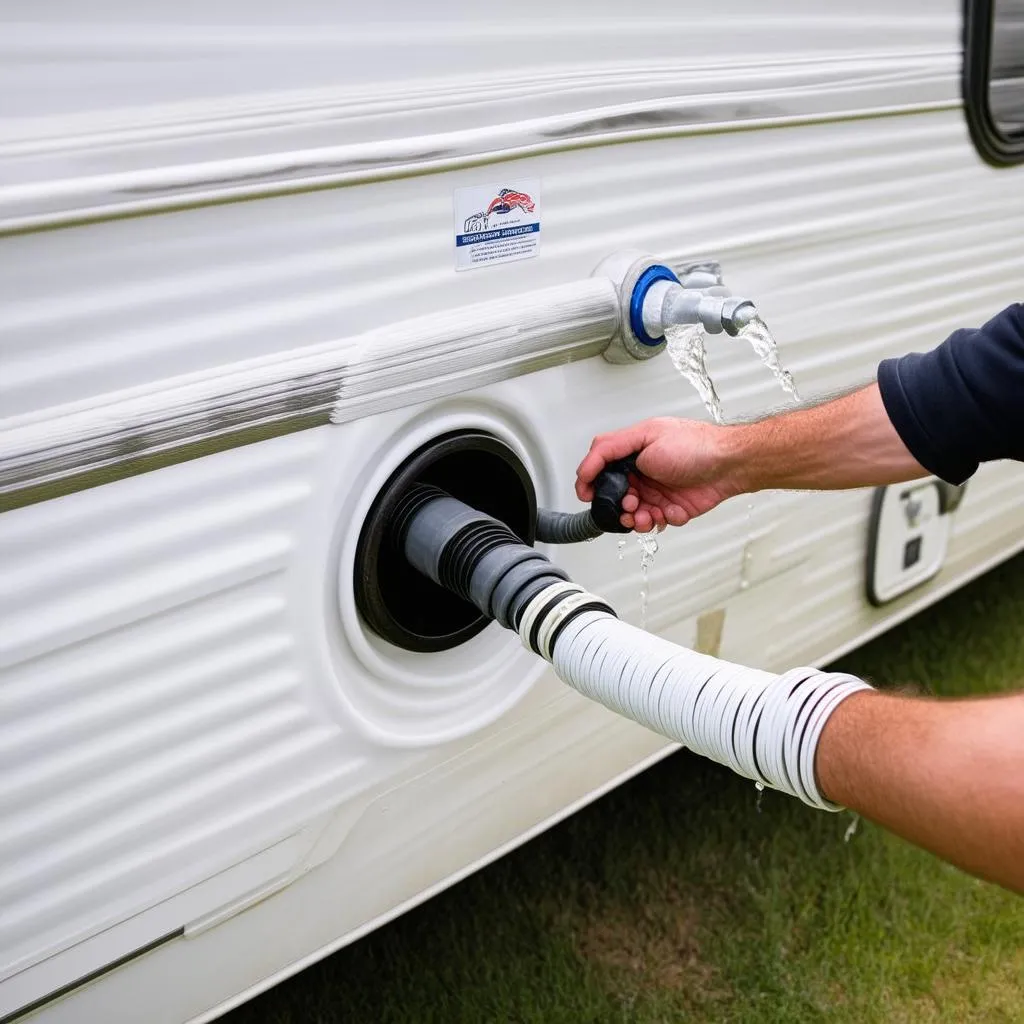
- Flushing: Open all faucets, including the shower and outside shower, and let the water run until it flows clear. Don’t forget to flush the toilet a few times too!
- Sanitizing (Optional): If you want to be extra cautious, you can sanitize the system by mixing a bleach solution (check your owner’s manual for the correct ratio) and running it through the lines just like you did with the fresh water. Afterward, flush the entire system again with fresh water until you no longer smell bleach.
3. Power Up: Checking for Juice
No one wants a dead battery in the middle of nowhere!
- Battery Check: Inspect your battery for any signs of corrosion or damage. Clean the terminals and ensure they are securely connected.
- Propane: Check your propane levels and fill the tank if necessary. Always exercise caution when handling propane and ensure all connections are secure.
4. Safety First: Essential Checks
Before you hit the gas, a few safety checks are crucial for peace of mind on the road.
- Smoke and Carbon Monoxide Detectors: Test both detectors to make sure they are functioning correctly. Replace batteries if needed.
- Fire Extinguisher: Check the expiration date and make sure it is easily accessible.
- Tires: Inspect your tires for any signs of wear and tear, such as cracks or bulges. Check the tire pressure, including the spare tire, and inflate to the recommended PSI.
- Lights: Have a friend help you test all exterior lights, including brake lights, turn signals, and headlights.
Planning Your First Trip: Embracing the Journey
With your travel trailer prepped and ready, it’s time for the fun part – planning your first adventure!
1. Destination Inspiration: Where Will Your Compass Point?
Are you drawn to the towering redwoods of California, the sparkling beaches of Florida, or the charming towns of New England?
- Consider: Your budget, travel time, and interests when selecting a destination.
- Pro-tip: Check out travelcar.edu.vn for destination inspiration and travel tips.
2. Packing List: Essentials for a Comfortable Trip
From camping gear to cozy blankets, a well-packed travel trailer is a happy one!
- Essentials: Don’t forget bedding, cooking supplies, toiletries, and first-aid kit.
- Pro-tip: Create a checklist to avoid forgetting any must-haves.
FAQs: De-Winterizing Your Travel Trailer
Q: How often should I de-winterize my travel trailer?
A: You should de-winterize your travel trailer once per year, ideally in the spring when the weather is consistently above freezing.
Q: Can I de-winterize my travel trailer myself, or should I hire a professional?
A: De-winterizing is a relatively straightforward process that many camper owners can handle themselves. However, if you are not comfortable with any of the steps, it’s always best to consult a professional.
Q: How much does it cost to de-winterize a travel trailer?
A: If you DIY, the cost is minimal, mainly covering the cost of cleaning supplies and any necessary replacements. If you hire a professional, expect to pay around $100-$200.
Embracing the Open Road: Adventure Awaits!
De-winterizing your travel trailer is the first step towards creating unforgettable memories on the open road. Remember to travel safely, respect the environment, and savor every moment of your adventure. Happy travels!
Do you have any tips for de-winterizing a travel trailer? Share your experiences in the comments below!
For more travel tips and inspiration, visit TRAVELCAR.edu.vn.
 De-winterizing Travel Trailer Exterior
 De-winterizing Travel Trailer Water System