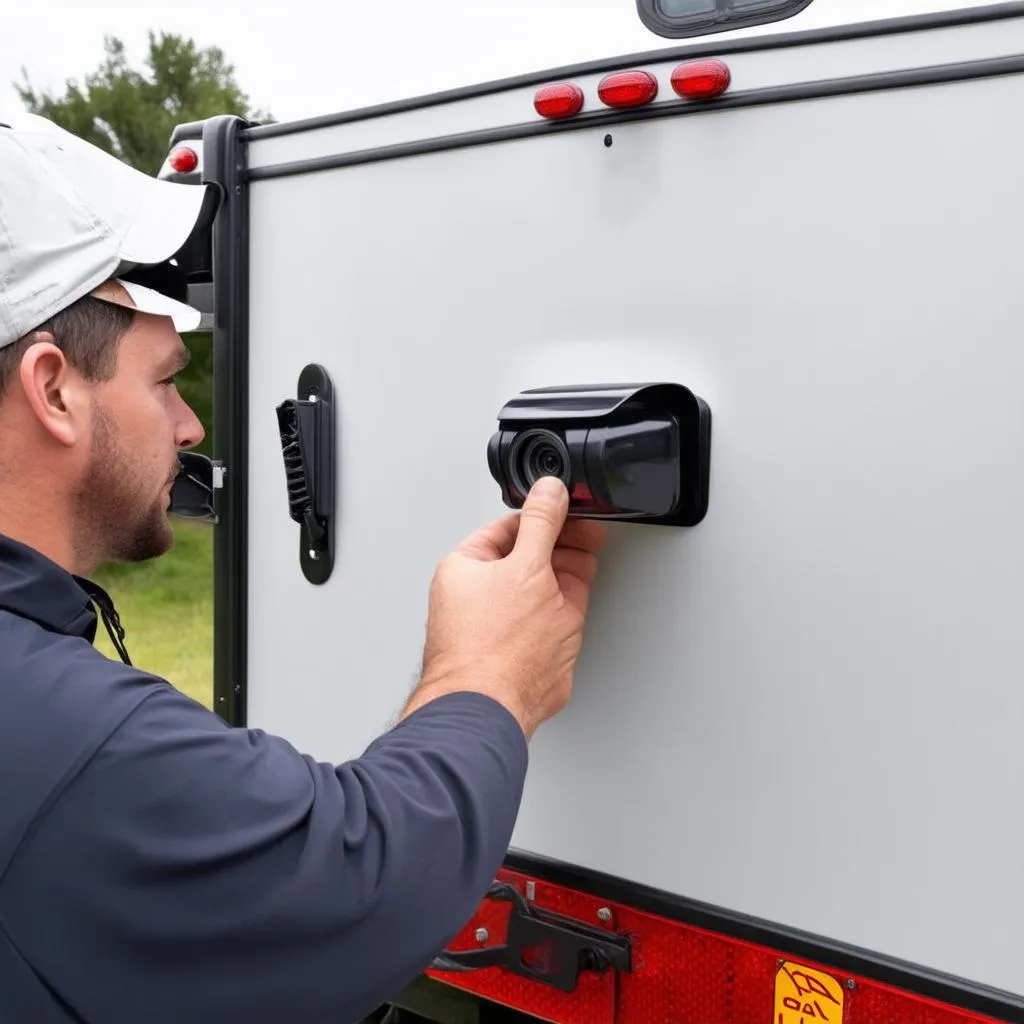
 Travel Trailer Backup Camera Installation
Why You Need a Backup Camera on Your Travel Trailer
Remember that time you were backing into a scenic spot at Yosemite National Park, only to hear an ominous crunch? A backup camera could have prevented that! Here’s why this upgrade is a game-changer:
- Enhanced Safety: Eliminates blind spots and helps you avoid collisions with obstacles, pets, and even people.
- Increased Confidence: Maneuver in tight spaces and back up with ease, even in unfamiliar surroundings.
- Reduced Stress: Say goodbye to frantic hand signals and neck-craning, and hello to a more relaxed driving experience.
Choosing the Right Wired Backup Camera System
Before you start running wires, let’s find the perfect wired backup camera system for your travel trailer. Consider these factors:
- Camera Type:
- Flush Mount: Offers a sleek, integrated look.
- Surface Mount: Easier to install and provides more flexibility in positioning.
- Image Quality: Look for cameras with high resolution and a wide viewing angle for optimal clarity.
- Night Vision: Essential for safe maneuvering in low-light conditions.
- Monitor Compatibility: Ensure the camera and monitor are compatible with your travel trailer’s electrical system.
Installation: A Step-by-Step Guide
Ready to roll up your sleeves? Let’s get this camera installed!
Tools You’ll Need:
- Drill with various bits
- Screwdrivers (Phillips and flathead)
- Wire strippers and crimpers
- Electrical tape
- Zip ties
- Fish tape or wire coat hanger
Steps:
- Mount the Camera: Choose a central location on the rear of your travel trailer for optimal visibility.
- Run the Wires: This is often the trickiest part. Route the camera’s power and video cables through your trailer’s frame or interior compartments to the dashboard. Use fish tape or a wire coat hanger to guide the cables through tight spaces.
- Connect to the Monitor: Depending on your chosen system, you’ll either connect the camera directly to a dedicated monitor or integrate it with your existing dashboard display.
- Test the System: Before hitting the road, double-check all connections and ensure the camera provides a clear picture.
Cost Considerations
The price of wired backup camera systems varies depending on features and brand. Expect to spend between $100 and $500 for a quality system.
Tips for a Smooth Installation
- Consult Your Trailer’s Manual: Refer to your travel trailer’s wiring diagram for guidance on routing cables.
- Consider Professional Installation: If you’re not comfortable with electrical work, consider hiring a professional installer.
- Test Along the Way: As you run wires, periodically test the connections to ensure everything is working correctly.
FAQs
Q: Can I install a wired backup camera myself?
A: Absolutely! With a bit of patience and the right tools, most DIY enthusiasts can handle this project.
Q: How do I power the backup camera?
A: You can typically connect the camera to your trailer’s reverse lights, so it activates automatically when you shift into reverse.
Q: What is the best viewing angle for a backup camera?
A: A wide viewing angle of 120 degrees or more is ideal for comprehensive coverage.
Beyond the Backup Camera: Enhancing Your Travel Experience with Travelcar.edu.vn
Speaking of smooth journeys, did you know that TRAVELCAR.edu.vn offers a wealth of resources to enhance your travel adventures? From destination guides to travel tips, we’re your one-stop shop for all things travel.
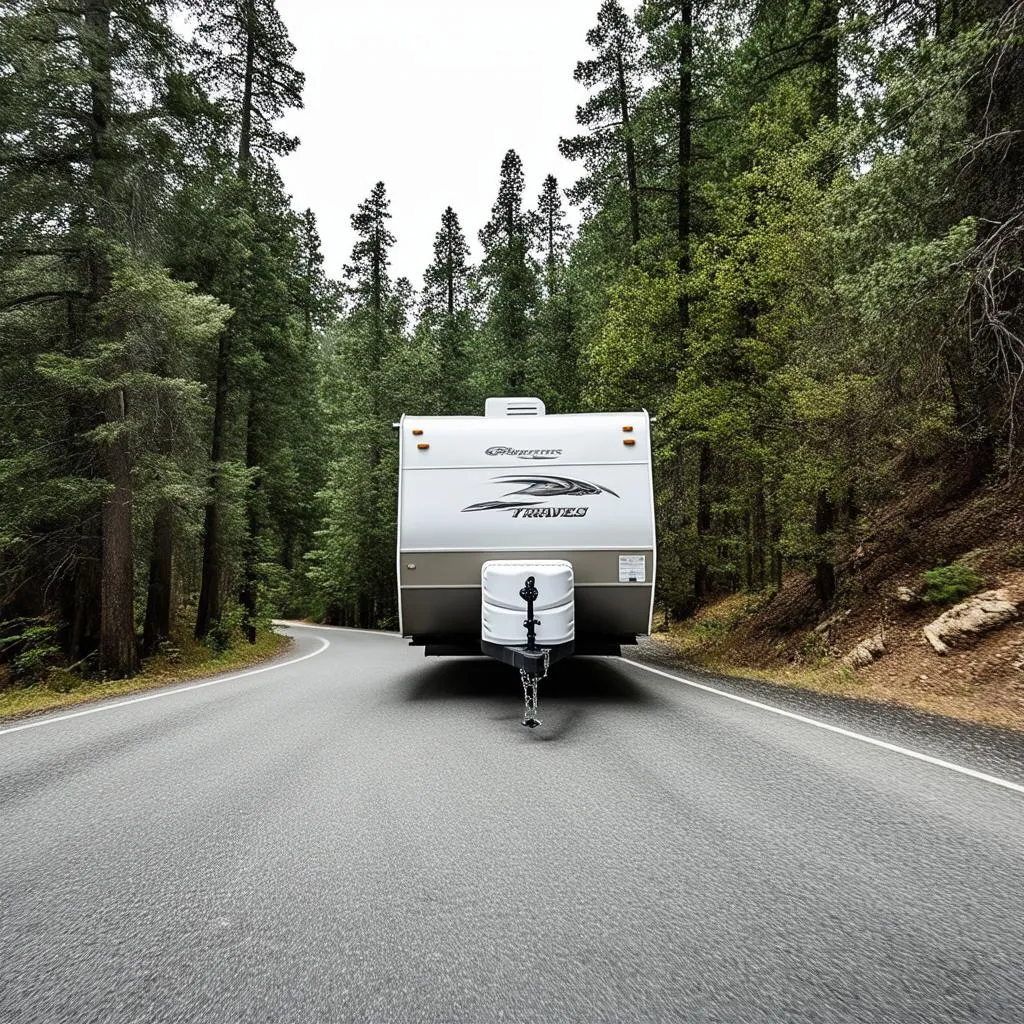 Travel Trailer on the Road
Conclusion
Installing a wired backup camera on your travel trailer is a wise investment in safety and peace of mind. With this comprehensive guide, you’re well-equipped to tackle the installation process and enjoy a smoother, more confident driving experience on all your future adventures. Happy travels!
Don’t forget to share your installation tips and travel stories in the comments below. We’d love to hear from you! And for more travel inspiration and resources, be sure to explore the rest of our website.