Remember that time you pulled into your campsite at Yosemite National Park, eager to soak in the majestic views of El Capitan and Half Dome, only to find your travel trailer tilting awkwardly? Leveling a travel trailer can seem like a daunting task, especially for beginners. But with a bit of practice and the right knowledge, you can turn this chore into a breeze. Let’s dive in and make sure your next camping adventure starts on stable ground.
Understanding the Importance of a Level Trailer
Before we jump into the “how-to,” it’s crucial to understand why leveling your travel trailer is so important.
- Appliance functionality: Many RV appliances, especially refrigerators and propane-powered systems, rely on gravity to function correctly. An unlevel trailer can hinder their performance or even cause damage.
- Comfort and stability: Let’s face it, walking around a slanted trailer is no fun. A level trailer ensures a comfortable living space and a good night’s sleep.
- Structural integrity: Prolonged parking on an uneven surface can put unnecessary stress on your trailer’s frame, potentially leading to costly repairs down the line.
Tools You’ll Need for Leveling
Like any good craftsman, you need the right tools for the job. Here’s what you’ll need to level your travel trailer:
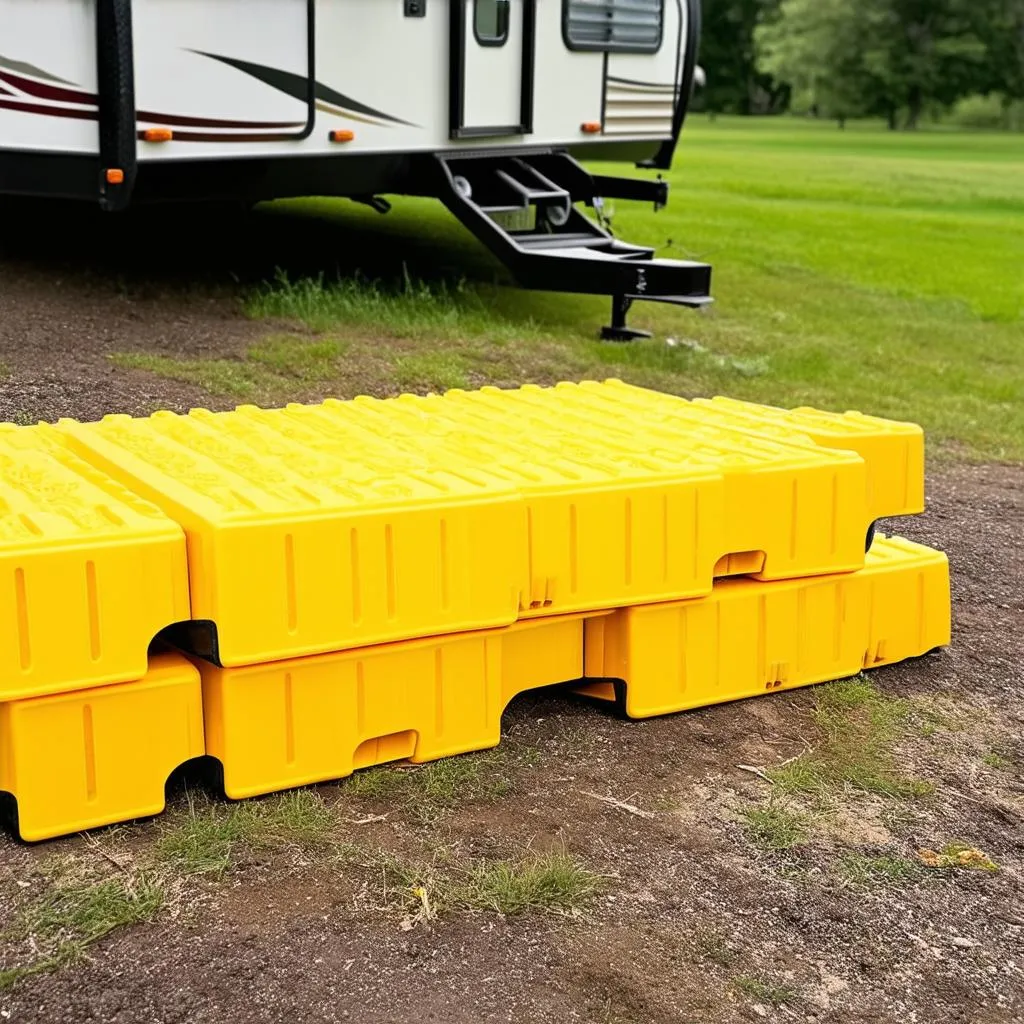
- Leveling blocks: These sturdy blocks are placed under the trailer’s wheels to raise it to the desired height.
- Bubble level: A standard bubble level or a specialized RV level will help you determine when your trailer is level.
- Wheel chocks: Essential for securing your trailer and preventing it from rolling while you’re leveling.
- Measuring tape: Useful for determining the height difference between the trailer’s sides.
Step-by-Step Guide to Leveling Your Travel Trailer
Now that you’re prepped with the knowledge and tools, let’s get to leveling:
1. Choose a Level Spot:
Finding a relatively level campsite will make your life much easier. While you can compensate for some unevenness with leveling blocks, starting with a flat surface is ideal.
2. Chock Your Wheels:
Once you’ve parked your trailer, place wheel chocks behind the wheels on the downhill side to prevent any unwanted movement.
3. Determine the Level Direction:
Using a bubble level placed on the trailer’s floor, determine which direction needs adjustment. You’ll want to check both the side-to-side (left to right) and front-to-back level.
4. Position Your Leveling Blocks:
Based on the direction you need to adjust, place your leveling blocks in front of the wheels that need raising. Drive your trailer slowly onto the blocks until you reach the desired height.
5. Check and Adjust:
After driving onto the blocks, use your bubble level to re-check the level in both directions. Make adjustments as needed by adding or removing leveling blocks.
6. Secure and Stabilize:
Once you’re happy with the level, engage your trailer’s parking brake and consider using stabilizing jacks to minimize any rocking or swaying.
 Leveling Blocks
Common Mistakes to Avoid
Even experienced RVers can fall prey to these common leveling mistakes:
- Not using enough leveling blocks: Don’t be afraid to stack blocks to achieve the necessary height.
- Leveling on soft ground: Wet or soft ground can shift under the weight of your trailer, compromising its stability.
- Forgetting to chock the wheels: This seems obvious, but it’s a common oversight that can lead to accidents.
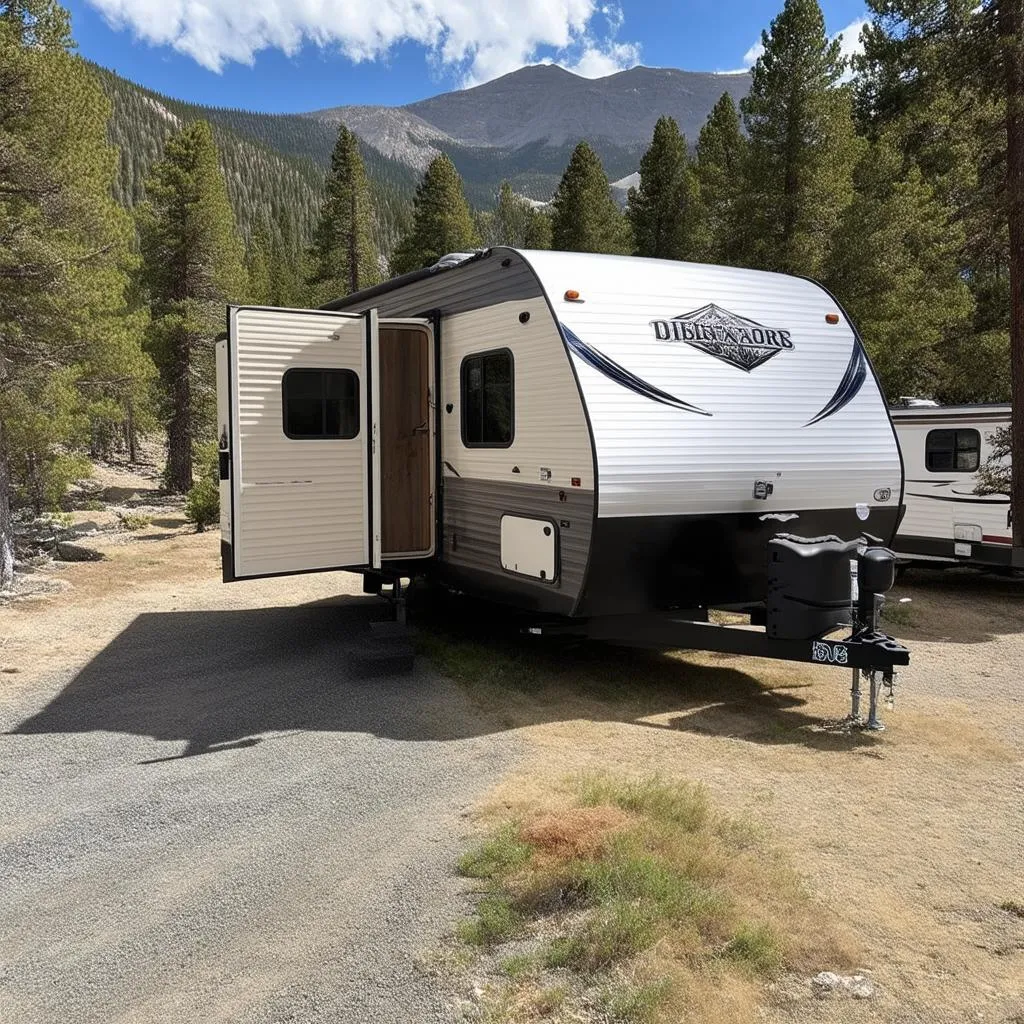
 Level Travel Trailer
Tips from the Pros
- Invest in a tongue jack: A tongue jack can make hitching and unhitching your trailer, as well as front-to-back leveling, significantly easier.
- Use a level app: Several smartphone apps can help you determine the level of your trailer with greater accuracy.
- Consider leveling systems: For frequent RVers, automatic leveling systems can be a worthwhile investment, taking the guesswork out of the process.
Feng Shui and Your Travel Trailer
Believe it or not, the principles of Feng Shui can even be applied to your travel trailer to enhance positive energy and create a harmonious space. Ensure good flow of energy by keeping the interior clutter-free and incorporating elements of nature, like plants or natural light.
Have Questions? We Have Answers!
Q: Can I use pieces of wood instead of leveling blocks?
While wood scraps might seem like a quick fix, they are not as stable or durable as purpose-built leveling blocks and can crack under pressure.
Q: How often should I check my trailer’s level?
It’s a good practice to re-check your trailer’s level periodically, especially after driving or if you notice any rocking or swaying.
Travel Trailer Leveling: Your Key to a Smooth and Enjoyable Trip
Mastering the art of leveling your travel trailer might seem trivial, but it’s a crucial skill that will contribute significantly to your comfort and safety on the road. Remember these tips and enjoy the peace of mind that comes with a perfectly level setup. For more helpful tips and tricks for your next RV adventure, be sure to visit our other articles on TRAVELCAR.edu.vn, like this one on how to winterize your travel trailer: how to winterize a travel trailer with antifreeze. Happy camping!

