Picture this: It’s a crisp autumn evening, the leaves are turning vibrant shades of red and gold, and you’re reminiscing about your unforgettable summer road trip along the iconic Route 66. But as the air turns colder, you realize it’s time to prepare your trusty travel trailer for winter’s icy grip. One crucial step? Winterizing your travel trailer with antifreeze. This guide will provide a comprehensive, step-by-step approach to help you protect your investment and ensure it’s ready for your next grand adventure.
Why is Winterizing Your Travel Trailer Important?
Before we dive into the how-to, let’s discuss the why. Winterizing your travel trailer isn’t just about keeping it clean and tidy; it’s about preventing costly damage. When water freezes, it expands. If this happens inside your trailer’s plumbing system, it can lead to burst pipes, cracked fixtures, and a hefty repair bill come springtime. Antifreeze acts as a safeguard, lowering the freezing point of water and protecting your trailer’s vital components.
Gathering Your Supplies: What You’ll Need
Just like any good road trip requires careful packing, winterizing your travel trailer involves gathering the right supplies. Here’s a checklist to get you started:
- Non-toxic RV/Marine Antifreeze: Remember, this isn’t the same antifreeze used in your car!
- Water Pump Converter Kit (optional but recommended): Simplifies the winterizing process.
- Blowing Hand Pump: For clearing out water lines.
- Bypass Caps or Plugs: For isolating the water heater.
- Tools: Screwdriver, wrench, pliers.
- Container for Catching Water: A bucket or basin.
- Gloves and Eye Protection: Safety first!
Step-by-Step Guide to Winterizing Your Travel Trailer with Antifreeze
Now, let’s get down to business. Here’s a detailed guide to winterizing your travel trailer with antifreeze:
1. Drain and Flush the System
- Emptying Fresh Water Tanks: Locate and open all freshwater tank drains, including low-point drains, and allow them to empty completely.
- Flushing the Lines: Close the drains and partially refill the freshwater tank with clean water. Open each faucet, both hot and cold, until the water runs clear. Don’t forget outside showers and toilet valves!
2. Bypass the Water Heater
Your water heater is a prime candidate for freeze damage. Bypass it by closing its inlet and outlet valves and relieving pressure by opening the pressure relief valve.
Important Note: Consult your water heater’s manual for specific bypassing instructions as they can vary between models.
3. Introduce the Antifreeze
Method 1: Using a Water Pump Converter Kit
- Install the kit according to the manufacturer’s instructions.
- Place the kit’s intake hose into your container of RV antifreeze.
- Open a faucet closest to the water pump and turn on the pump.
- Run the pump until antifreeze flows from the faucet, then repeat for all other faucets and fixtures, including the toilet and outside shower.
Method 2: Without a Converter Kit
- Close all faucets.
- Locate the water pump and remove the inlet hose.
- Insert the hose into your container of RV antifreeze.
- Turn on the pump and run it until the container is nearly empty.
- Open each faucet, one at a time, until you see pink antifreeze flowing. Repeat for all faucets and fixtures.
4. Don’t Forget the Drains!
Pour a small amount of antifreeze down each drain, including the shower and sinks, to protect the P-traps.
5. Final Touches
- Turn off the water pump.
- Open the pressure relief valve on the water heater again to relieve any pressure from the antifreeze.
- Close all faucets and drain valves securely.
- Consider using a product like “DampRid” inside your trailer to absorb moisture and prevent mildew.
Extra Tips for Peace of Mind
- Check for Leaks: After introducing the antifreeze, inspect all connections and hoses for any signs of leaks.
- Label Everything Clearly: Label all bypassed lines and valves clearly so you remember what to do when it’s time to de-winterize.
- Store Properly: Park your travel trailer on a level surface and consider using tire covers to protect them from UV damage.
Common Questions about Winterizing with Antifreeze
How Much Antifreeze Do I Need?
The amount of antifreeze required varies depending on the size of your travel trailer’s plumbing system. Generally, one to two gallons should be sufficient.
Can I Use Automotive Antifreeze?
No, absolutely not! Automotive antifreeze is highly toxic and dangerous if ingested. Use only non-toxic RV/Marine antifreeze, which is specifically designed for potable water systems.
Do I Need to Winterize If My Trailer is Stored Indoors?
While storing your trailer indoors provides some protection, it’s still best to winterize it. Even in a heated garage, temperatures can fluctuate enough to cause freezing.
Ready for Your Next Adventure
Winterizing your travel trailer with antifreeze might seem like a daunting task, but it’s a vital step in ensuring its longevity. By following these steps, you can rest assured knowing your home-on-wheels is safe and sound throughout the colder months, ready for your next unforgettable adventure when the sun starts to shine again.
For more information on travel trailer maintenance and travel tips, visit TRAVELCAR.edu.vn. Happy travels!
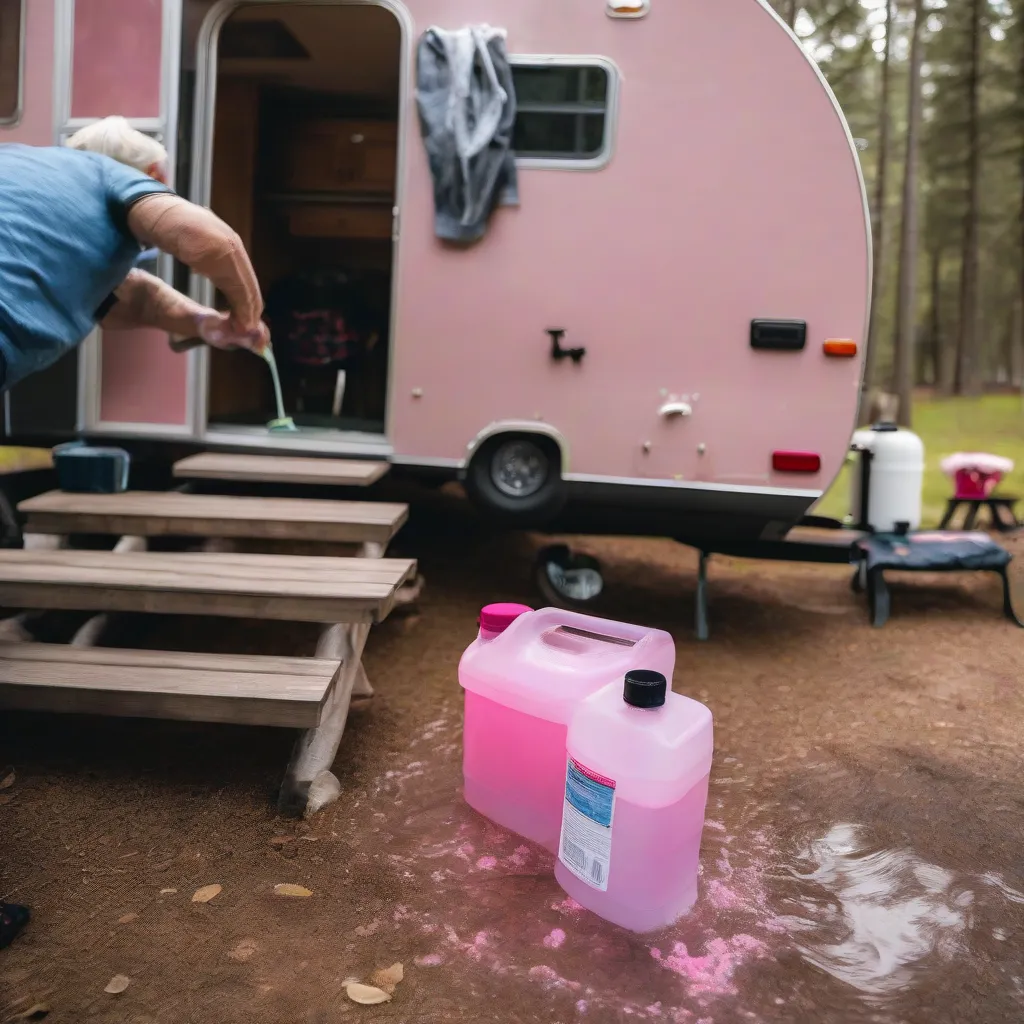 Winterizing a travel trailer with antifreeze
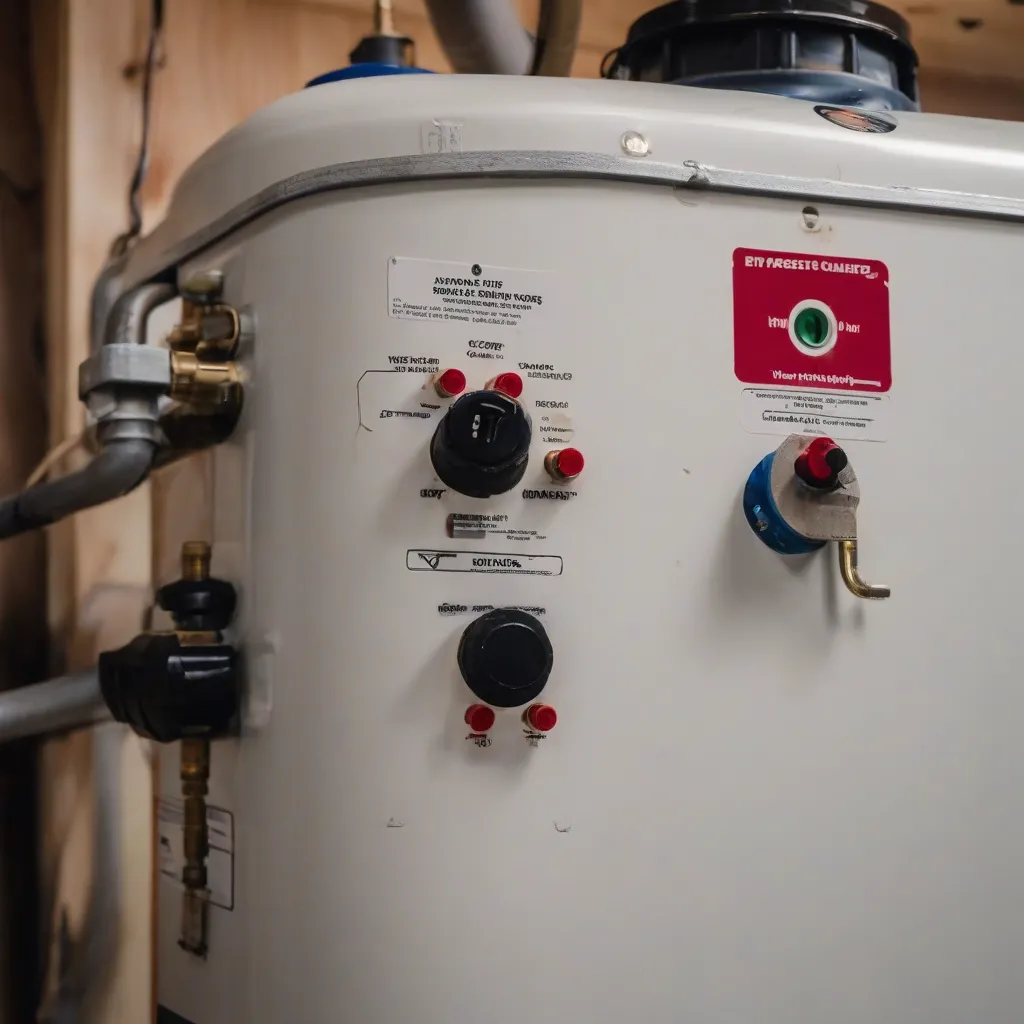 Bypassed water heater in a travel trailer