Imagine strolling through Hanoi’s Old Quarter, the aroma of street food enticing your senses, while your phone seamlessly connects to the free Wi-Fi at a charming cafe. This experience, my friend, is often powered by devices like the Aruba 105 Access Point. Now, setting up this little tech marvel might seem as daunting as navigating Hanoi’s bustling streets for the first time, but fear not! This guide will be your trusty “xe ôm,” smoothly guiding you through each step.
Understanding the Aruba 105 AP
The Aruba 105 AP is like the “pho” of the Wi-Fi world – reliable, efficient, and delivers a consistently satisfying experience. This compact device provides wireless network access for small businesses, cafes, and even your hip co-working spaces. Think of it as the unsung hero enabling you to share that drool-worthy “bun cha” picture on Instagram.
Why Choose the Aruba 105?
This little powerhouse packs a punch:
- Solid Performance: Delivers fast, reliable Wi-Fi for everyday tasks like browsing and video calls.
- Easy Setup: Don’t be intimidated! Even if you’re less tech-savvy than a Vietnamese grandmother using a smartphone for the first time, the setup is surprisingly straightforward.
- Budget-Friendly: Offers excellent value for its price, proving you don’t need to break the bank for a reliable Wi-Fi solution.
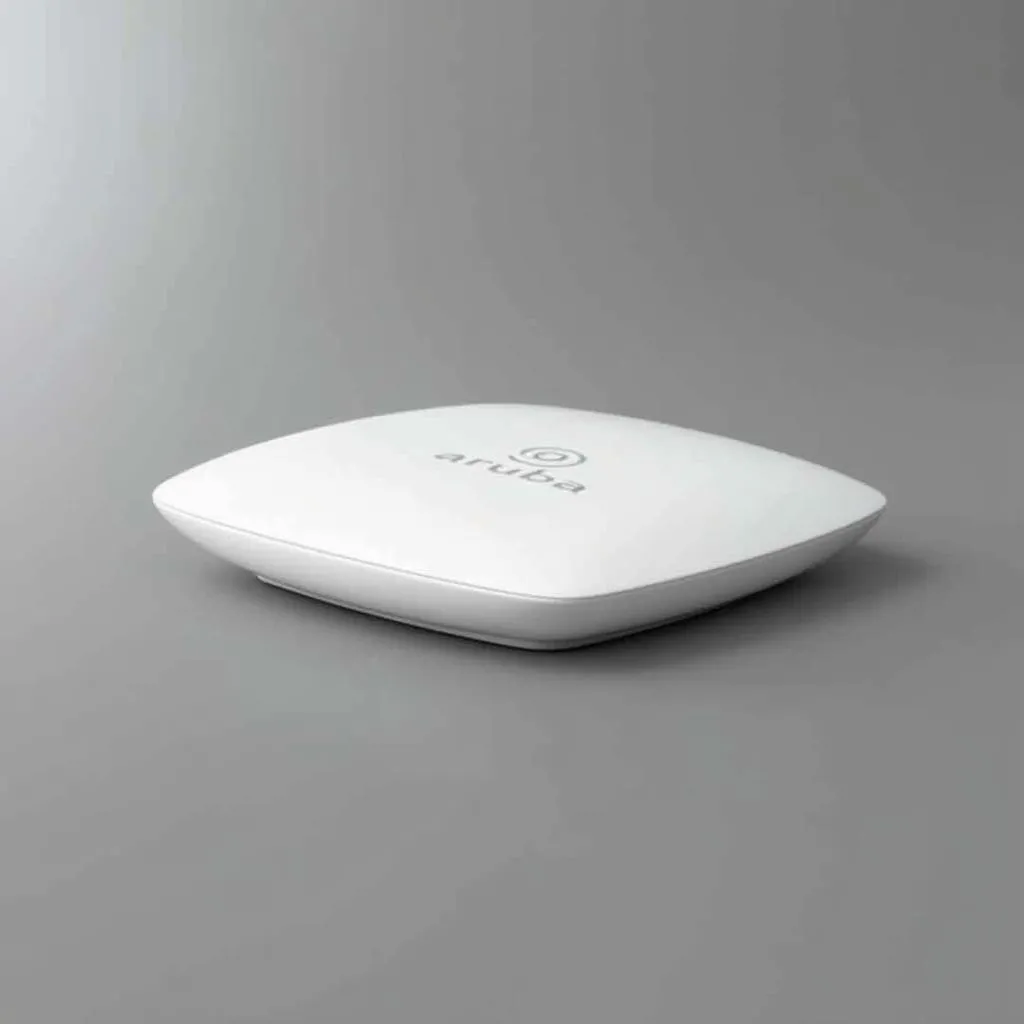 Aruba 105 access point
Getting Started with Your Aruba 105 AP Setup
Now, let’s fire up those laptops and get down to business!
What You’ll Need:
- An Aruba 105 AP: The star of our show!
- Power Adapter: No magic here, the AP needs its juice.
- Ethernet Cable: To connect the AP to your network.
- A Computer: To access the AP’s web interface.
- A Sprinkle of Patience: Rome wasn’t built in a day, and neither is a perfect Wi-Fi network.
Step-by-Step Setup:
- Power Up: Connect the AP to the power adapter and plug it in. The status LED should light up.
- Connect to Your Network: Using the Ethernet cable, connect the AP to your router or network switch.
- Access the Web Interface: On your computer, open a web browser and type in the AP’s default IP address. This information can be found in the user manual or on the AP itself.
- Initial Configuration: You’ll be greeted by a setup wizard. Follow the on-screen instructions to configure basic settings like your network name (SSID) and password.
- Secure Your Network: Choose a strong password for your Wi-Fi network – just like you wouldn’t want any unwanted guests barging into your hotel room, keep those digital intruders out!
- Mount the AP: Find a suitable location for your AP, preferably in a central location, away from obstructions.
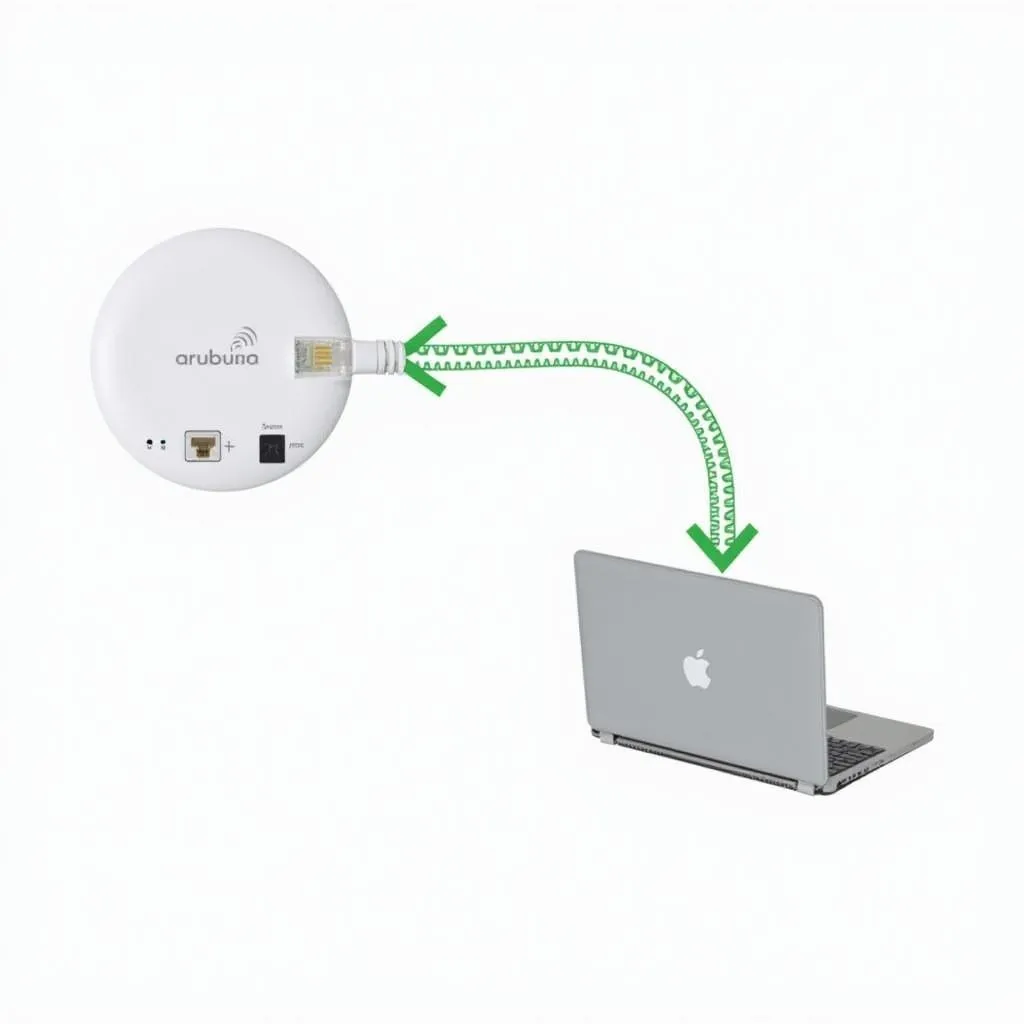 Connecting Aruba 105 AP to laptop
Troubleshooting Tips
Experiencing hiccups? Don’t worry, it happens to the best of us, even in a city as vibrant as Hanoi, sometimes you hit a traffic jam! Here are a few things to check:
- Check the Connections: Make sure all cables are securely plugged in.
- Verify Network Settings: Double-check the SSID and password on your device.
- Reboot: Sometimes a simple restart can work wonders.
- Consult the Manual: That little booklet that came with the AP? It’s actually quite useful.
Need a Helping Hand?
Setting up your Aruba 105 AP should be as smooth as a cyclo ride through Hanoi’s French Quarter. But if you find yourself needing a bit of assistance, remember TRAVELCAR is just a call away! We offer reliable and affordable transportation solutions in Hanoi, ensuring your journey is as enjoyable as the destination itself.
Contact us:
- Phone: 0372960696
- Email: [email protected]
- Address: 260 Cầu Giấy, Hà Nội
Just like the intricate network of streets in Hanoi, setting up your Aruba 105 is all about connecting the dots. With a little patience and this guide, you’ll have your network up and running, ready to stream, browse, and share your Hanoi adventures with the world!