So, you’re ready to dive into the world of Mitsubishi PLCs and you’ve heard GX Developer is the way to go. Smart move! This software is your key to unlocking a whole realm of automation possibilities. But before you start programming those robots, you’ll need to get GX Developer up and running on your system. Don’t worry, it’s not as intimidating as it sounds. Think of this guide as your trusty travel companion, here to navigate you through the entire process. Let’s get started, shall we?
Understanding the Basics: What is GX Developer?
Before we jump into the installation, let’s take a moment to appreciate the tool we’re about to equip ourselves with. GX Developer is like the Swiss Army knife of PLC programming software, specifically designed for Mitsubishi’s FX family of PLCs. Imagine it as the control panel for all your automation dreams, allowing you to write, debug, and monitor the programs that bring your industrial processes to life. Pretty cool, right?
Getting Started: What You’ll Need
Every seasoned traveler knows preparation is key, and installing GX Developer is no different. Here’s a checklist to ensure a smooth setup:
- A Compatible Computer: GX Developer plays nicely with Windows operating systems. Double-check your system specs just to be safe!
- The GX Developer Software: You’ll need the installation files. If you don’t have a CD, don’t sweat it! You can often find downloads online – just make sure it’s from a reputable source.
- Your Mitsubishi PLC: You’re going to need something to program, right? Having your PLC model information handy is always a good idea.
- A Programming Cable: This is your communication lifeline between your computer and the PLC. The specific type you need will depend on your PLC model, so make sure you’ve got the right one.
- A Dash of Patience: Good things take time, and installing software can sometimes be a touch finicky.
Step-by-Step Installation Guide
Alright, ready to roll up our sleeves? Let’s break down the installation process into easy-to-follow steps:
- Run the Setup File: Locate the GX Developer installation file on your computer and double-click it to get the ball rolling. You’ll likely see a setup wizard pop up, ready to guide you.
- Follow the Prompts: The setup wizard is like that friendly park ranger pointing you down the right path. It will ask for some information, like where you want to install the software and what components you want to include. In most cases, the default settings will do the trick.
- Connect Your Programming Cable: Remember that communication lifeline we talked about? Once the software is installed, it’s time to connect your computer to your PLC using the programming cable.
- Configure the Communication Settings: GX Developer needs to know how to talk to your PLC. This involves selecting the correct communication port and setting the baud rate, which is like deciding how fast your devices will chat with each other.
- Test the Connection: Before you get too deep into programming, it’s always wise to make sure everything is talking to each other properly. GX Developer usually has a handy “test connection” feature you can use for this.
Troubleshooting Tips: Navigating the Bumps
Even with the best-laid plans, sometimes things don’t go exactly as smoothly as we’d like. If you hit a snag during installation, don’t panic! Here are a few troubleshooting tips:
- Check Your Cable: Make sure your programming cable is securely connected at both ends and that you’re using the correct type for your PLC. It sounds obvious, but you’d be surprised how often this is the culprit!
- Verify Communication Settings: Double-check that you’ve selected the correct communication port and baud rate in GX Developer. These settings need to match up perfectly with your PLC’s configuration.
- Consult the Manual: Remember that trusty manual that came with your PLC or programming cable? It often contains a wealth of troubleshooting information specific to your hardware.
- Seek Online Support: You’re not alone in this journey! Online forums and communities can be invaluable resources for finding solutions to common installation issues.
Ready to Explore the World of Automation?
Congratulations! With GX Developer successfully installed, you’re now equipped to embark on your automation adventures. Whether you’re controlling robotic arms, optimizing manufacturing processes, or simply automating your home lighting system, the possibilities are vast. Remember, every expert programmer was once a beginner. Embrace the learning process, explore the software’s capabilities, and most importantly, have fun bringing your automation visions to life!
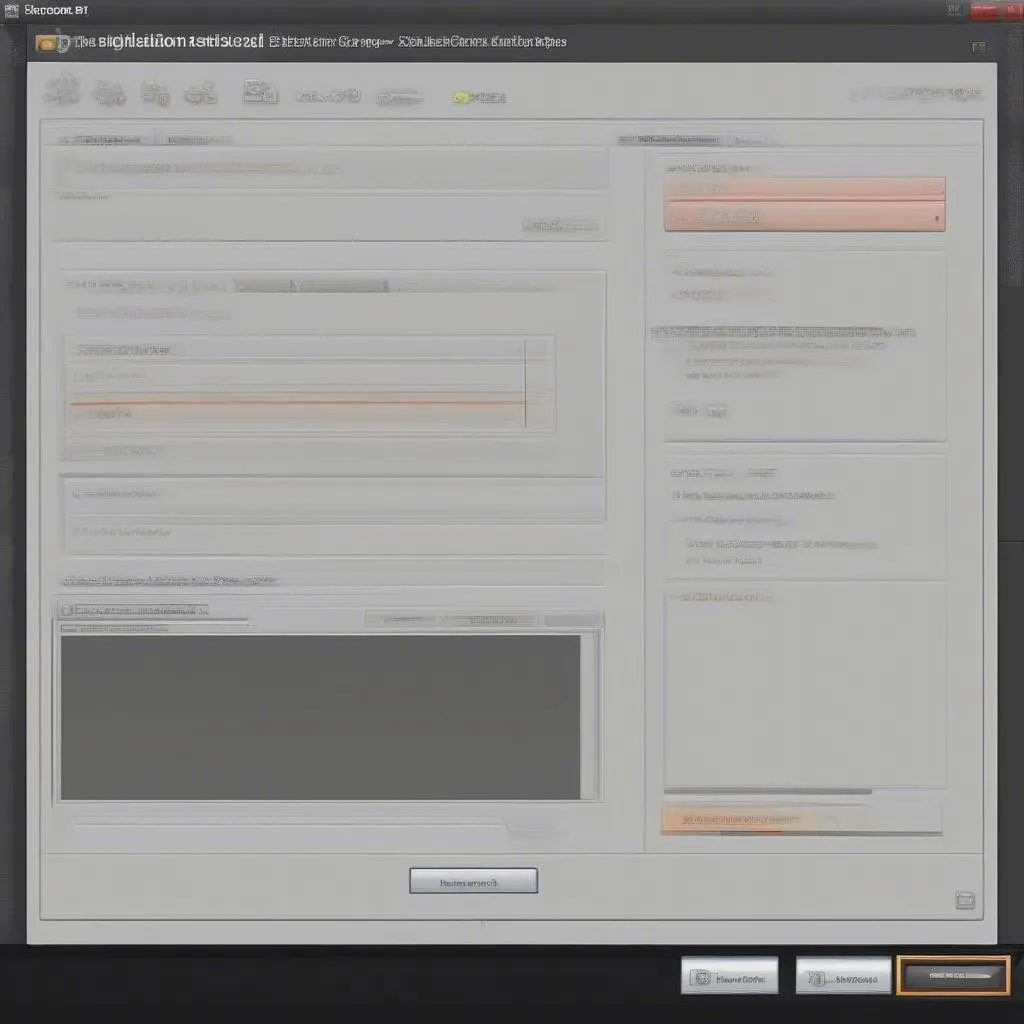 GX Developer Installation Screenshot
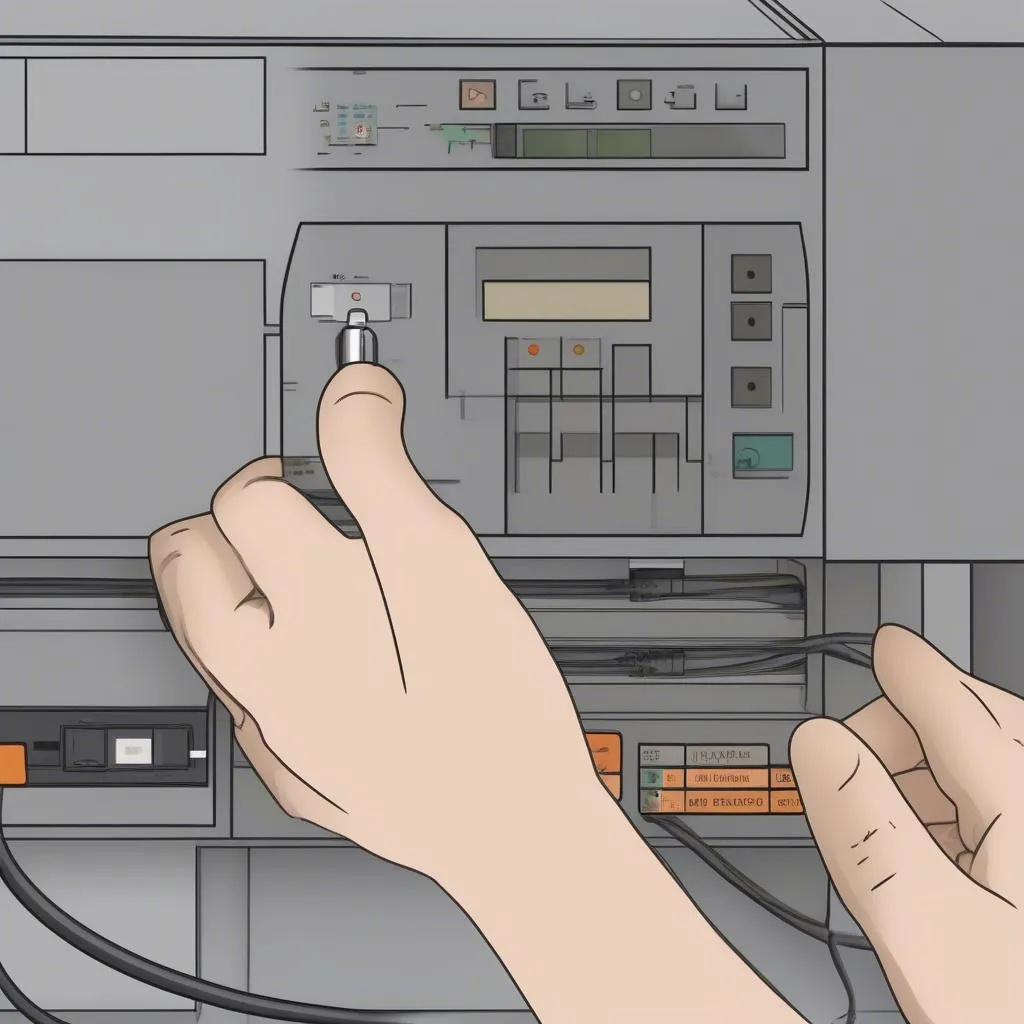 Connecting PLC Programming Cable
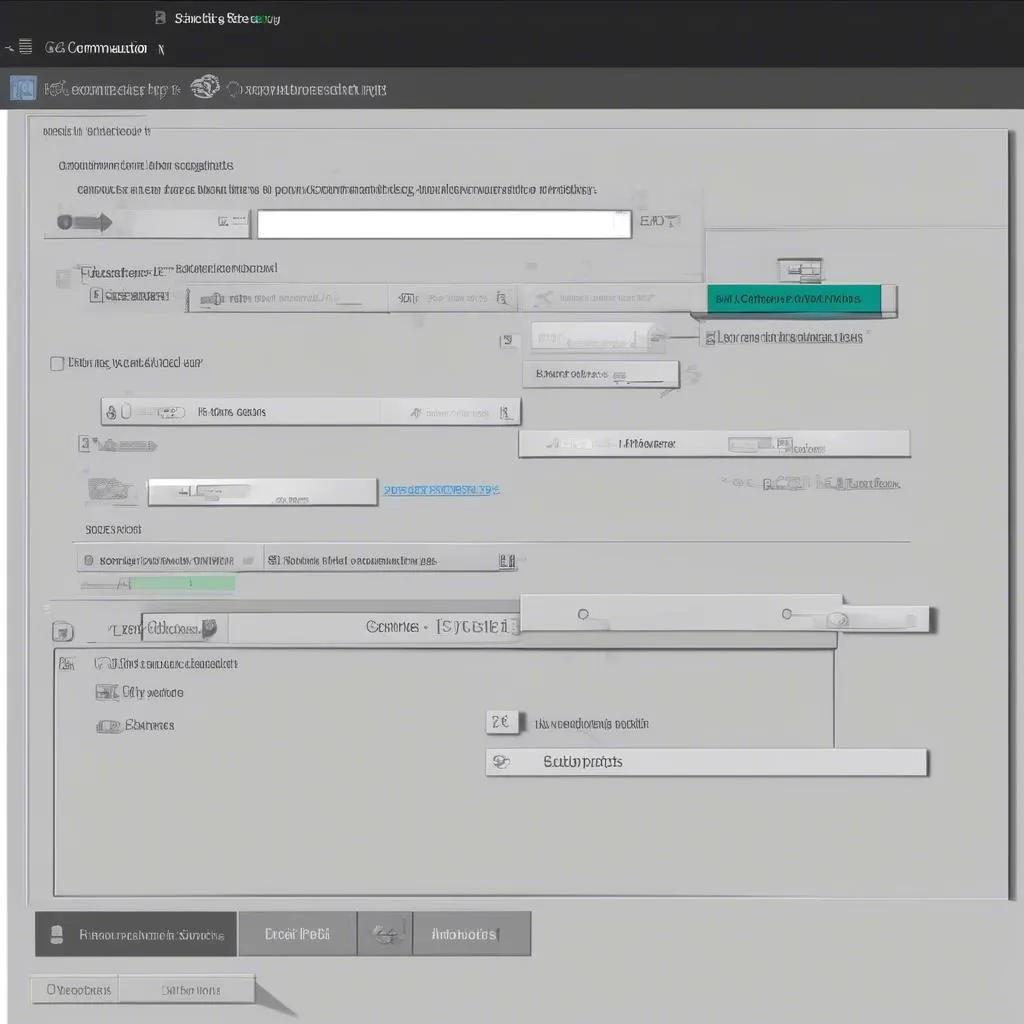 GX Developer Communication Settings