Ever felt that familiar itch? That burning desire to build something amazing, something…techy? Well, my friend, you’ve come to the right place. Today, we’re diving headfirst into the world of Raspberry Pi, that tiny computer that’s taken the tech world by storm.
Think of it like assembling a miniature robot, but instead of gears and bolts, we’re dealing with software, the heart and soul of our Pi. We’re talking about installing the operating system (OS), the very foundation that’ll let your Pi sing!
What OS Should You Choose for your Raspberry Pi?
Choosing an OS is a bit like picking the right spices for your pho – it depends on your taste! Want something user-friendly and familiar? Raspberry Pi OS (formerly Raspbian), with its Windows-like interface, might be your cup of tea. Feeling adventurous and want to explore the world of Linux? Ubuntu or Manjaro offer a more seasoned experience.
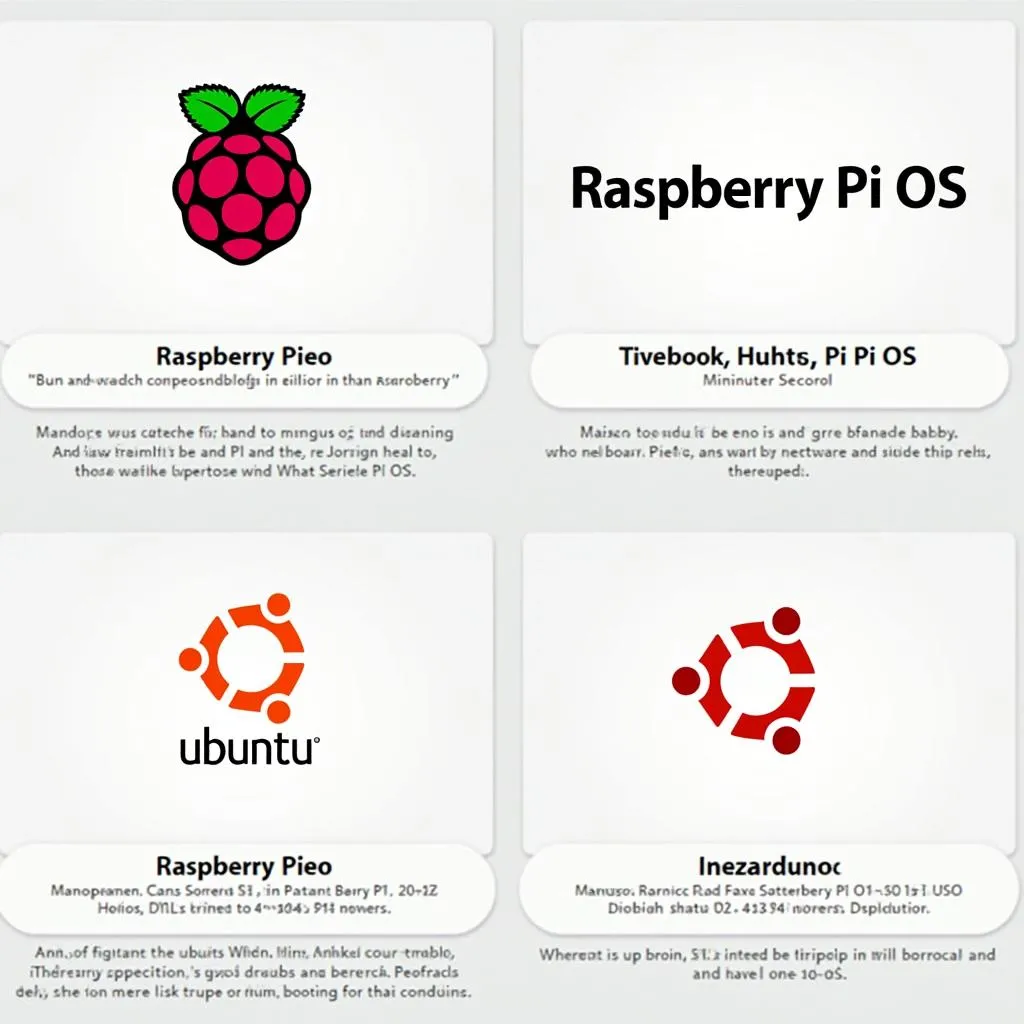 Raspberry Pi OS options
Here’s a pro-tip from Mr. Tran Van Minh, a software engineer in Hanoi and author of “Unlocking the Power of Pi”: “Consider your project goals. Need a media center? OSMC or LibreELEC are perfect. Web server? DietPi is your go-to.”
Easy-Peasy Installation Process:
Now, let’s get down to business! Here’s a step-by-step guide that even your tech-challenged cousin in District 1 could follow:
Gather Your Ingredients:
- A Raspberry Pi board (any model will do!).
- A microSD card (at least 8GB recommended).
- A computer with an SD card reader.
- An internet connection.
Download the OS Image: Head over to the official website of your chosen OS and download the latest version. It’ll be a .zip or .img file.
Flash the Image: Think of this as pouring the OS onto your microSD card. You’ll need a tool like BalenaEtcher (it’s free!). Select the downloaded image file, choose your SD card, and hit “Flash!”.
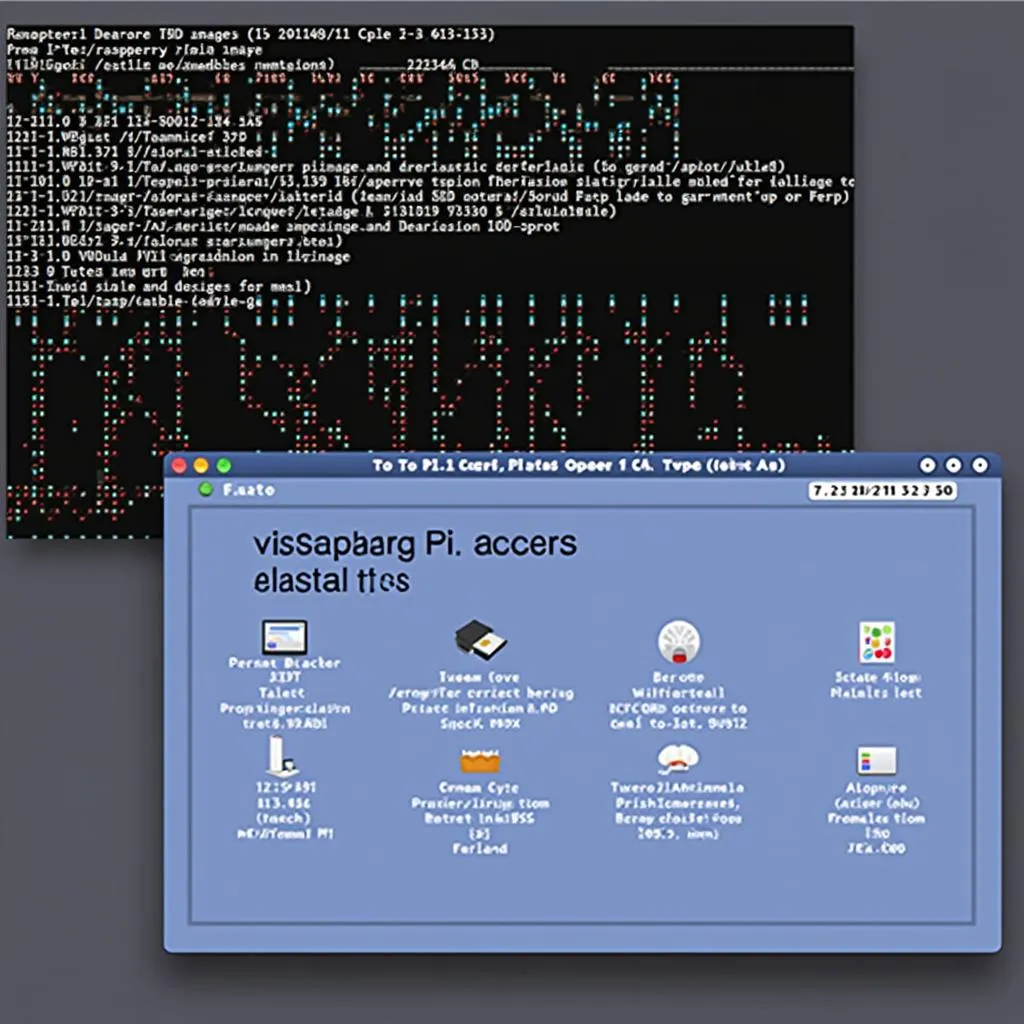 Flashing Raspberry Pi OS image using BalenaEtcher
Boot Up Your Pi: Carefully insert the microSD card into your Pi. Connect your peripherals – keyboard, mouse, and monitor. Finally, plug in the power adapter.
First-Time Setup: Your Pi will boot up, and you’ll be guided through some basic configuration steps, like setting up your Wi-Fi and creating a user account.
Troubleshooting Tips:
Having trouble? Don’t worry, even the best of us stumble sometimes. Here’s the thing: in Vietnam, we believe that a calm mind can conquer any challenge. So, take a deep breath and try these:
- Check your power supply: Make sure it’s the right one for your Pi model.
- Re-flash the SD card: Sometimes, the flashing process might not work perfectly. Try it again.
- Verify the image download: Ensure you downloaded the correct OS image for your Pi model.
- Ask the Community: The Raspberry Pi community is vast and incredibly helpful. Search online forums or join a local group in Hanoi – you’ll find someone who’s been there and done that.
Ready to Explore the World of Raspberry Pi?
There you have it – a beginner-friendly guide to installing a Raspberry Pi operating system! With your Pi up and running, the possibilities are endless. Build a retro gaming console, set up a home security system, or even create your own weather station.
Need a ride to get your Pi supplies in Hanoi? TRAVELCAR offers reliable and affordable car rental services, with options for 16-seater, 29-seater, and 45-seater vehicles. Contact us at 0372960696 or [email protected] for a smooth and enjoyable journey. Our office is located at 260 Cầu Giấy, Hà Nội.