Ever felt the frustration of wrestling with cables and USB drives just to scan a single document? We’ve all been there. “Why can’t I just scan this directly to my computer?” you might have wondered, staring longingly at your perfectly capable network printer. Well, fret no more! This guide will walk you through setting up network scanning on your Sharp printer, freeing you from the shackles of physical connections and ushering you into the glorious age of wireless convenience.
Understanding the Power of Network Scanning
Imagine this: you’re in a cozy cafe in Hanoi’s bustling Old Quarter, sipping on a strong cà phê sữa đá, and suddenly remember you need to send an important document to a colleague. With network scanning, you could simply scan the document on your Sharp printer at home and have it magically appear on your laptop, ready to email. That’s the power of network scanning!
Benefits of Network Scanning:
- Convenience: Scan documents directly to your computer, email, or cloud storage without the need for cables.
- Efficiency: Save time and effort by eliminating the extra steps of transferring files manually.
- Accessibility: Scan documents from any device connected to your network, be it your laptop, tablet, or smartphone.
- Centralization: Store and manage all your scanned documents in one central location.
Setting Up Your Sharp Printer for Network Scanning
Now that you’re convinced about the wonders of network scanning, let’s get down to the nitty-gritty of setting it up on your Sharp printer. Don’t worry, it’s easier than navigating the labyrinthine streets of Hanoi’s Old Quarter!
Step 1: Connecting Your Printer to the Network
The first step is ensuring your Sharp printer is a part of your network family. You can do this either through a wired Ethernet connection or wirelessly.
- Wired Connection: Connect your printer to your router using an Ethernet cable.
- Wireless Connection: Access your printer’s network settings through its control panel and connect to your Wi-Fi network.
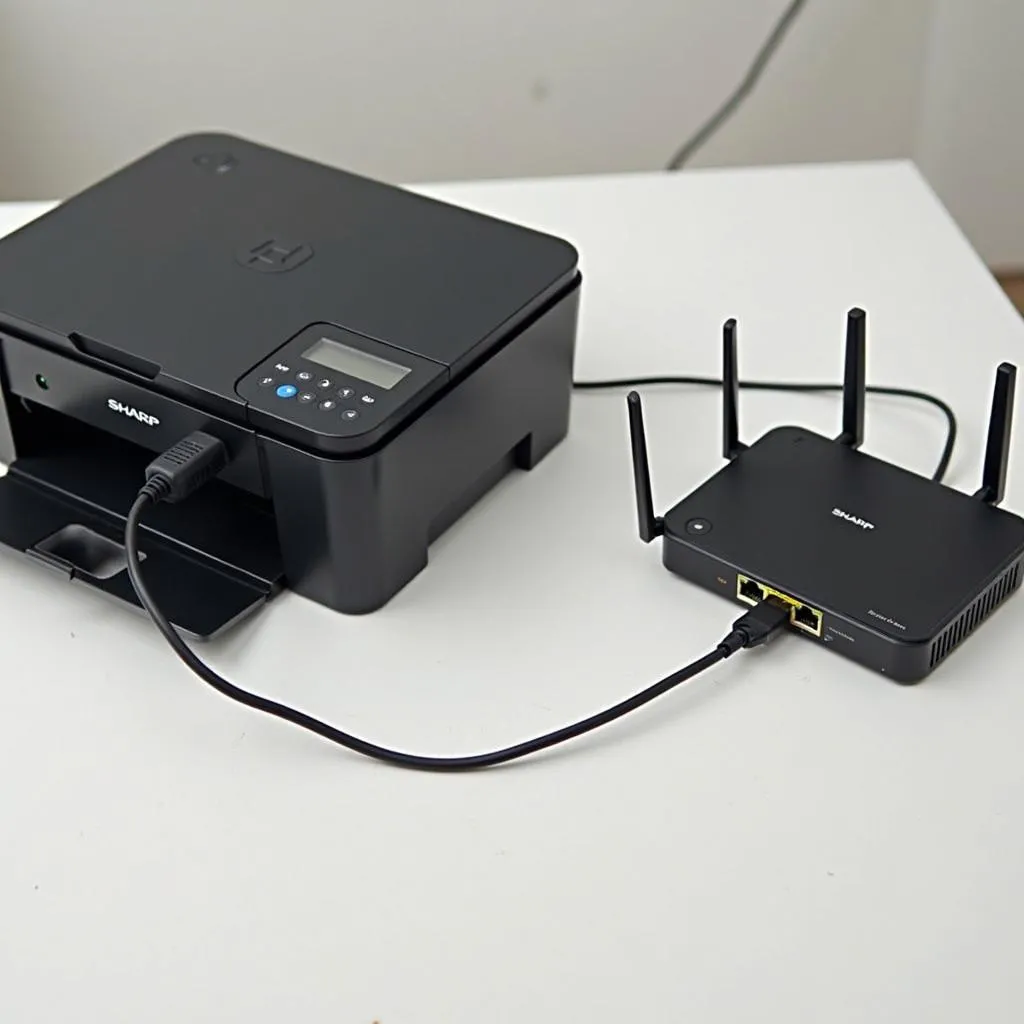 Sharp printer connecting to network via ethernet cable
Step 2: Installing the Necessary Software
Next, you’ll need to install the Sharp printer drivers and scanning software on your computer. You can typically find these on the Sharp website, neatly categorized by model number.
Step 3: Configuring Scan Settings
Once the software is installed, it’s time to tell your computer where to find your printer and how you’d like to scan.
- Open the Sharp printer software: This is often called a “Utility” or “Scanner” application.
- Add your printer: Select the option to add a new device and follow the on-screen instructions. Your computer should automatically detect the printer on your network.
- Configure scan settings: You can customize settings like scan resolution, file format (PDF, JPEG, etc.), and the destination folder for your scanned documents.
 Configuring Sharp printer settings on laptop
Step 4: Start Scanning!
Congratulations! You’ve successfully set up network scanning on your Sharp printer. Now you can scan documents directly to your computer from the comfort of your desk or even from across town. It’s like magic, but better because it’s technology!
Troubleshooting Tips
Having trouble getting your printer to connect or scan? Don’t despair! Here are a few troubleshooting tips that might help:
- Check your network connection: Make sure your printer and computer are both connected to the same network.
- Restart your devices: Sometimes a simple restart can resolve minor glitches.
- Consult the user manual: Your printer’s user manual is a treasure trove of information. Look for the section on network scanning for specific instructions and troubleshooting tips.
Embrace the Ease of Network Scanning
Setting up network scanning on your Sharp printer might seem like a daunting task, but with these easy-to-follow steps, you’ll be scanning like a pro in no time. If you ever find yourself needing a helping hand, our team at TRAVELCAR is always happy to assist. We’re not just experts in navigating the streets of Hanoi, we’re also pretty handy with tech!
Need help planning your next trip to Vietnam? We offer a range of transportation services, including car rentals, airport transfers, and private tours. Contact us at 0372960696, email us at [email protected], or visit our office at 260 Cầu Giấy, Hanoi.