Transforming a regular top into a trendy halter top is a simple way to refresh your wardrobe without breaking the bank. This guide provides a step-by-step approach to creating your own DIY halter top, covering everything from choosing the right fabric to the final touches.
Choosing the Right Fabric for Your Halter Top
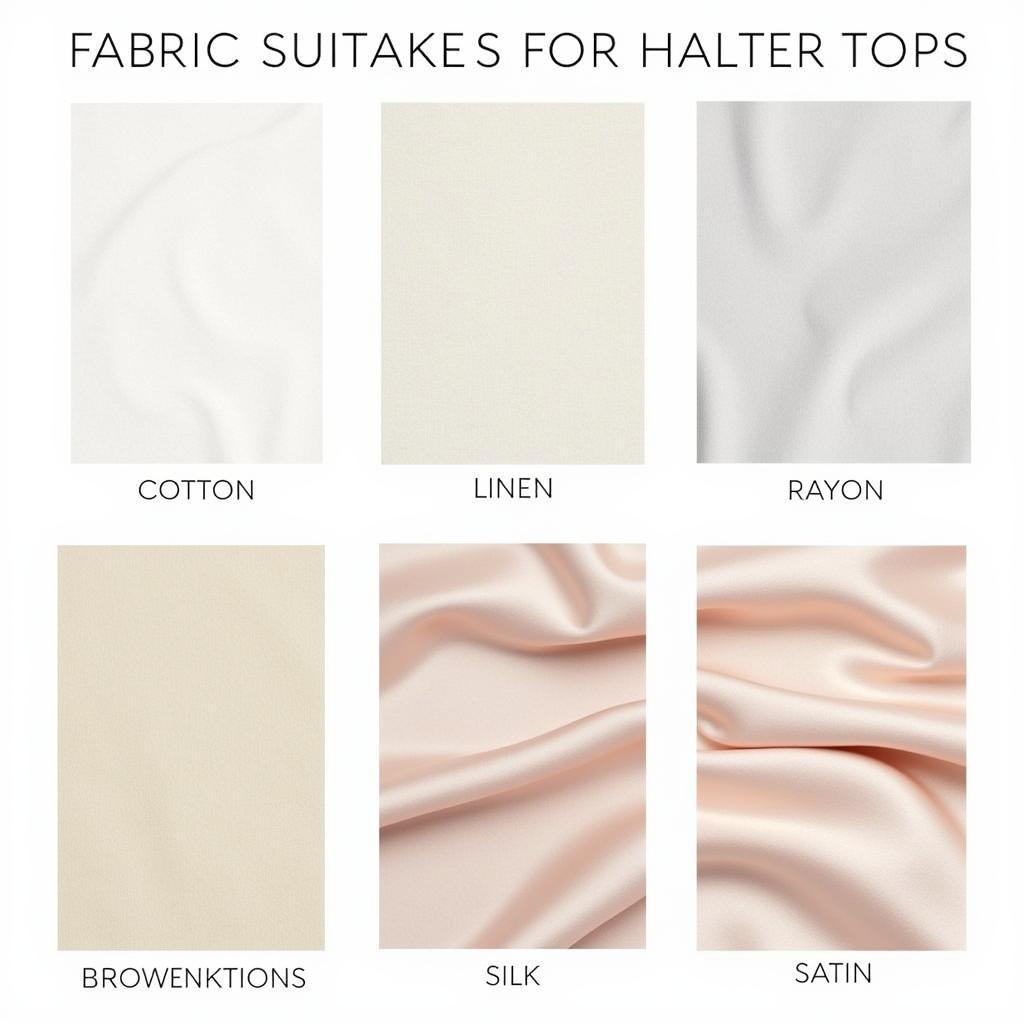
The fabric you choose will significantly impact the final look and feel of your halter top. Lightweight, breathable fabrics like cotton, linen, or rayon are ideal for summer halter tops. For a more elegant look, consider silk or satin. Avoid heavy fabrics like denim or wool, as these can be bulky and uncomfortable.
 Choosing the Right Fabric for a DIY Halter Top
Gathering Your Supplies
Before you start cutting and sewing, gather all the necessary supplies. You’ll need:
- A top you want to transform (t-shirts, tank tops, or even old dresses work well)
- Scissors
- Measuring tape
- Pins
- Sewing machine (optional, hand-sewing is also possible)
- Thread that matches your fabric
- Safety pins (for trying on and adjusting)
Step-by-Step Guide to Cutting a Halter Top
Here’s a detailed guide on how to cut your chosen top into a halter top:
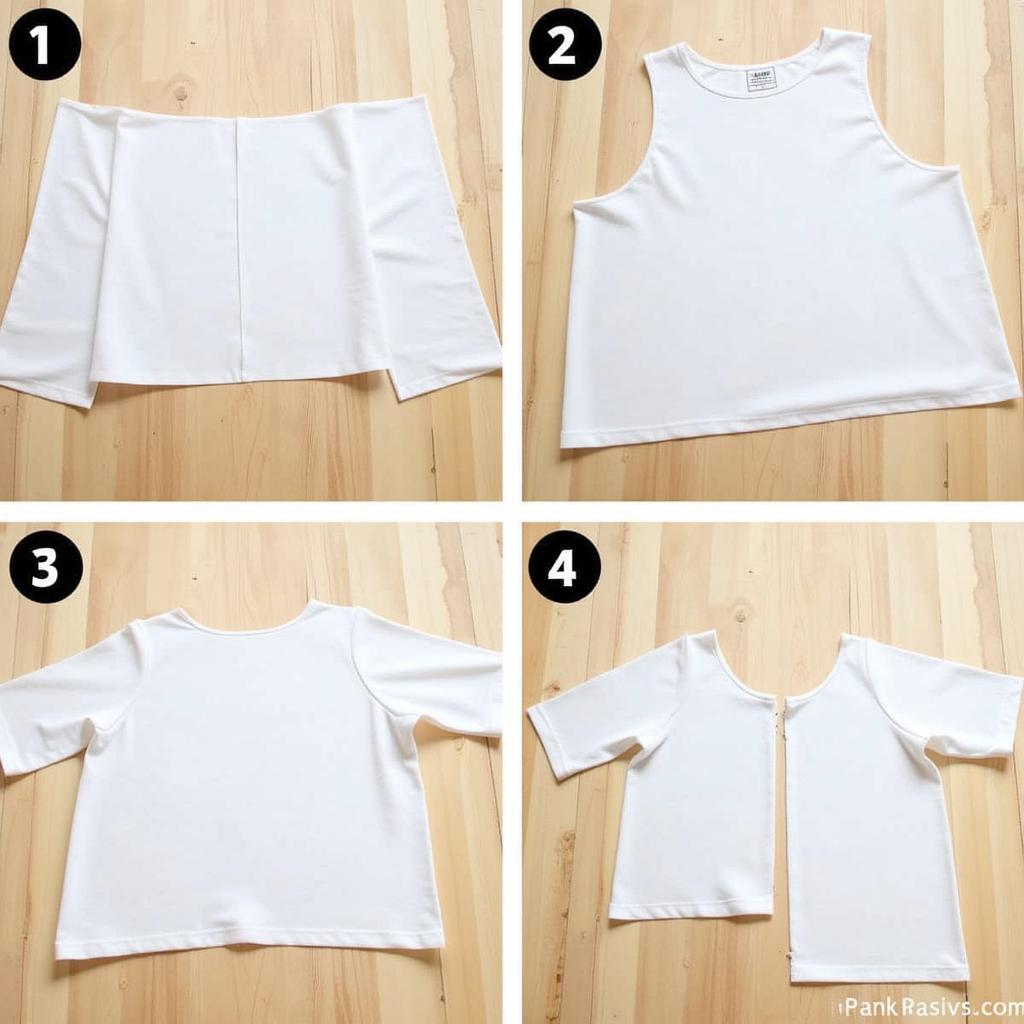
- Lay the Top Flat: Lay your chosen top flat on a clean surface. Smooth out any wrinkles.
- Mark the Center: Find the center of the neckline and mark it with a pin.
- Cut the Sleeves (if applicable): If your top has sleeves, carefully cut them off along the seam.
- Cut the Neckline: Starting from the bottom edge of the neckline, cut straight up towards the center point you marked. Repeat on the other side. The depth of this cut will determine how low the halter neckline will be. Be conservative at first, you can always cut more later.
- Shape the Neckline: Once you’ve cut the basic shape, try on the top with safety pins to secure the new neckline. Adjust the shape and depth as desired. You can create a straight, scooped, or sweetheart neckline.
 Step-by-Step Cutting Process for DIY Halter Top
Finishing Touches for Your DIY Halter Top
Once you’re happy with the shape of your halter top, it’s time for the finishing touches.
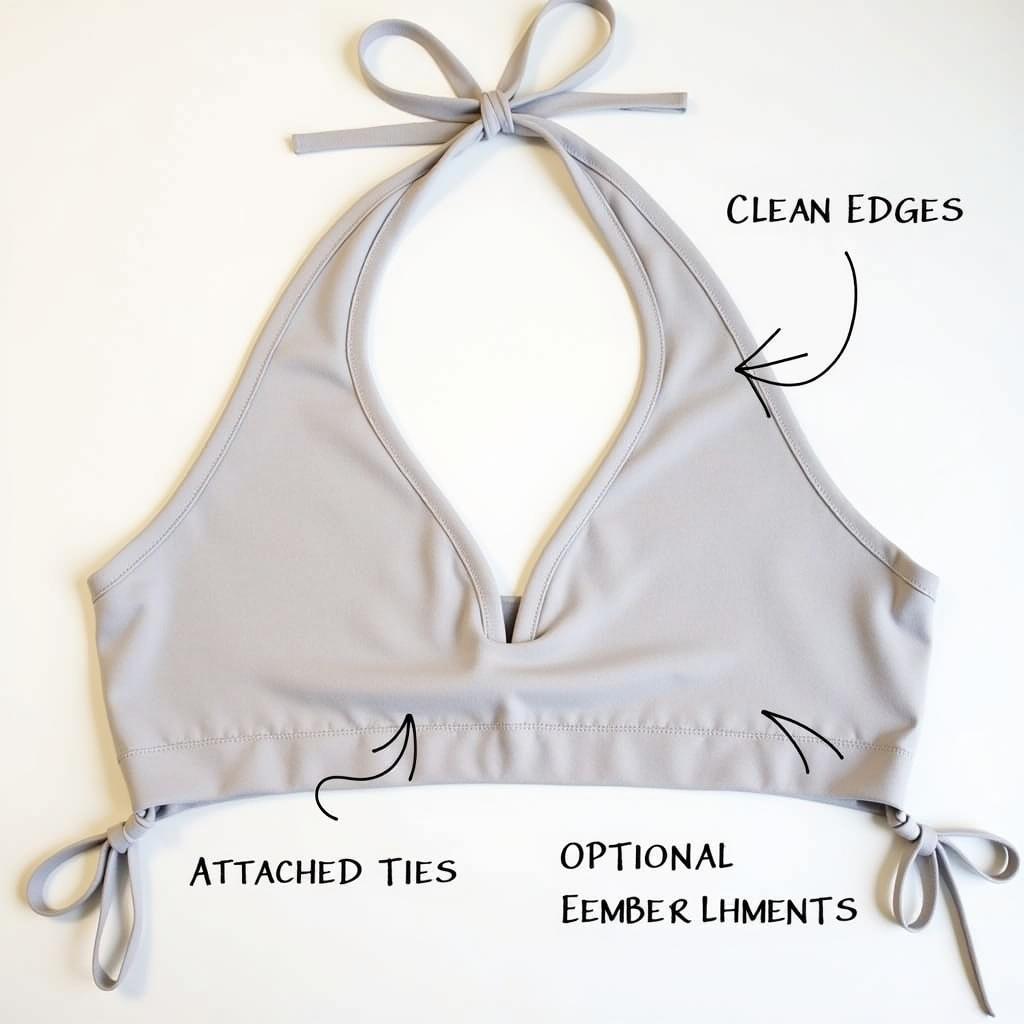
- Sew the Edges: If you have a sewing machine, use it to sew a clean hem along the raw edges of the neckline and armholes (if you removed sleeves). This will prevent fraying and give your halter top a professional look. If you’re hand-sewing, use a small, neat stitch.
- Add Ties: You can create halter ties from the leftover fabric from the sleeves, or use ribbon, string, or even shoelaces. Attach the ties to the corners of the neckline.
- Embellishments (Optional): Get creative and add embellishments like beads, sequins, or lace to personalize your halter top.
 Finished DIY Halter Top
Conclusion: Your New Halter Top Awaits!
Creating a DIY halter top is a fun and easy way to update your wardrobe. By following these simple steps, you can transform an old top into a trendy new piece. So grab your scissors and get ready to rock your new halter creation!
FAQ:
- Can I make a halter top from any type of shirt? Most shirts can be transformed into a halter top, but lighter fabrics work best.
- Do I need a sewing machine to make a halter top? No, you can hand-sew the edges.
- What if I cut the neckline too low? You can try to salvage it by adding a band of fabric or lace along the neckline.
- Where can I find inspiration for halter top designs? Look for inspiration online on platforms like Pinterest and Instagram.
- How do I tie a halter top securely? Use a double knot or a bow to secure the ties.
- Can I add padding to my halter top? Yes, you can sew in bra cups or use removable padding.
- How do I care for my DIY halter top? Follow the care instructions for the original fabric.
Need assistance? Contact us at Phone: 0372960696, Email: TRAVELCAR[email protected], or visit us at 260 Cau Giay, Hanoi. Our customer service team is available 24/7.

