“One spoonful of yogurt, ten years of longevity,” or so the Vietnamese saying goes. And who are we to argue with ancient wisdom, especially when it involves a treat as delicious and versatile as yogurt? Today, we’re diving into the wonderful world of homemade yogurt, specifically the art of making it in a bag – a surprisingly simple method that will have you feeling like a culinary wizard in no time!
The Magic of Homemade Yogurt: More Than Just a Snack
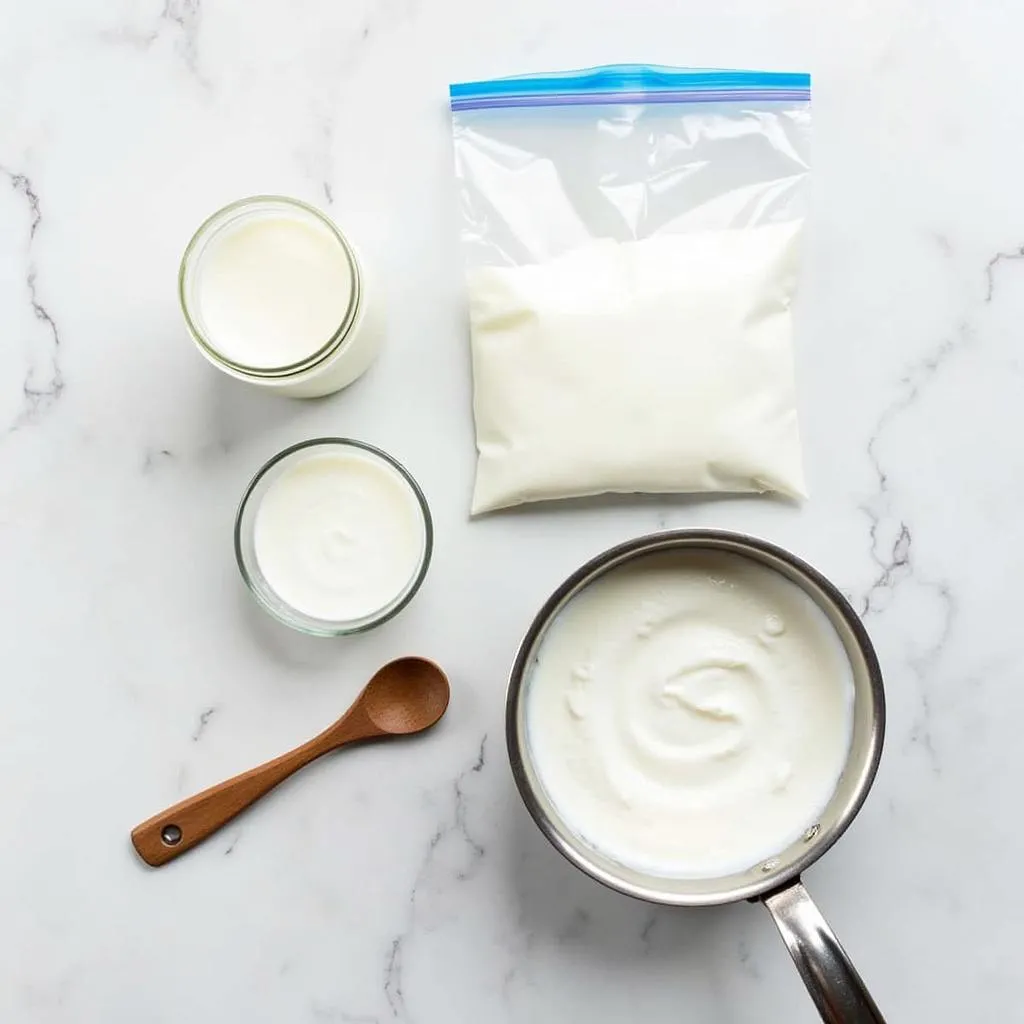 Ingredients for homemade yogurt in a bag
In the heart of Hanoi’s Old Quarter, nestled among bustling silk shops and aromatic pho stalls, you’ll find Mrs. Lan’s humble grocery store. A woman of few words but boundless wisdom, she once told me, “Making yogurt is like nurturing a tiny universe of good bacteria.” And she’s absolutely right! Homemade yogurt isn’t just about the creamy texture or the tangy flavor; it’s about taking control of your health with every spoonful.
Why Homemade Yogurt?
- It’s Fresh and Pure: No preservatives, additives, or artificial flavors here! Just pure, wholesome goodness.
- You Control the Ingredients: Lactose-free milk? Almond milk? Coconut milk? The choice is yours!
- It’s Budget-Friendly: Making your own yogurt is surprisingly economical, especially if you’re a regular yogurt eater.
- It’s Fun and Rewarding: There’s a certain satisfaction that comes from creating something delicious from scratch.
Bagging Your Yogurt: A Step-by-Step Guide
You might be thinking, “Making yogurt in a bag? Sounds messy!” But trust us, it’s easier than you think.
What You’ll Need:
- 4 cups (1 liter) of milk (any kind you prefer)
- 1/2 cup (120 ml) plain yogurt with live active cultures (your “starter”)
- A large pot
- A clean kitchen towel
- A large ziplock bag
- A thermometer (optional but helpful)
Instructions:
Heat the Milk: Pour the milk into the pot and heat it over medium heat. Stir occasionally to prevent sticking. If using a thermometer, heat the milk to about 180°F (82°C). You’ll see small bubbles forming around the edges of the pot. Don’t let it boil!
Cool it Down: Remove the pot from the heat and let the milk cool down to around 110-115°F (43-46°C). This is crucial for activating the live cultures in your yogurt starter. A good way to gauge the temperature is to stick your finger in for a few seconds – it should feel warm, not hot.
Whisk in the Starter: Pour about 1 cup of the warmed milk into a bowl and whisk in the yogurt starter until smooth. This helps temper the starter and prevents clumping.
Bag it Up: Carefully pour the milk and starter mixture into the ziplock bag. Squeeze out as much air as you can and seal the bag tightly.
Create a Cozy Incubator: Place the kitchen towel at the bottom of your pot (this will act as insulation). Place the bag of yogurt mixture on top of the towel.
Let the Magic Happen: Cover the pot with the lid and wrap it tightly with a thick towel to keep the heat in. Now comes the hardest part – waiting! Let the yogurt incubate for 6-8 hours, or even longer for a tangier flavor.
Check for Doneness: The yogurt is ready when it’s set and has a custard-like consistency. You can give the bag a gentle shake to check.
Chill and Enjoy: Once the yogurt is set, carefully remove the bag from the pot and place it in the refrigerator to chill for at least 4 hours. This helps to stop the culturing process and gives the yogurt a firmer texture.
Troubleshooting Your Yogurt: FAQs
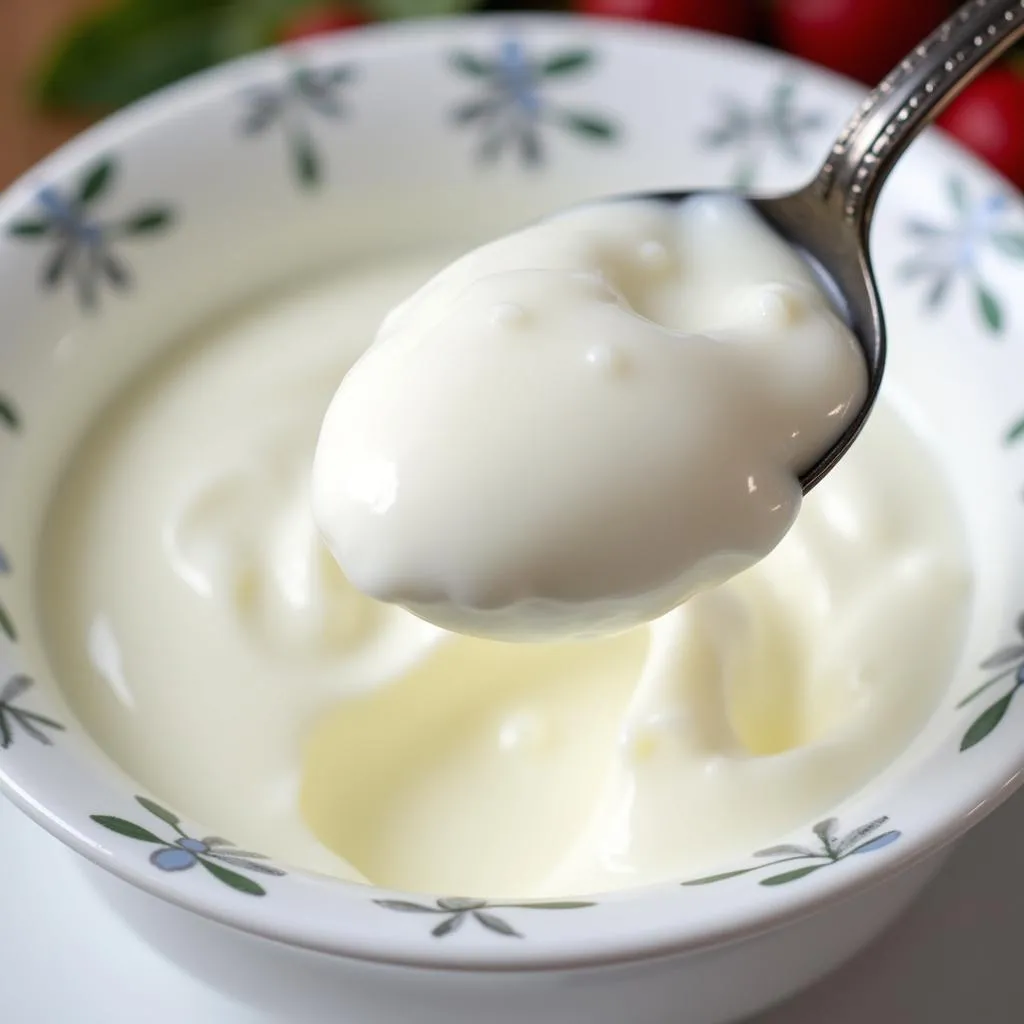 Checking the texture of homemade yogurt
Q: My yogurt is too runny. What went wrong?
A: This usually happens if the milk wasn’t heated to the right temperature or if the incubation period wasn’t long enough. Try using a thermometer for accuracy and experiment with longer incubation times.
Q: My yogurt is grainy. Help!
A: Grainy texture can result from using expired milk or starter, or not whisking the starter thoroughly. Always check the expiration dates and make sure to whisk the starter until smooth.
Q: Can I use a different type of milk?
A: Absolutely! Feel free to experiment with different types of milk, but keep in mind that the consistency and flavor might vary.
Beyond the Basics: Flavor Combinations and Serving Suggestions
Now that you’re a yogurt-making pro, it’s time to get creative!
- Sweeten It Up: Stir in honey, maple syrup, or agave nectar after chilling.
- Fruity Delights: Add fresh or frozen fruit like mangoes, berries, or passionfruit.
- Crunchy Toppings: Sprinkle with granola, chopped nuts, or chia seeds.
- Savory Creations: Mix in herbs, spices, or even a drizzle of olive oil for a savory twist.
Hanoi’s Hidden Gems: Exploring the City with TRAVELCAR
Whether you’re craving a steaming bowl of pho in the bustling streets of Hoan Kiem district or a peaceful stroll along the shores of West Lake in Tay Ho, TRAVELCAR is your trusted companion for exploring the hidden gems of Hanoi.
From spacious 16-seater vans to comfortable 29 and 45-seater buses, we cater to all group sizes and travel needs. Our reliable airport transfers, customizable city tours, and friendly, English-speaking drivers ensure a hassle-free and memorable journey through the heart of Vietnam.
Need help planning your Hanoi adventure?
Contact our 24/7 customer service team at 0372960696 or email us at [email protected].
Visit our office at 260 Cau Giay, Hanoi, and let us help you create unforgettable memories in this vibrant city.
The Joy of Homemade Yogurt: A Taste of Tradition
 Enjoying homemade yogurt in Hanoi
As the sun sets over Hanoi’s picturesque skyline, casting a warm glow on the ancient temples and bustling markets, there’s no better way to unwind than with a bowl of homemade yogurt. It’s a simple pleasure that connects us to generations past, reminding us that the most rewarding experiences are often the ones we create ourselves. So go ahead, embrace the art of homemade yogurt, and savor the taste of tradition with every spoonful!