Ever found yourself captivated by the proud strut of a rooster in a Hanoi courtyard, wishing you could capture its essence on paper? Learning how to draw this charismatic creature is not just a delightful pastime, it’s also a journey into Vietnamese culture where the rooster holds a special place.
As the saying goes, “Practice makes perfect”, and drawing is no exception. Even if you’re a beginner, don’t fret! This step-by-step guide will equip you with the basics to draw a rooster so lifelike, you’ll practically hear it crowing.
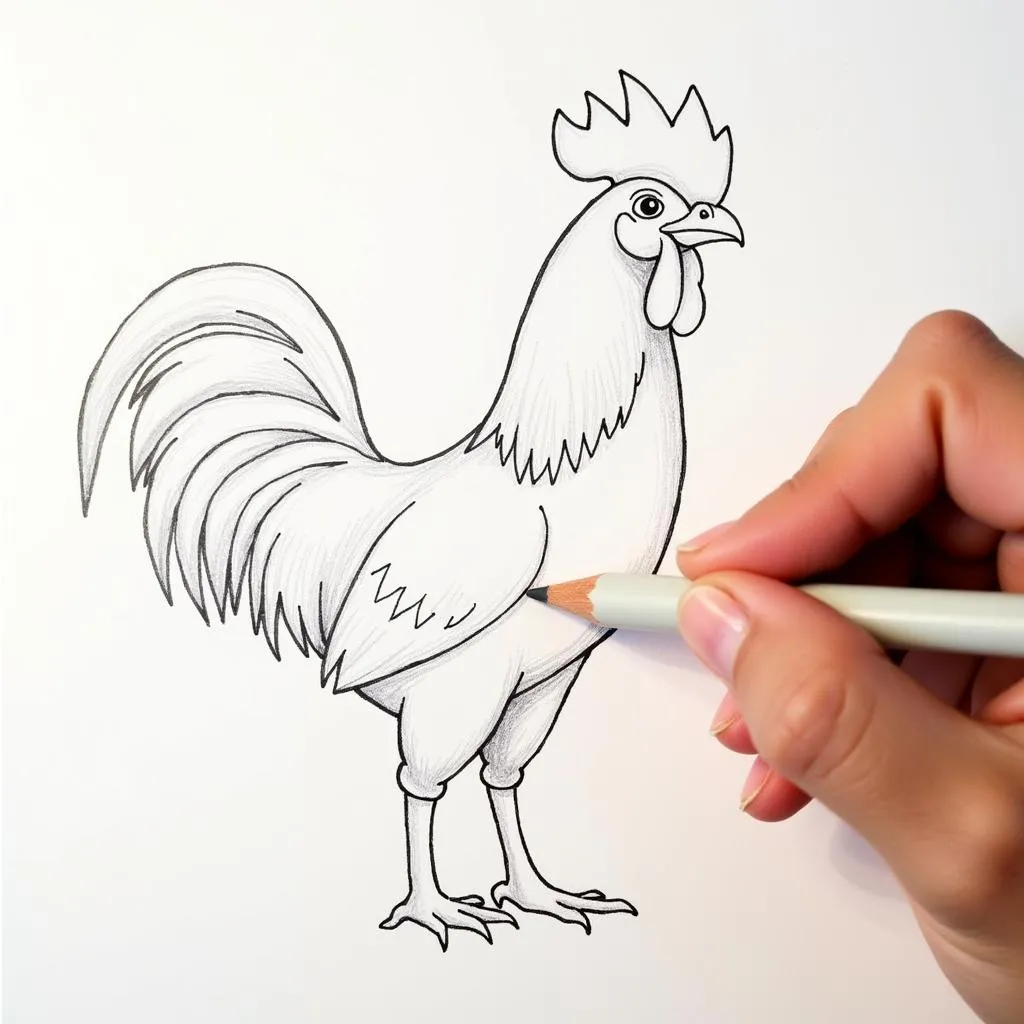
 Drawing a rooster
Getting Started: The Building Blocks of Your Rooster
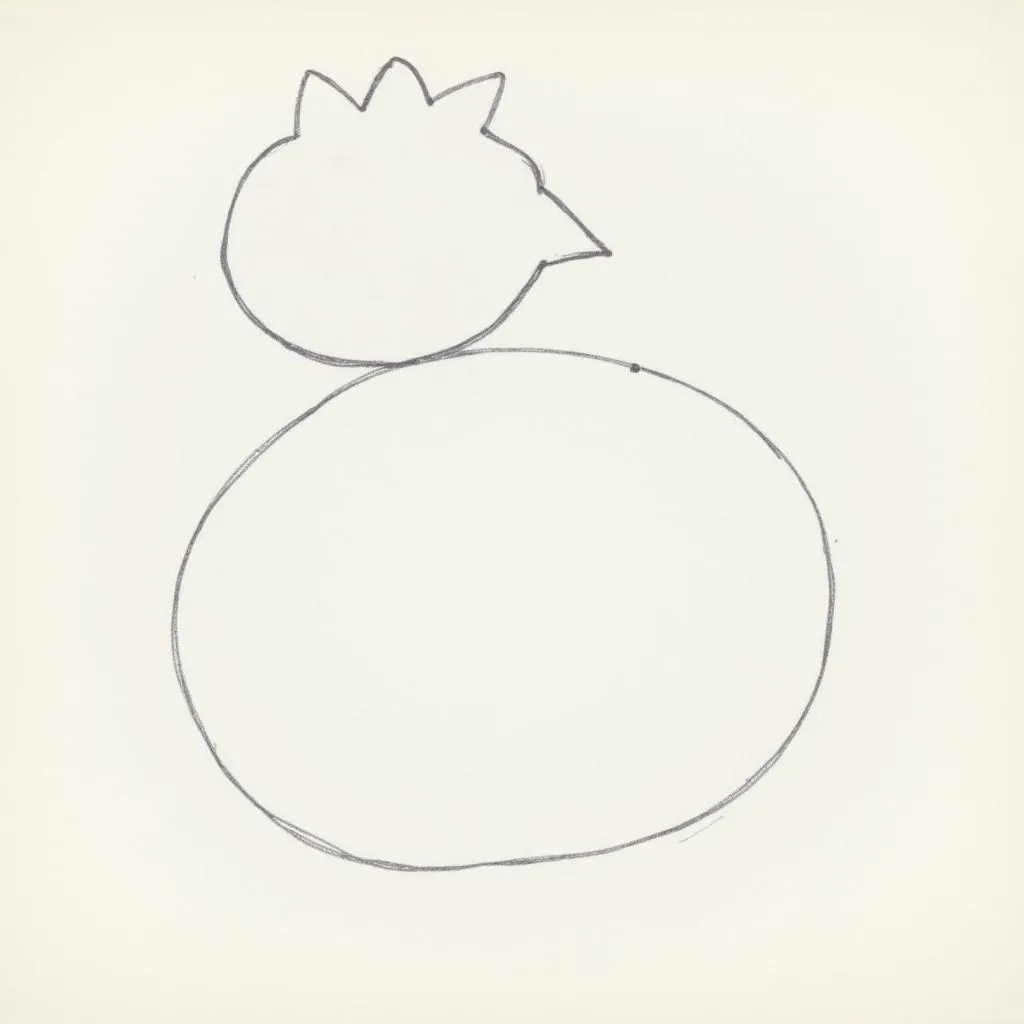
Just like you wouldn’t build a house without a foundation, we’ll begin by sketching basic shapes to form the rooster’s body.
Step 1: The Humble Oval
Start by drawing a large oval, slightly tilted to the right. This forms the body of your rooster. Don’t worry about making it perfect; it’s just a guideline.
Step 2: A Circle for a Head
On the upper left side of the oval, add a smaller circle for the rooster’s head. Imagine you’re drawing a snowman – the oval is the body and the circle, its head.
Step 3: Connecting the Dots
Now, connect the head and the body with two slightly curved lines, creating the rooster’s neck. Remember, roosters have strong necks to support their proud posture.
 Basic shapes for drawing a rooster
Adding Character: Bringing Your Rooster to Life
With the basic structure in place, let’s inject some personality into our feathered friend.
Step 4: The Comb and Wattle
Every rooster worth its salt boasts a vibrant comb and wattle. Draw a zig-zag shape on top of the head for the comb and a teardrop-shaped wattle dangling below the beak. These features are not just for show; they play a crucial role in attracting mates!
Step 5: A Beak Full of Character
A simple triangle does the trick for the beak. Remember to keep it slightly open as if the rooster is about to let out a hearty crow.
Step 6: Beady Eyes and Feathery Details
Draw a small circle for the eye and add a dot inside for the pupil. Now, sketch some curved lines around the neck and body to represent feathers.
From Sketch to Masterpiece: Refining Your Rooster Drawing
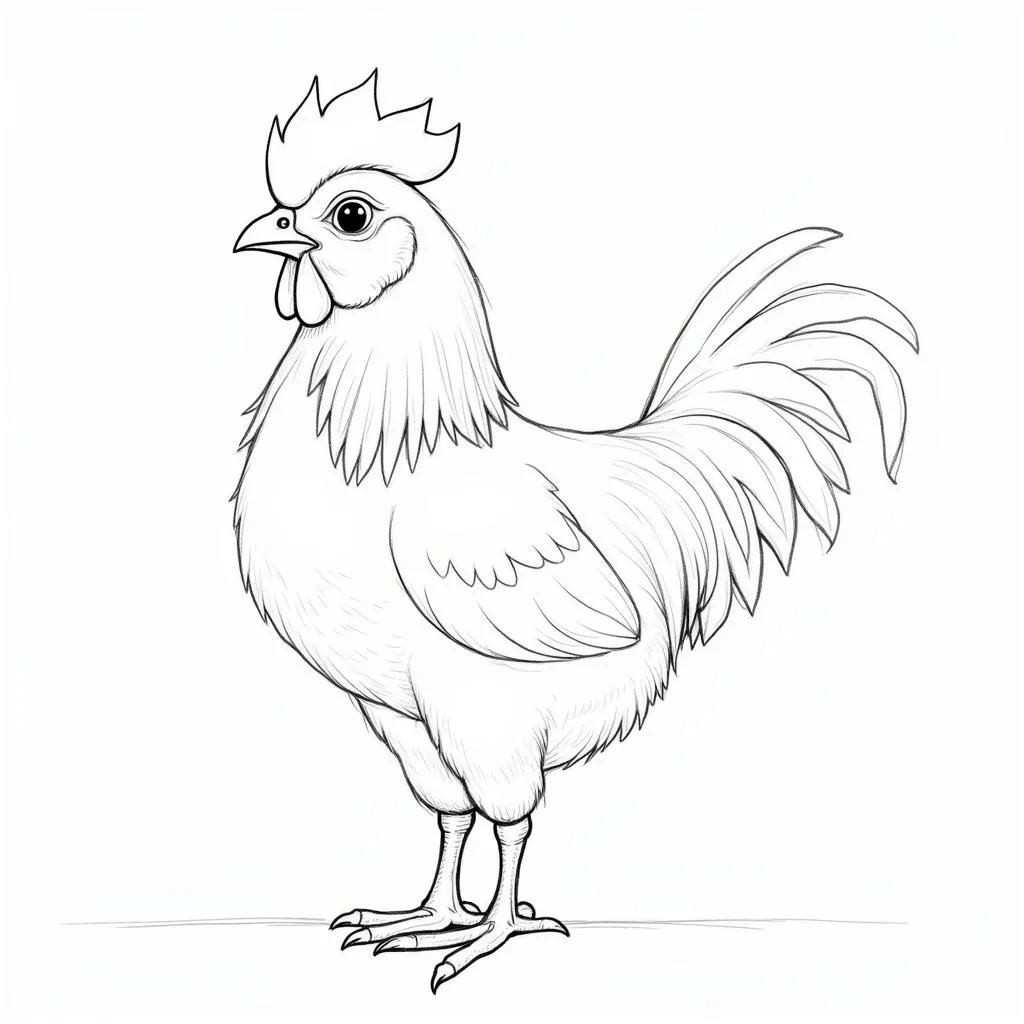
Now that you have the basic outline, it’s time to add details that will bring your rooster drawing to life.
Step 7: Majestic Tail Feathers
Roosters are known for their magnificent tail feathers. Draw long, flowing lines emanating from the back of the body, curving gracefully downwards. Don’t be afraid to exaggerate the length and curvature for a more dramatic effect.
Step 8: Powerful Legs and Feet
Add two strong legs with three toes each at the bottom of the body. Each toe should end in a sharp claw.
If you’re looking for other creative outlets, we also have a fantastic guide on how to fold an origami frog. It’s another fun way to explore your artistic side and create something beautiful.
 Detailed rooster drawing
Unleashing Your Inner Artist: Tips and Tricks
Drawing is a journey, not a destination. Here are some additional tips:
- Don’t be afraid to experiment: Art is about expression, so feel free to add your unique style and flair.
- Observe real roosters: Pay attention to their movements, postures, and the way light plays on their feathers.
- Practice consistently: The more you practice, the better you’ll become.
Remember, even renowned artist Nguyen Van Dong, known for his intricate depictions of Vietnamese wildlife, started with simple sketches. So grab your pencils and let your creativity soar!
Need Help Planning Your Hanoi Adventure?
While you’re busy honing your artistic skills, let us take care of your travel needs. Whether you need a reliable Ford Everest for your family trip or transportation to explore the bustling streets of Hoan Kiem District, TRAVELCAR has you covered. Contact us at 0372960696 or [email protected]. Our team is available 24/7 to help you plan an unforgettable Hanoi experience!

