Drawing is a wonderful way to express creativity and capture the beauty of the world around us. And what better subject to draw than a fluffy, adorable rabbit? Whether you’re a seasoned artist or just starting out, this step-by-step guide will equip you with the skills to draw a rabbit that’s as cute as a button. So, grab your pencils and let’s hop to it!
In Vietnamese culture, rabbits are often associated with good luck and prosperity. They’re seen as symbols of gentleness, intelligence, and quick thinking. Some people even believe that seeing a rabbit is a sign of good fortune to come!
Now, before we begin our artistic journey, it’s helpful to understand the basic shapes that make up a rabbit’s body. Think of it like a puzzle: a rabbit is essentially a combination of ovals, circles, and triangles.
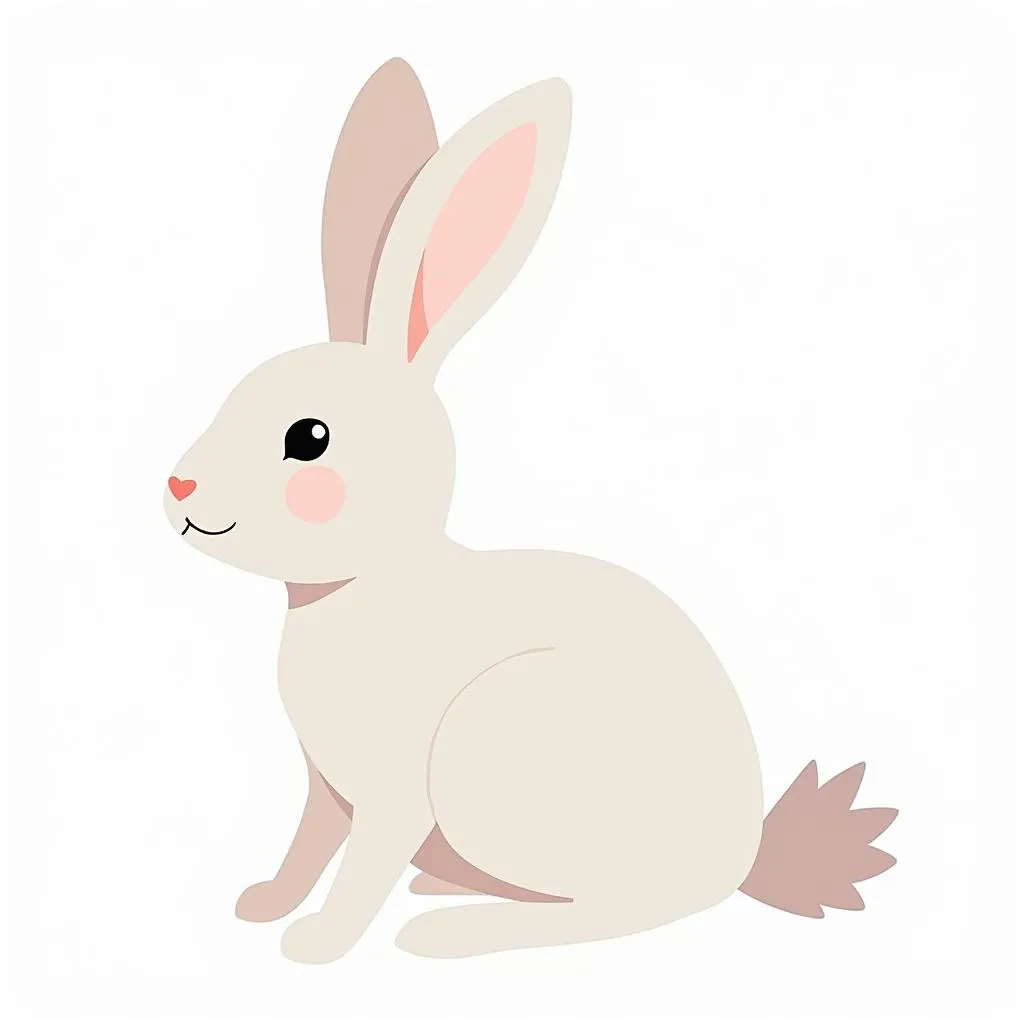 Basic Shapes of a Rabbit
Step 1: The Head
Start by drawing a large oval for the rabbit’s head. This will form the foundation of your drawing. Then, add two smaller ovals inside the head for the cheeks.
Step 2: The Ears
Next, draw two long, curved lines extending from the top of the head for the ears. Remember, rabbits have long, pointy ears, so make sure your lines reflect this.
Step 3: The Body
Now, draw a larger oval below the head for the rabbit’s body. Connect the head and body with a short, curved line to create the neck.
Step 4: The Legs
Add two small ovals for the front legs and two larger ovals for the back legs. Remember to give the back legs a slightly bent appearance to create the illusion of a rabbit standing on its hind legs.
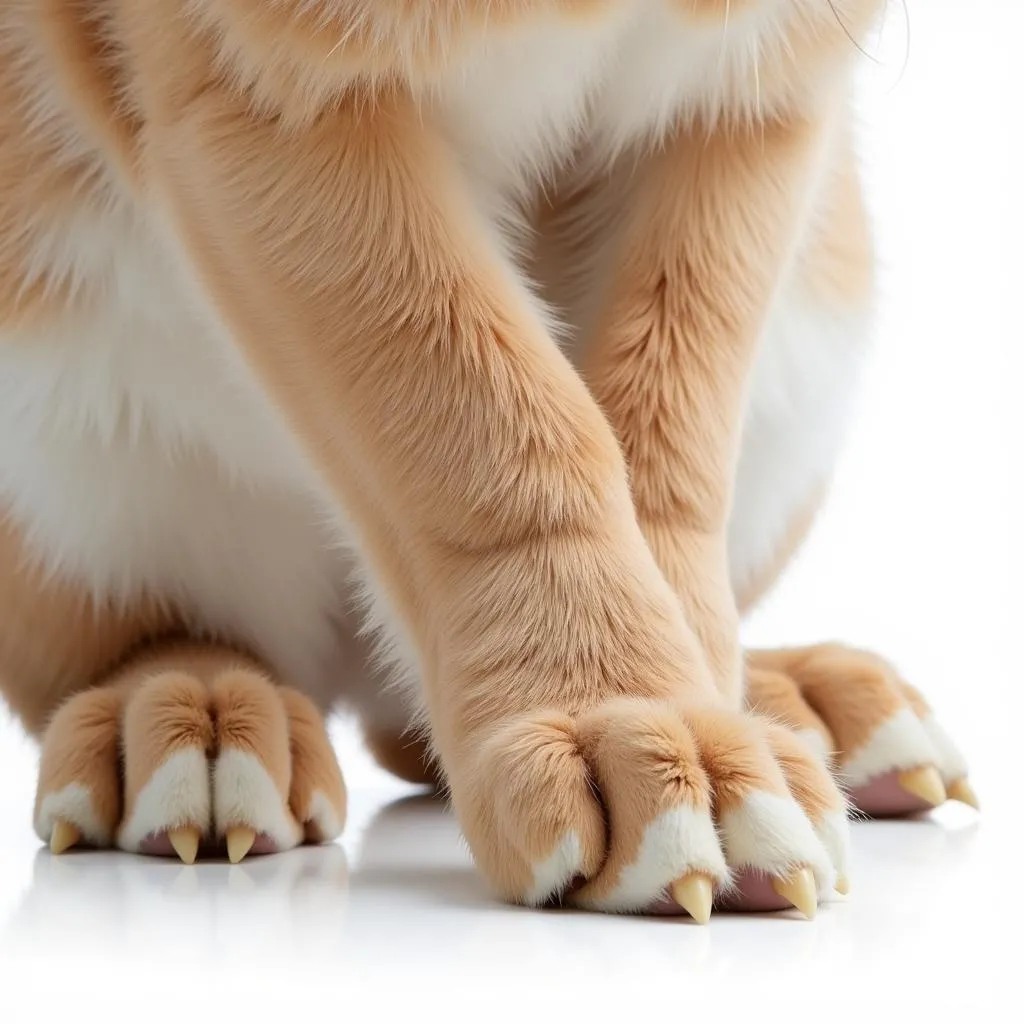 Rabbit Legs and Paws
Step 5: The Tail
Draw a small, fluffy circle at the back of the body for the tail.
Step 6: The Face
Now, it’s time to add some detail to the face. Draw two small circles inside the cheek ovals for the eyes. Add a small, upside-down triangle for the nose and a curved line below for the mouth.
Step 7: The Fur
Rabbits are known for their soft, fluffy fur. Use short, curved lines to add fur to the rabbit’s body, paying attention to the direction of the fur.
Step 8: Shading
To give your rabbit a more three-dimensional appearance, add some shading. Use a lighter shade of your pencil to shade the areas where the light would hit, and a darker shade for the areas where the light would be less intense.
Step 9: Final Touches
Finally, erase any unnecessary guidelines and add any final details you like. You can add whiskers, a collar, or even a carrot!
Congratulations! You’ve just learned how to draw a rabbit. Remember, practice makes perfect, so keep drawing and experimenting. You’ll be amazed at what you can create.
Learning new skills, like drawing or even something as practical as how to do internal accounting, can be incredibly rewarding. It’s like planting a seed that grows into something beautiful.
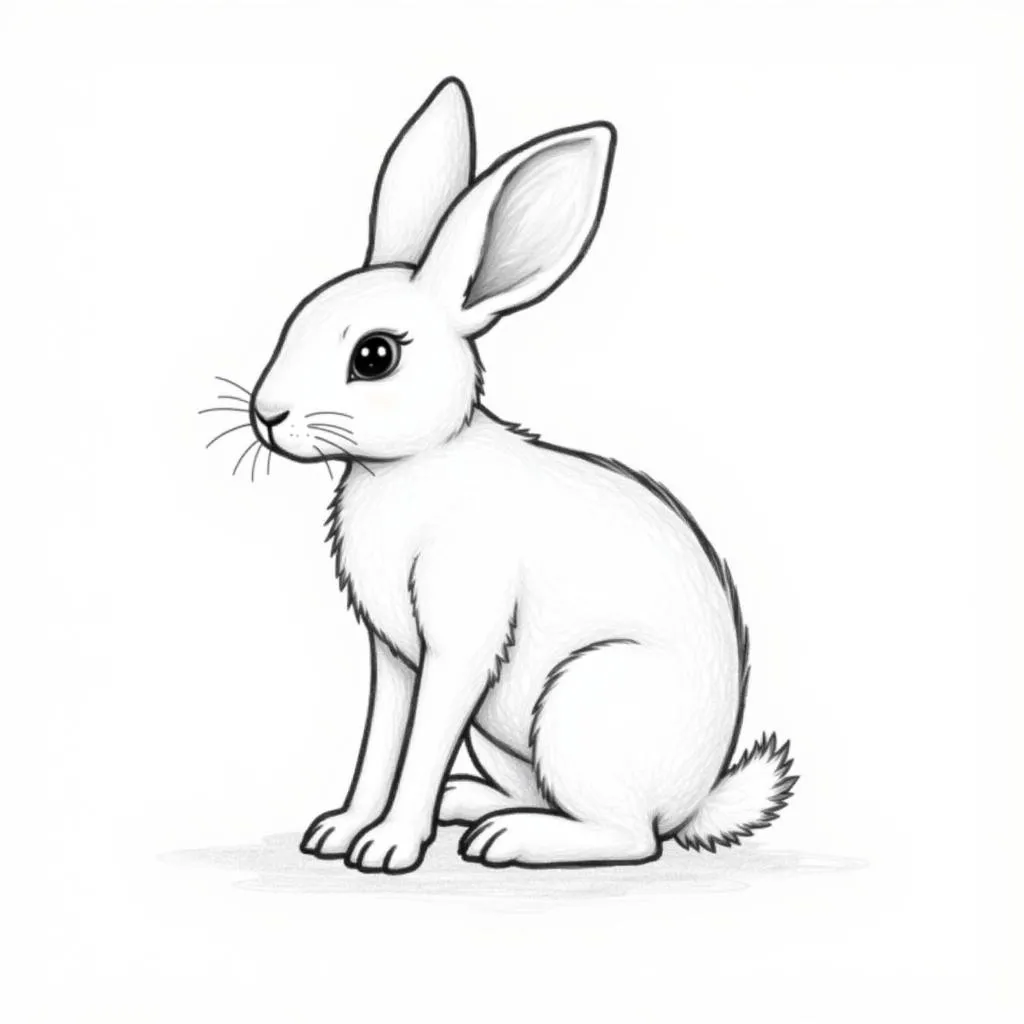 Finished Rabbit Drawing
Just like nurturing a garden requires patience and care, so does developing any new skill. And who knows, maybe your newfound artistic talent will inspire you to explore other creative endeavors, like learning how to make a bow with ribbon or creating your own DIY wall garden. The possibilities are endless!
If you’re planning a trip to Hanoi, the vibrant capital of Vietnam, and need reliable transportation, don’t hesitate to contact TRAVELCAR. We offer a wide range of vehicles for rent, from 16-seater vans to spacious 45-seater buses, perfect for exploring the bustling streets of Hoan Kiem District or the serene beauty of Tay Ho District. Our friendly team can also assist you with airport transfers and customized tours to ensure you experience the best of Hanoi.
For bookings or inquiries, please call us at 0372960696, email us at [email protected], or visit our office at 260 Cau Giay Street, Hanoi. Our dedicated customer support team is available 24/7 to assist you.