Cross section drawing is a fundamental skill in many fields, from architecture and engineering to product design and even biology. It involves creating a drawing that shows the internal structure of an object as if it has been cut through. Understanding this technique allows you to visualize and communicate complex designs effectively.
What is a Cross Section Drawing and Why is it Important?
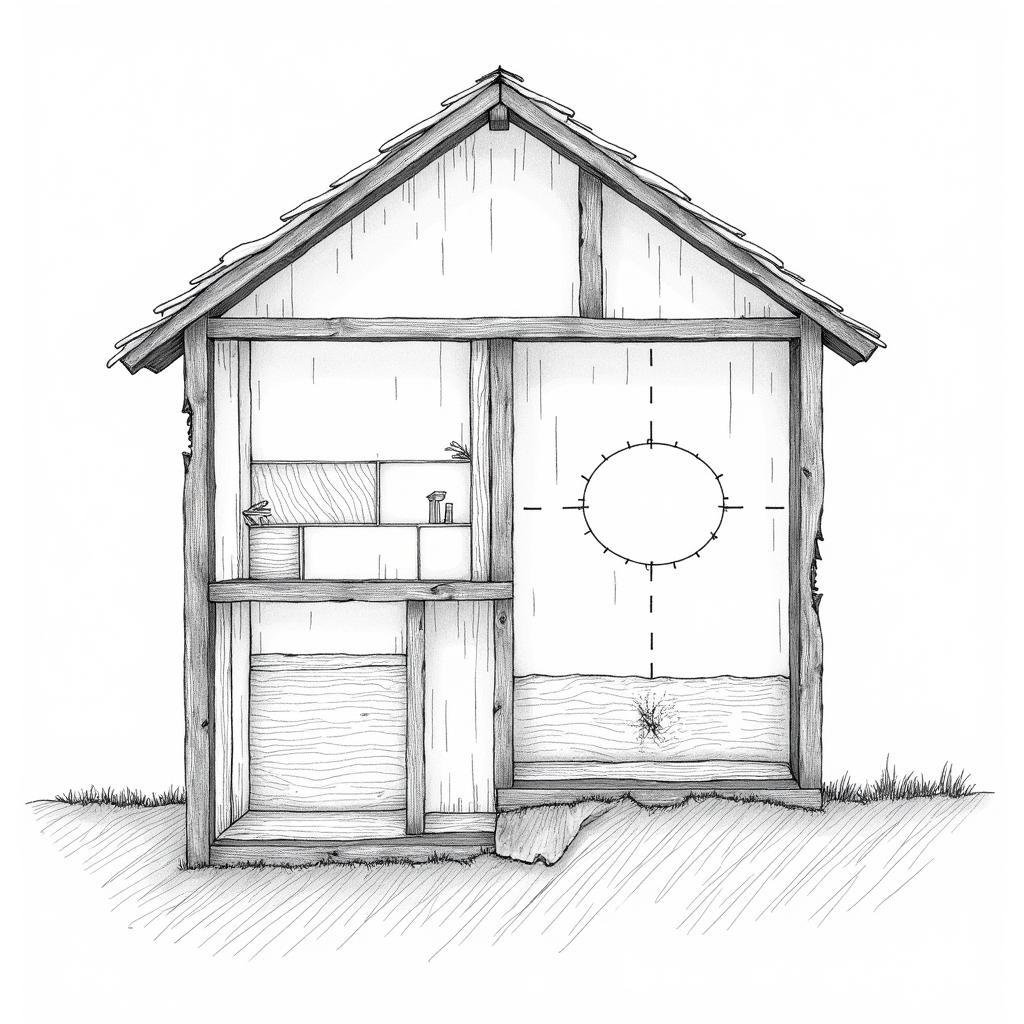
Cross section drawings, also known as sectional drawings, provide a view into the inner workings of an object. Imagine slicing a cake in half – the exposed surface reveals the layers, fillings, and internal structure. Similarly, a cross section drawing reveals the hidden details of an object, making it easier to understand its components and how they fit together. This is particularly important in fields like engineering and architecture, where accurate representations are crucial for construction and manufacturing.
 Example of a Cross Section Drawing
Essential Tools and Materials for Cross Section Drawing
Before you begin, gather the necessary tools. A sharp pencil, ruler, eraser, and drawing paper are essential. For more complex drawings, you might consider using drafting tools like a T-square and triangles. If you’re working digitally, a drawing tablet and software like Adobe Illustrator or AutoCAD can be invaluable.
Choosing the Right Paper and Pencils
The type of paper and pencils you use can significantly impact the quality of your cross section drawing. For sketching and practice, standard drawing paper is sufficient. However, for finished drawings, consider using thicker, higher quality paper. Regarding pencils, a range of hardness (from H for hard lines to B for softer lines) is recommended.
 Essential Drawing Tools and Materials
Step-by-Step Guide to Creating a Cross Section Drawing
Creating a cross section drawing involves a systematic approach:
- Choose your subject: Select the object you want to draw a cross section of. Start with simple objects before tackling more complex ones.
- Determine the cutting plane: Imagine slicing through the object. The plane where the cut is made is the cutting plane. Indicate this plane on your initial drawing with a dashed line.
- Draw the outline: Sketch the outline of the object as it would appear after being cut along the cutting plane.
- Add internal details: Draw the internal components and features that are revealed by the cut. Use different line weights and hatching patterns to represent different materials.
- Label and annotate: Add labels and annotations to identify the different parts and provide additional information.
Different Types of Cross Section Drawings
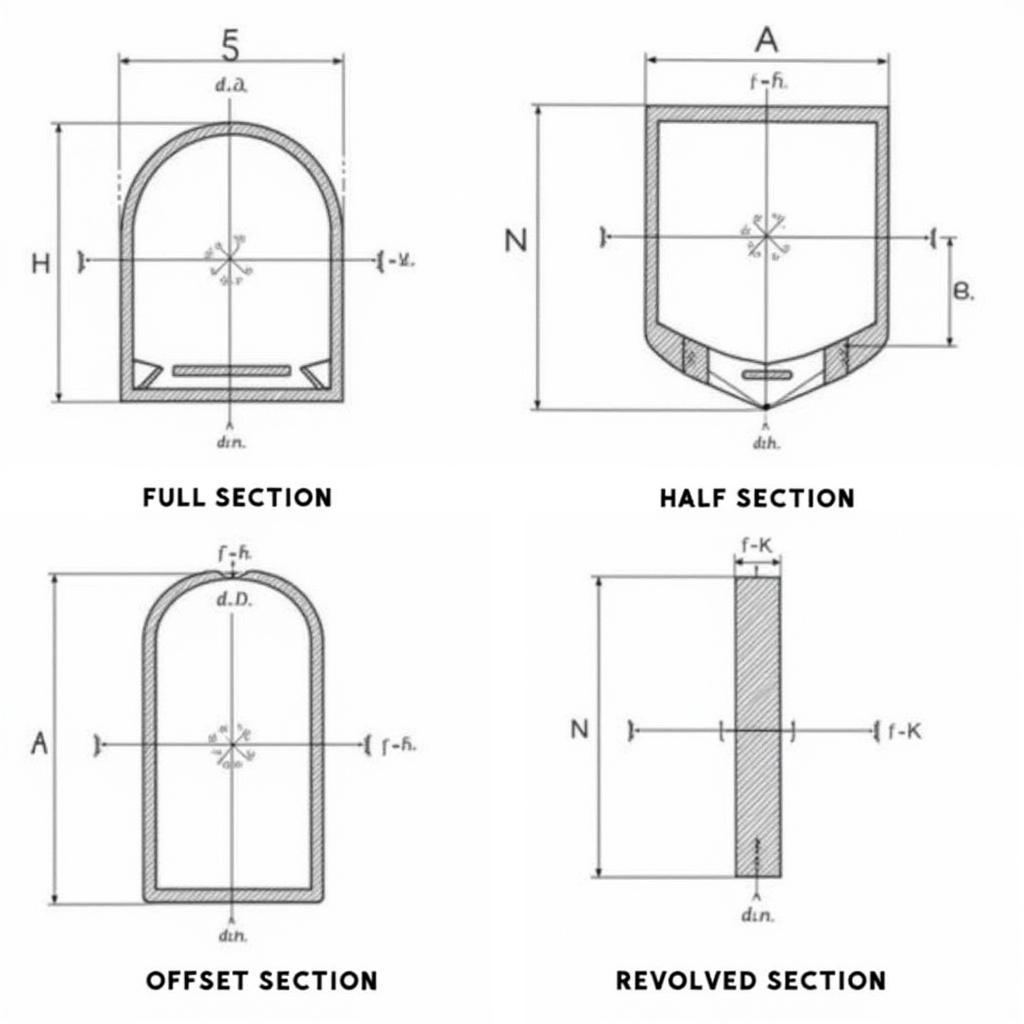
There are several types of cross section drawings, including:
- Full Section: The object is cut completely in half.
- Half Section: Only half of the object is shown in section, with the other half showing the exterior view.
- Offset Section: The cutting plane changes direction to reveal features not aligned on a single plane.
- Revolved Section: A cross section is rotated and placed next to the main view.
 Different Types of Cross Section Drawings
Tips for Creating Effective Cross Section Drawings
- Accuracy is key: Ensure your drawing accurately represents the internal structure and dimensions of the object.
- Use clear lines and hatching: Employ consistent line weights and hatching patterns to distinguish between different materials and components.
- Label everything clearly: Proper labeling is essential for understanding the drawing.
- Practice regularly: The more you practice, the better you’ll become at creating accurate and informative cross section drawings.
“A clear cross-section drawing can communicate complex information in a simple and effective way,” says John Doe, a senior architect at Design Co. “It’s an essential tool for anyone involved in design and construction.” Jane Smith, a mechanical engineer at Engineering Inc., adds, “Cross-section drawings are crucial for understanding the internal workings of machinery and ensuring proper assembly.”
Conclusion
Mastering the art of cross section drawing is a valuable skill for anyone working with visual representations of objects. By following these steps and tips, you can create clear, accurate, and informative drawings that effectively communicate complex information. Understanding cross section drawing enables better communication and collaboration in various fields, ultimately leading to more efficient and successful projects.
FAQs
- What is the purpose of a cross-section drawing?
- What tools are needed for creating cross-section drawings?
- What are the different types of cross-section drawings?
- How do I choose the right cutting plane for my drawing?
- What are some common mistakes to avoid when creating cross-section drawings?
- How can I improve my cross-section drawing skills?
- Where can I find more resources on cross-section drawing?
Need support? Contact us at Phone Number: 0372960696, Email: TRAVELCAR[email protected] or visit us at 260 Cầu Giấy, Hanoi. We have a 24/7 customer service team.
You might also be interested in hướng dẫn làm nơ bằng ruy băng vải.

