Picture this: you’re in a cozy café in Hanoi’s bustling Old Quarter, the aroma of strong coffee filling the air, and you’re eager to update your iPhone with the latest tunes. But alas, iTunes is acting up, throwing tantrums like a grumpy water puppet show gone wrong. Fear not, my friend! This comprehensive guide is your trusty xích lô, ready to navigate you through the process of completely uninstalling iTunes. Just like finding hidden gems in Hanoi’s labyrinthine streets, we’ll uncover the right steps to bid farewell to iTunes woes and pave the way for a smooth digital experience.
Understanding the iTunes Maze
Before we embark on our digital detox journey, let’s take a moment to understand why iTunes can sometimes feel like navigating the crowded streets of Hanoi during rush hour. iTunes, like a traditional Vietnamese family, comes with a whole entourage of related applications – Bonjour, Apple Software Update, Apple Mobile Device Support, to name a few. Removing iTunes entirely requires bidding farewell to this entire digital family.
The Cleansing Ritual: Uninstalling iTunes
Here’s a step-by-step guide, as clear as the instructions on a bowl of steaming phở, to help you uninstall iTunes and its companions:
Windows Users:
- Open the Control Panel: Your portal to the digital heart of your Windows machine.
- Navigate to “Programs and Features”: Here lies the list of applications residing on your computer.
- Locate and uninstall iTunes and its related software: Look for entries like Apple Software Update, Bonjour, Apple Mobile Device Support, and of course, iTunes. Uninstall them one by one, like carefully dismantling a tower of colorful chè.
- Restart your computer: A digital palate cleanser to ensure a fresh start.
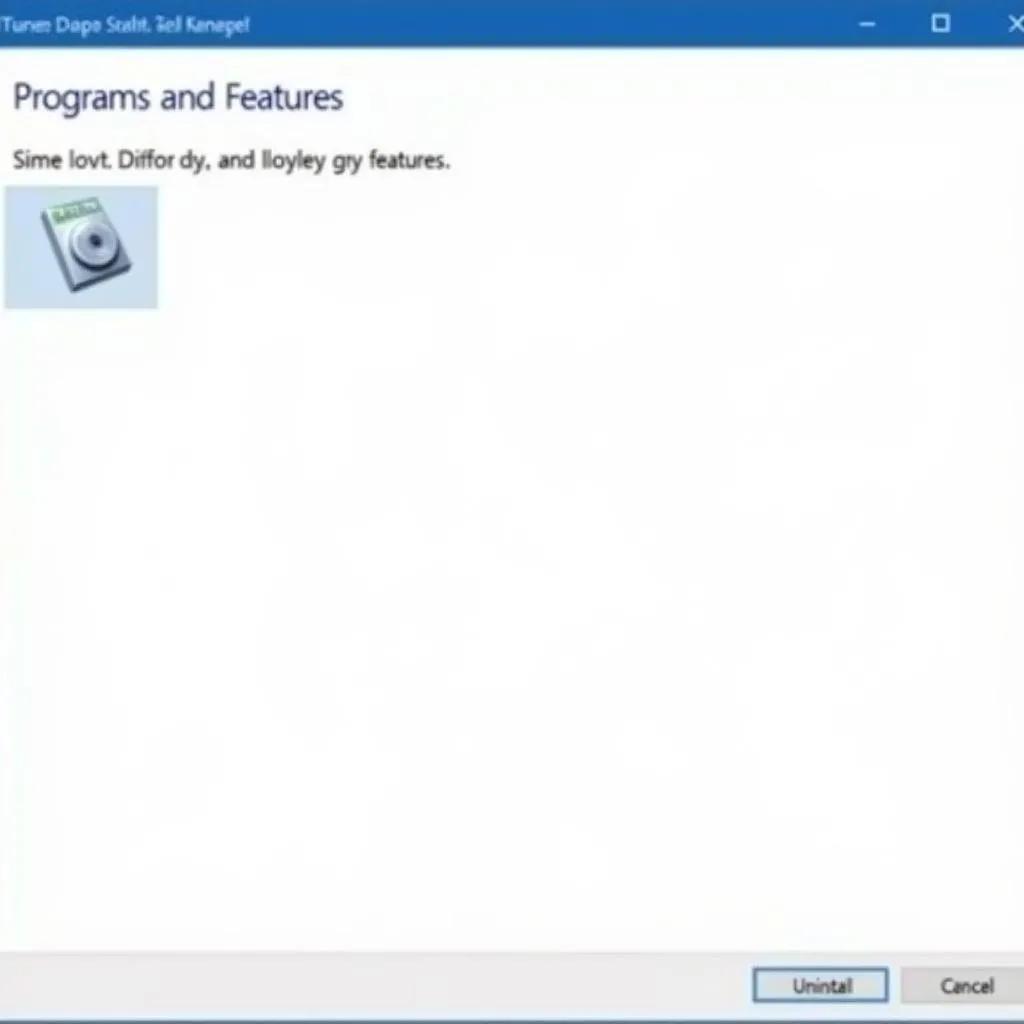 Uninstalling iTunes on Windows
Mac Users:
- Open Finder and go to the “Applications” folder: This is where your Mac stores its applications.
- Locate the iTunes app: Drag and drop the iTunes icon to the Trash.
- Empty the Trash: Just like bidding adieu to yesterday’s worries.
- For a thorough removal: Open your Library folder (Go > Go to Folder > Type “~/Library” and press Enter). Search for folders related to iTunes, such as “iTunes,” “Apple Computer,” “Mobile Device Support,” and delete them.
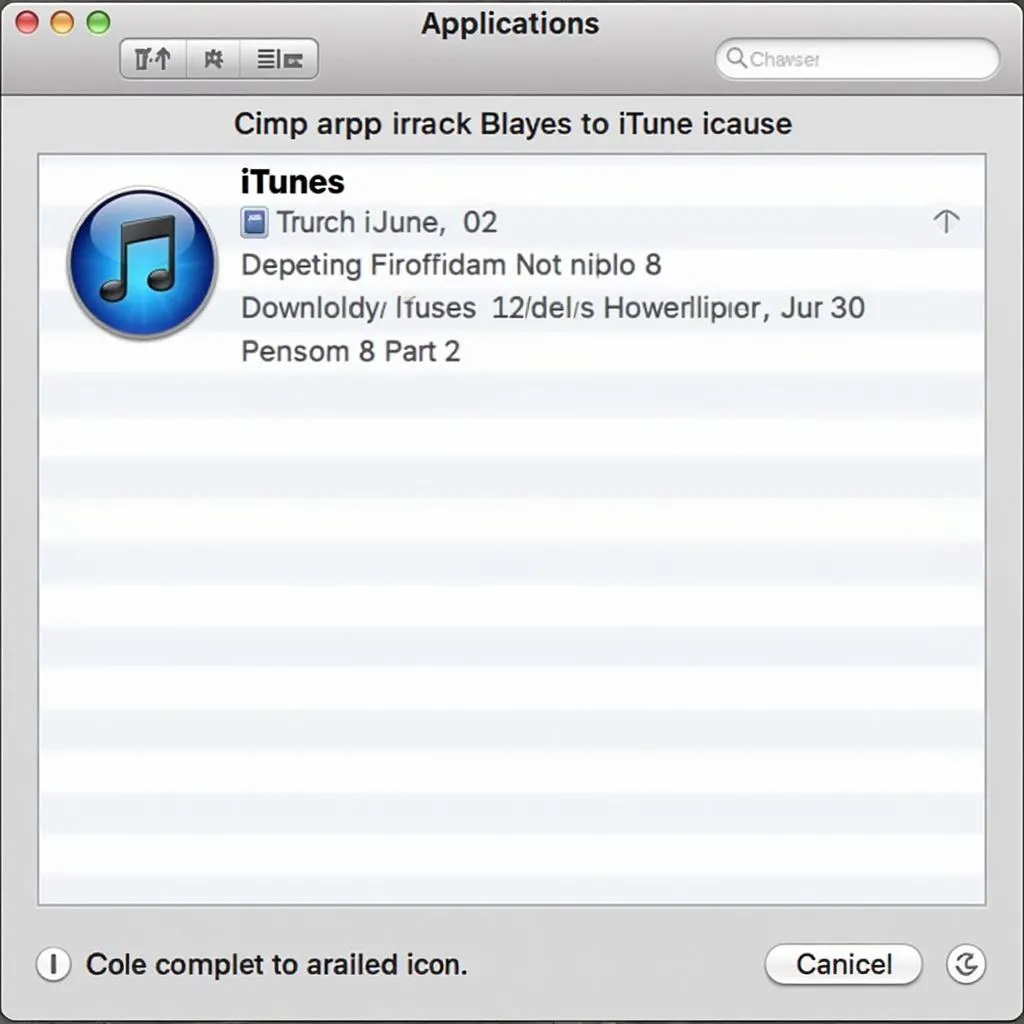 Uninstalling iTunes on Mac
Post-Uninstall Rituals
After successfully uninstalling iTunes, consider these optional steps for a cleaner digital slate:
- Use a dedicated uninstaller tool: Software like CCleaner can help remove residual files and registry entries.
- Manually delete remaining files: Search for any lingering iTunes-related files and folders in your system directories.
Seeking Expert Counsel?
If you encounter any difficulties or simply prefer a helping hand, feel free to reach out to TRAVELCAR. Our expert team, just like the friendly locals in Hanoi, is always happy to assist you. Contact us at 0372960696, email us at [email protected], or visit our office at 260 Cầu Giấy, Hà Nội. We’re available 24/7 to answer your call.
Beyond iTunes: Exploring New Horizons
With iTunes successfully removed, you’re free to explore alternative avenues for managing your Apple devices and media library. Consider these options:
- Apple Music: Stream millions of songs and manage your music library directly from the cloud.
- Finder (Mac) or iTunes alternatives (Windows): Sync and manage your iPhone or iPad’s content without iTunes.
Embracing the Digital Journey
Just like venturing off the beaten path in Hanoi’s vibrant neighborhoods, troubleshooting tech issues can be an adventure in itself. Armed with this guide, you’ve successfully navigated the intricacies of uninstalling iTunes. Remember, whether you’re exploring the digital world or the charming streets of Hanoi, a little patience and the right guide can make all the difference.